We’ve already shared 7 of our favorite painting tools that we love to experiment with. Now, we’re back with 7 more creative ideas that will inspire you to set the brushes aside and try painting a new way. Any one of these tools would make a fun painting session, or you could set-up a no brushes allowed painting tool buffet!

7 Things to Paint with (Besides Brushes)
1. Jumbo Pom Poms
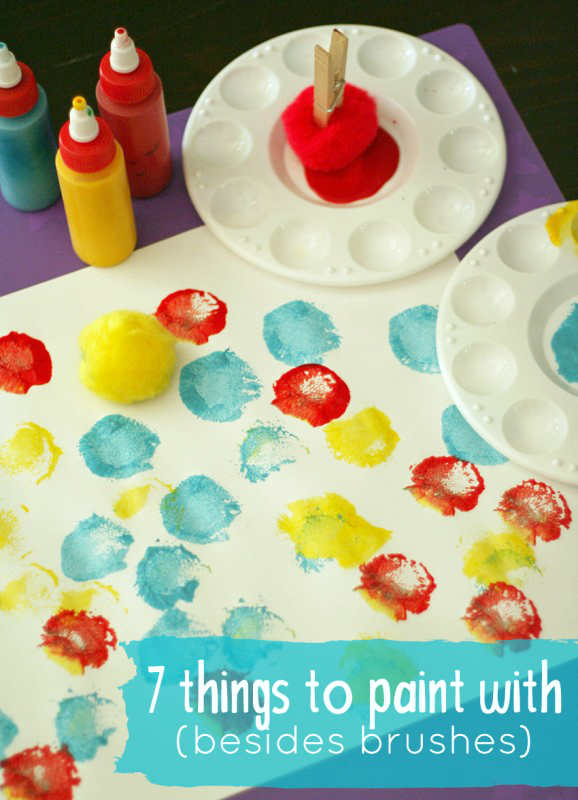
These big fluffy balls are fun to dip in paint and bounce across the paper. You can hold one with your fingers, or clip one to a clothespin. We especially liked dipping the pom pom in multiple colors before printing with it.
2. Kitchen Tools
Your kitchen is full of interesting gadgets for painting! Here are a few we have enjoyed painting with:
- potato masher
- whisk
- fork
- honey dipper
- spatula
- sponges and scrubbies
- bottle brush
- chopsticks
Part of the fun can be washing the tools afterward, too. Make sure to use washable paint, and set-up a tub of soapy water for easy clean-up.

3. Feathers
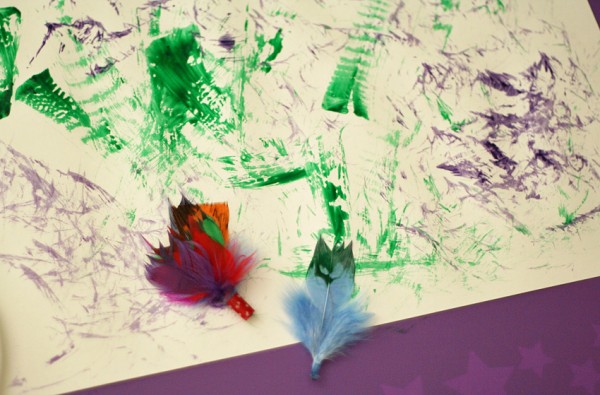
You can make interesting marks with a delicate feather brush. Paint with a single feather, or tape a bunch of feathers together. Bonus: Kiddos have to use their pincher grasp to hold the small, delicate feather.
4. Sticks
One of our favorite ways to paint with sticks is scratching designs into a swatch of wet paint. You can also try squeezing paint onto the stick, then rolling it across the paper. How else could you paint with a stick?

5. Combs
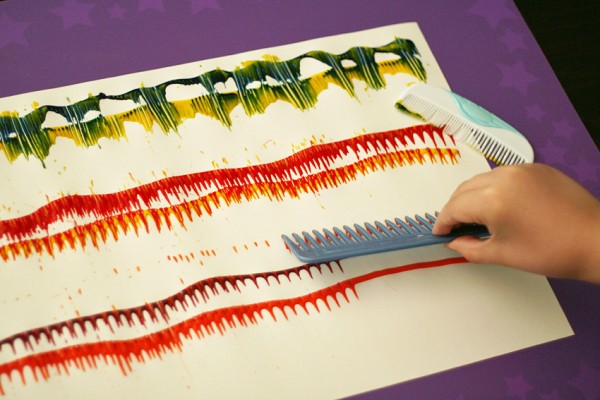
Combs aren’t just for your hair! Scraping paint across the paper with various combs creates some neat designs. We like to squeeze two lines of paint across our paper, then pull the comb through both colors. Try skinny combs and wide-toothed combs, too.
6. Toothbrushes
I guess, technically, a toothbrush is a brush, but it’s no ordinary paint brush! Toothbrushes are fun to dip in paint and then tap, slide, and scrub across the paper.

7. Lids
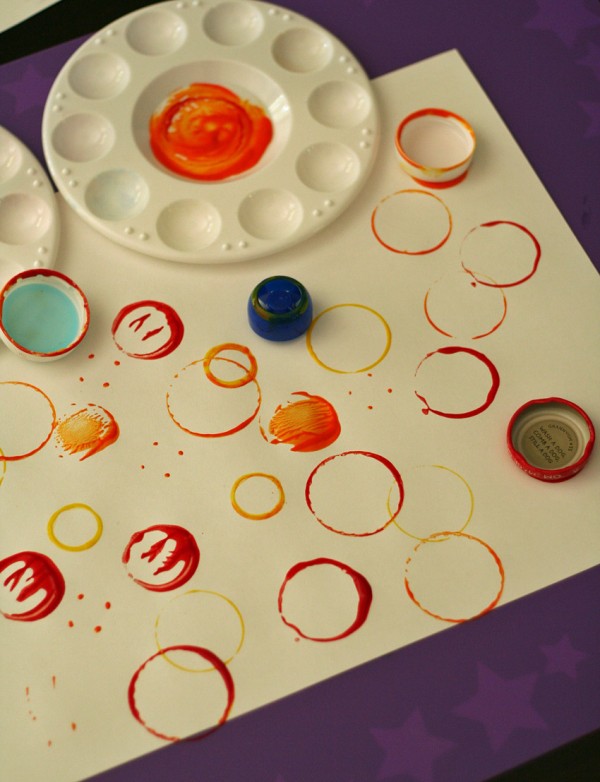
Before tossing them in the recycling bin, collect a variety of lids from juice bottles, applesauce pouches, and other food containers. Dip and stamp the lids on your paper – don’t forget to try both sides of the lids.
Creating with these painting tools is all about the process, not the product. That being said, the artwork created with these tools would make great wrapping paper, cards, or abstract masterpieces to hang on the walls. Have fun!


