Have you ever tried making a hand-stiched card? It’s easier than you might think. I’ve laid it all out in the simple instructions below. Head to your local craft store (or your craft room/bin/closet) to find all of these supplies. I hope you try this super fun craft. Stitch any design your heart desires. Spiders or pumpkin for Halloween, Trees for Christmas, or a turkey for Thanksgiving. These cards are perfect for sending to friends, neighbors, and family for all occasions.
Basic Instructions for Hand-Stitched Cards
Supplies:
Everything is available at your local craft or fabric store.
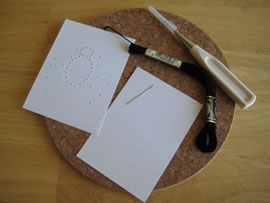
- Punching Awl
- Cork board: For punching holes in card – found at kitchen or office store (try a cork hot plate)
- Thread: I usually use DMC floss, with all six strands
- Needle: Cross-stitch needle #26 for 18-22 count fabric
- Cardstock: white piece, accent color piece, folded card piece
- Envelope: white envelope that measures, 4 ½ “ x 5 ¾ “
- Glue: Glue stick, glue dots, spray glue is recommended
Paper:
cut a small piece of card stock paper, about 3 1/4 by 4 1/4 inches. This will be the paper you stitch. Then cut a slightly bigger piece of paper that will be the accent piece, about 3 3/4 by 4 3/4. You will also want a folded card, measuring 4 1/4 by 5 1/2 when folded.
Punching:
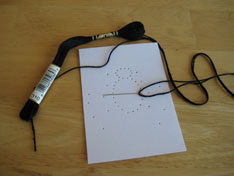
get out your “awl” and “cork board” and small paper and pattern. Then line up the pattern over the small paper. Punch through the holes, through both the pattern and paper.
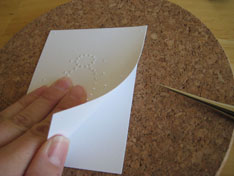
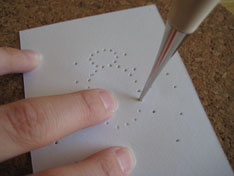
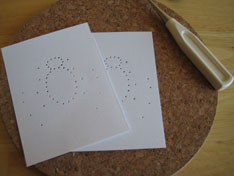
Stitching:
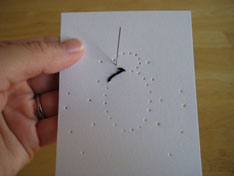
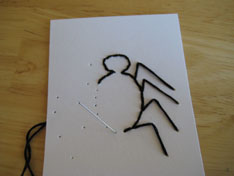
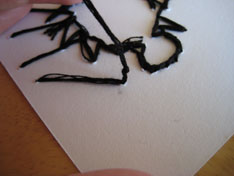
Thread your needle, using all 6 strands of the color of your choice. Then tie a knot at one end and begin to stitch through each hole. Don’t skip any holes. You can go back if you need to. It doesn’t matter if the back is messy, most times it doesn’t show through in the end. Then tie a second knot at the back when you are done stitching.
Gluing:
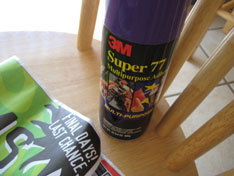
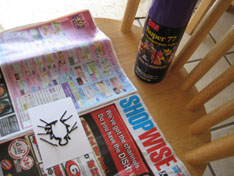
When the stitching is complete, center and glue the stitched piece to the color accent piece. Then center and glue the two glued pieces to the front of the folded card. The card is ready for an envelope. Here is the heavyduty spray glue I use. Try to spray the glue on newspaper outside or in the garage.
Your Done! Have fun stitching cards. For all the patterns available from Make and Takes, visit our Card Pattern Category. Or simply make a new pattern of your own. Print a picture from a computer image, or draw your own design.


Can you tell me the instuction for useing beads in a pattern? If not where can i get these instuctions?
These pieces are beautiful. And they look easy enough for me; I gave up complicated things due to poor eyesight. Tnanks, Marie!
This is such a great idea that I posted it on my blog-
http://myinspirationindex.blogspot.com/2010/05/fun-fabric-cards-and-card-idea-roundup.html
thanks for sharing!
Can you use something other than cardstock for this?? Like aida cloth, or something heavier than aida cloth?
really nice, and it seems easy….
im going to try it with my niece.