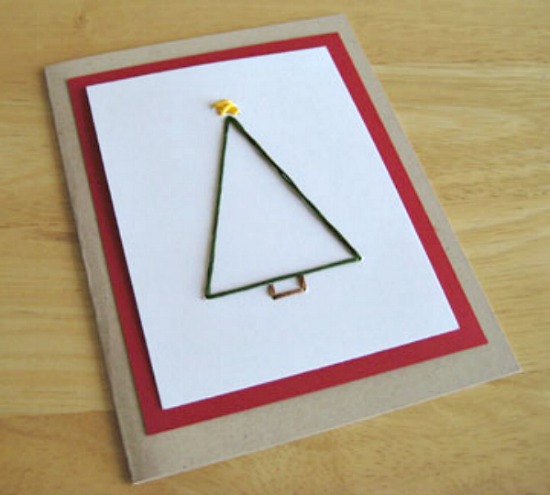
Here is another fun greeting card pattern to Hand-Stitch yourself. I chose the tree pattern to show you, as it is really easy to do. This card can be used for neighbors and friends, gift giving, or even as a decoration in your home.

Christmas Tree Card Pattern
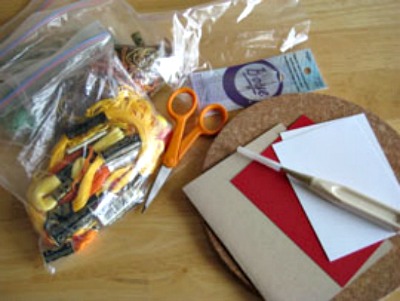
Supplies: Everything is available at your local craft or fabric store.
- Punching Awl
- Pattern for Tree to punch: Download here, then print the pattern: christmas-tree.pdf
- Cork board: For punching holes in card – found at kitchen or office store (try a cork hot plate)
- Thread: I usually use DMC floss, with all six strands
- Needle: Cross-stitch needle #26 for 18-22 count fabric
- Cardstock: white piece, accent color piece, folded card piece
- Envelope: white envelope that measures, 4 ½ “ x 5 ¾ “
- Glue: Glue stick, glue dots, spray glue is recommended

Paper: cut a small piece of card stock paper, about 3 1/4 by 4 1/4 inches. This will be the paper you stitch. Then cut a slightly bigger piece of paper that will be the accent piece, about 3 3/4 by 4 3/4. You will also want a folded card, measuring 4 1/4 by 5 1/2 when folded.
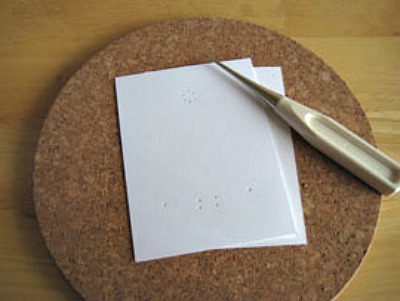
Punching: get out your “awl” and “cork board” and small paper and pattern. Then line up the pattern over the small paper. Punch through the holes, through both the pattern and paper.

Stitching: Thread your needle, using all 6 strands of the color of your choice, preferably green for a tree. Then tie a knot at one end and begin to stitch through each hole. Follow the pattern of where the tree goes. I started with the trunk first with brown, then the tree with green, and then the star with yellow. Don’t skip any holes. You can go back if you need to. It doesn’t matter if the back is messy, the colored card piece behind should hide that. Then tie a second knot at the back when you are done stitching the tree.

Gluing: When the stitching is complete, center and glue the stitched piece to the color accent piece. Then center and glue the two glued pieces to the front of the folded card. The card is ready for an envelope. Here is the heavy duty spray glue I use. Try to spray the glue on newspaper outside or in the garage.
Your Done! Have fun stitching cards. I am sure you could try your hand at a candy cane or Santa. Just punch a new pattern from a computer image, or draw your own.


“Christmas Tree Card Pattern | Make and Takes” was indeed a
fantastic read and therefore I really was in fact really satisfied to come across it.
Thank you-Shirley
Hi! This post was featured on today’s Simple Makes article, “Best Advent Links: Preparing for Christmas.” See it at http://www.simplemakes.com/2008/12/best-advent-links-preparing-for.html. Thanks for the great pattern and how-to!
I’m getting started on my Christmas cards early this year. For the tree, did you just do a bunch of little stitches even though it’s just one long line?
Yeah, Joanne. I hope the cards go well for you. I promise they are easy to do, if you just have a few of the supplies. Good Luck!
I was just trying to think of a fun home-made christmas card idea….and now you have given me one. I LOVE this card. thank you!