I love this fun bedroom door sign made out of paper mache. It’s bringing me back to my elementary school days when we plastered pastey newspapers onto a balloon and hollowed it out for a bowl. Alice from MAD – Make and Do is here as a guest today sharing a fun way to dress up a bedroom door with this crafty paper mache name sign.
Guest post by Alice of MAD – Make and Do
Craft a Children’s Bedroom Door Sign
Supplies for Bedroom Door Sign:
- Newspaper
- Large piece of cardboard (as a mount)
- Strong glue or glue gun
- Flour
- Water
- Tsp of salt (optional)
- Plain White paper (optional)
- Paints
- Paintbrush
- Craft knife
- Scissors

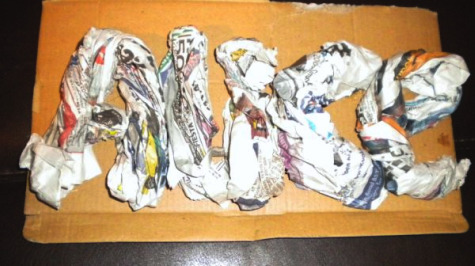
First, scrunch and twist pieces of newspaper into letters for the name you want to write. Use as much newspaper as you feel is necessary for the size you want – I used a double page spread per letter and half that for the smaller letters. This part is a case of trial and error to create the overall style you’re after so don’t be afraid to rip off bits or add extra scrunches here and there! Once you have done this, glue them down into their letter shapes onto the large cardboard piece.

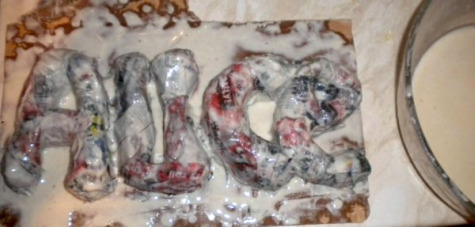
Mix up a basic paste using a cup of flour and two cups of water – you can add salt to this mixture too if you think it’s necessary to make your door sign a bit more humidity proof! Now take ripped pieces of newspaper and completely soak them in the mixture before plastering them all over your lettering. This allows for a bit of extra modeling ability too so you can begin to shape the letters with your fingers while it’s still wet.

Let this dry for a few days until it is rock solid. At this stage you may prefer to make up some more mixture and add another layer of paper mache this time using plain white paper. This will make a much nicer base for painting and reinforce the door sign’s strength. However this stage is optional.
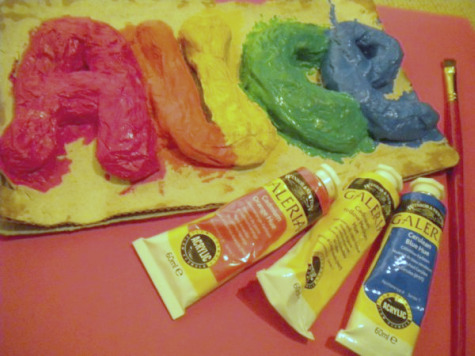
Now for the fun part! Paint your letters in bold bright colours, I have used some nice thick acrylic but any thick paint such as oils, poster or even wall paint will be fine especially if you opted for the white paper stage. Also if you are doing this as an activity with very young children, you could prepare the door sign for them and just let them do this painting stage. Older children may then wish to glue on embellishments after the paint is dry – such as buttons or beads.

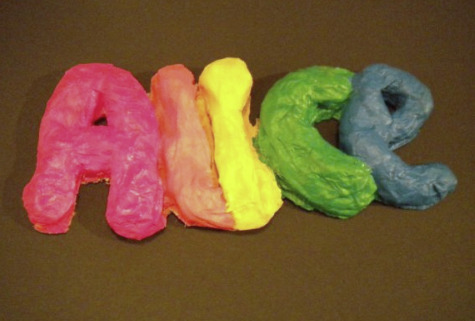
After your paint is dry, all that is left to do is trim off the cardboard mount. To do this I used scissors for the surrounding and a craft knife for the fiddly bits such as the hole in the ‘e’ and the ‘a’. Incidentally, these will also be what I use to hang the sign on the door using tacks. However if your name doesn’t work so well for this then the flat cardboard backing can have a hanging attachment added. Et voila! The finished door sign.
 Alice of M.A.D., is a nursery nurse and part time early years student, blogging and doing crafty bits and artwork are her hobbies – when she have the time for hobbies! She lives in Bristol with her fiance John and two crazy fur-ball cats, Dolly and Jasper.


Very fun idea! My girls love getting their hands good and messy so they’ll be all for this activity.
Totally takes me back to my youth in the early 80’s. *sigh*
Too cute! And easy!