It’s that time of year when the leaves start falling! Is your yard or local park covered in them yet? Crafting with fallen leaves is always popular with kids and this turkey themed activity is a perfect craft to get you in the mood for fall! Plus they make darling decorations for your Thanksgiving gatherings.
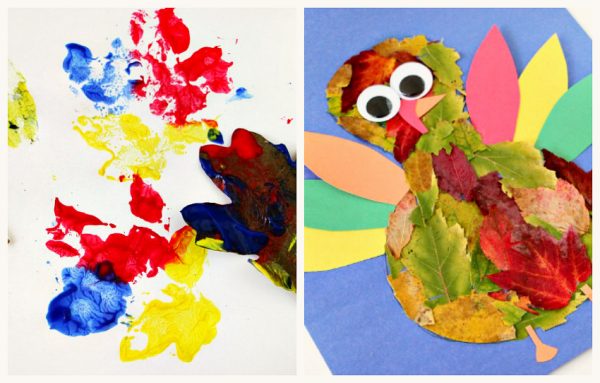
2 Crafting Projects with Fallen Leaves
This turkey with fallen leaves craft is a blast to make and perfect for fall or Thanksgiving! My kids had a great time and we loved how creative the end result looked! This turkey art project pairs nature with art for a fun twist on a classic turkey craft. You only need some fall leaves and a few basic craft supplies, no long supply list needed for this craft! It’s easy and super fun, keep reading to see how easy it is to do with your kids!
Easy Turkey with Fallen Leaves Craft
Supplies
- Leaves
- Construction Paper or Cardstock
- Glue
- Scissors
- Googly Eyes
Play outside a lot? As you are getting ready to come in have your children collect a bunch of fallen leaves. Bring them in with you and put out on a table to be used as your turkey’s body.
Instructions
On a piece of construction paper draw an outline of a turkey body. A turkey body reminds me of a bowling pin shape, or even a number 8, but a bit shorter and fatter. You want a round bottom, a narrow “neck” area, and a slightly smaller round top.
Give each child a piece of paper with the turkey body shape on it and a handful of leaves. Begin making this turkey with fallen leaves by having the kids spread glue in the turkey outline. If you are using white glue I recommend using a paint brush to apply, this reduces puddles of paint and helps it dry faster and more evenly. Plus it’s easier to stick leaves on when there isn’t puddles of glue. Next have them rip the leaves they collected and place them inside the outline. The fall leaves will be your turkey’s body!
Once the whole turkey body is filled in with fall leaves it’s time to add the feathers! If you have leaves in a feather shape (thin, oblong) you can use those, otherwise you can cut them from construction paper like we did.
Glue the feathers onto your picture along the edge of the turkey’s body. If the glue you used to secure the ripped leaves onto the body isn’t dry yet you can slide the end of the construction paper feather underneath the leaves of the body.
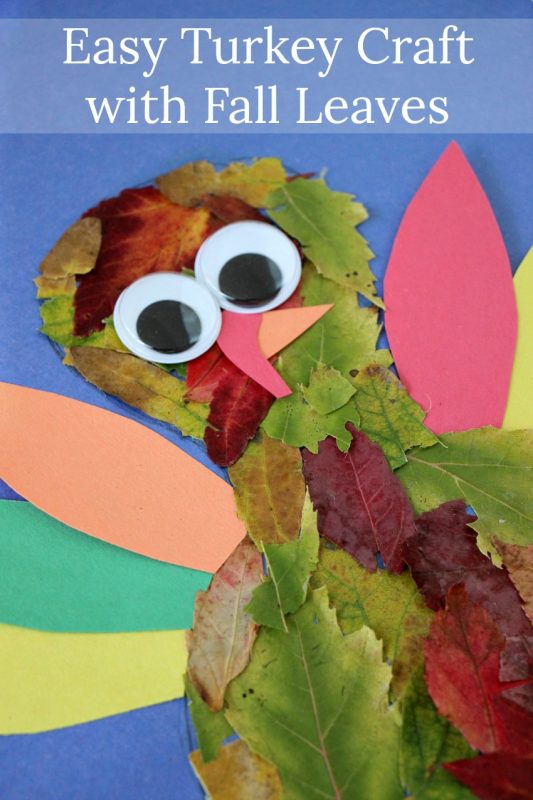
The face is the last part! just glue on two googly eyes, a triangle beak, and a red snood. Make sure to let if dry completely before hanging up so your leaves don’t fall off.
It doesn’t get much more adorable than this turkey with fallen leaves! Just look at that guy! He’s too cute! The perfect decoration for your fall or Thanksgiving celebration.
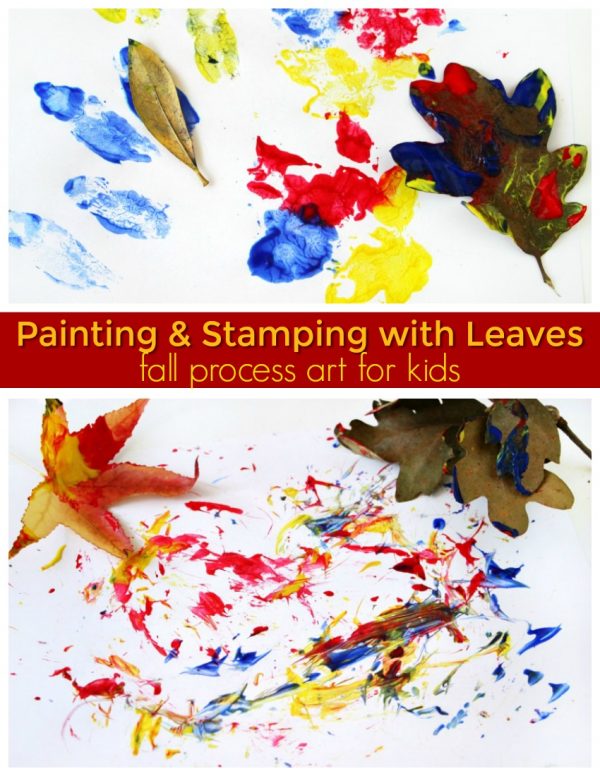
Painting and Stamping with Fallen Leaves
Let’s do some painting and stamping with fallen leaves today! Children can create all kinds of interesting artwork with nature and when those fall leaves start to pile up in your yard it’s time to get crafting! This leaf art project is a simple, open-ended process art activity that encourages kids to explore texture and colors. It also allows children to use an everyday art material like paint in a new and exciting way. Toss out those brushes and grab some leaves!
Supplies
- Leaves
- Paint
- Paper
- Small tray for paint
Start this activity outside with your kids. Have them gather different types leaves from the backyard or a local park. Compare the different leaves they find. Do they have things in common? How are they different? Bring several different ones back inside with you.
Instructions
When you have collected all the fall leaves you need for each child to have several for leaf painting bring them to the art table. Place them on a table and tell the kids that they can use the leaves as paint brushes! Fun, right?
Give each child a small tray with different paint colors (paper plates or Styrofoam trays work great for this!) and a piece of paper. When choosing paint colors make sure they are colors that mix well together or are combinations that can easily make new identifiable colors. You don’t want colors that don’t mix well or you can end up with some not very pleasant colors at the end. Basic primary colors are great for learning about color mixing during this leaf painting activity.
Divide out the leaves or let children decided what ones they want to use. For younger kids you can model how to place the leaf into the paint and press onto the paper. Preschoolers and older children will pick up the idea of leaf painting with very little explanation.
Let the kids go wild and create art by painting and stamping with fallen leaves. They can experiment with different types of leaf prints or different ways to paint with the leaves. It’s a great way to talk about color and texture through nature art!
My kids created several different pictures. They did both painting and stamping with fallen leaves on their papers. It was also a great way to learn about color mixing and textures.
See, painting and stamping with fallen leaves is so much fun! It combines both process art and nature play so your kids are sure to love it. Give it a try today!
More Crafts with Fallen Leaves
- Leaf Feather Turkeys over at Babycenter are a perfect activity for little ones on Thanksgiving. Just prep your leaves ahead of time and you’ll have a fun activity to do while the turkey is in the oven.

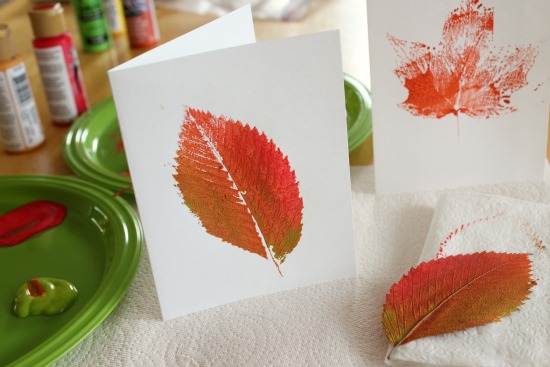
- Leaf Painting on Fall Cards also over at Babycenter. These are fun to stamp and make into fall cards for a friend or loved one.


The leaf feather turkey is cute, great ideas for kids!