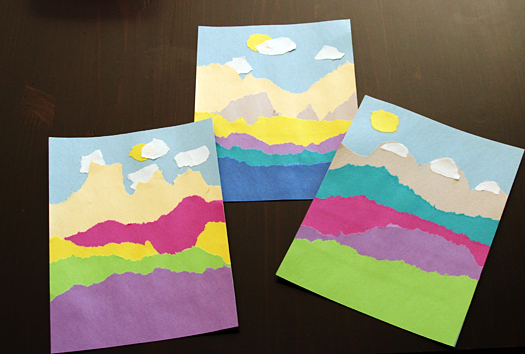
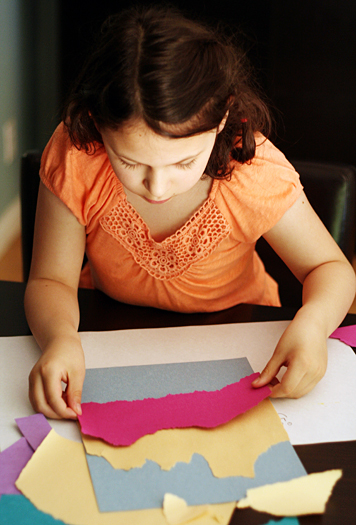
Usually paper and scissors go hand-in-hand, but not for this project. We’re tearing paper and layering the pieces to make colorful landscapes. Each one turns out completely unique and beautiful, and all you need is paper and a glue stick.
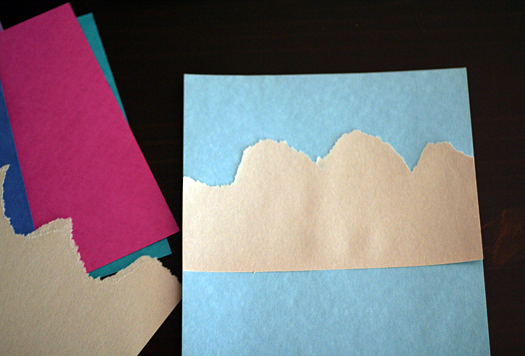
Choose a background paper and tear a strip from your first color. Leaving some paper at the top for the sky, glue down your first piece.
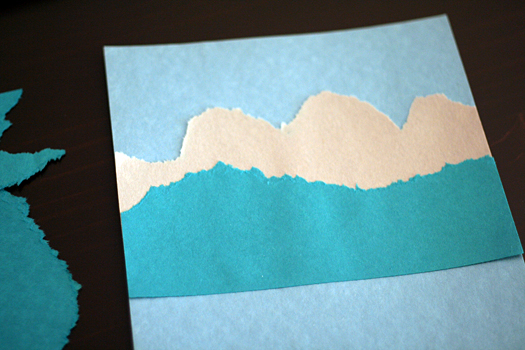
Work your way down the page, overlapping and gluing each piece. Experiment with your tearing – try making big mountains, rolling hills, straight plans, or wavy fields.
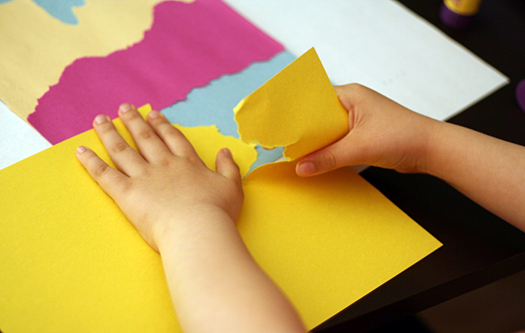
Have lots of paper handy – some of your tears just won’t be right!
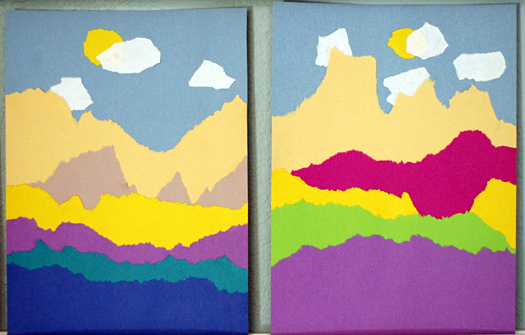
Continue adding torn layers until you reach the bottom of your paper. If you like, add torn paper details like trees, clouds, sun, or flowers.
Stand back and admire your beautiful landscape. This is such a quick and easy project with very little set-up, making it perfect for crafting while dinner is cooking or friends are over to play.
Here are a few variations you and your kids might enjoy:
- Use various shades of blue paper for an ocean scene
- Use magazines or your kids’ finger paintings instead of construction paper
- If you have a toddler that wants to craft alongside your older kids, tape a piece of clear contact paper sticky-side-up on the table. They can tear paper and stick it to the contact paper.
Tearing paper is not only fun, it strengthens little fingers and hands too. Happy crafting!


Great – thank you very much!
These turned out so fabulous. Really, they could be framed and sold at a gallery they are so pretty!! Love them! We’re doing them today after school!
How fun – we love tearing paper!
Love the blues, purple and yellow! These are beautiful!!