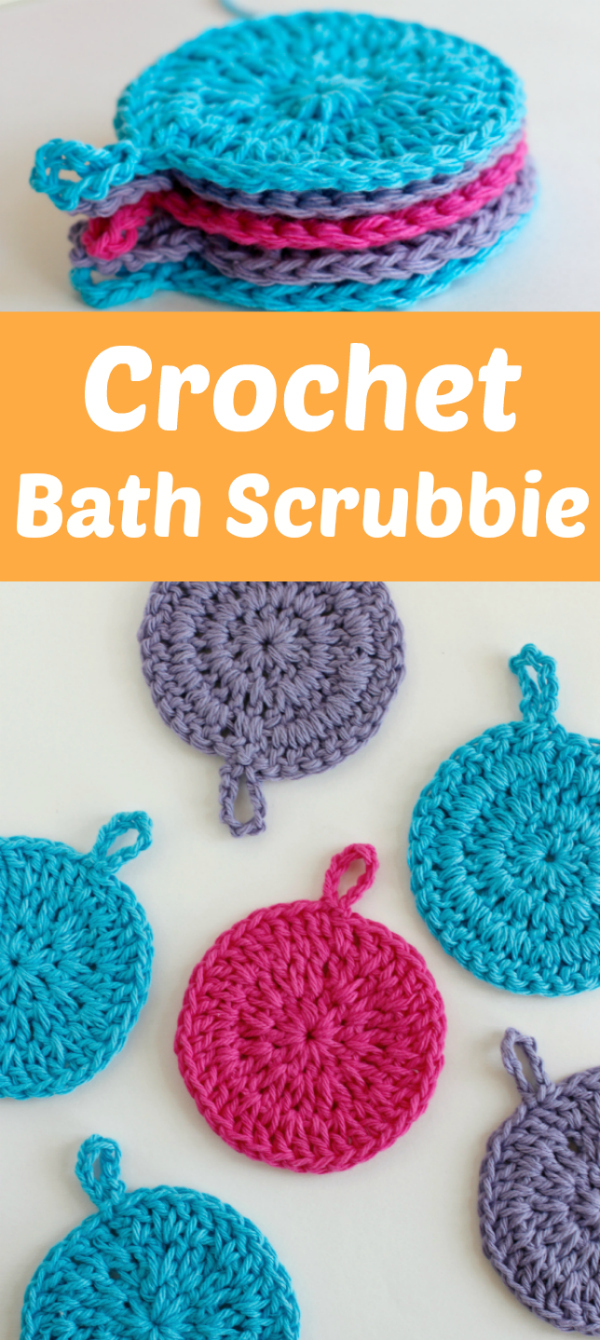
Ready for a super simple crochet project you can do in a flash? How about a crochet bath scrubbie, or two! Once you’ve started making these, you’ll have more scrubbies than you’ll know what to do with. They are perfect for giving as gifts for family and friends.
So if you’ve been crocheting for a little while now, you could probably crochet one of these scrubbies in the time it takes to fill up the kids bath, they’re that quick!
Make a Crochet Bath Scrubbie

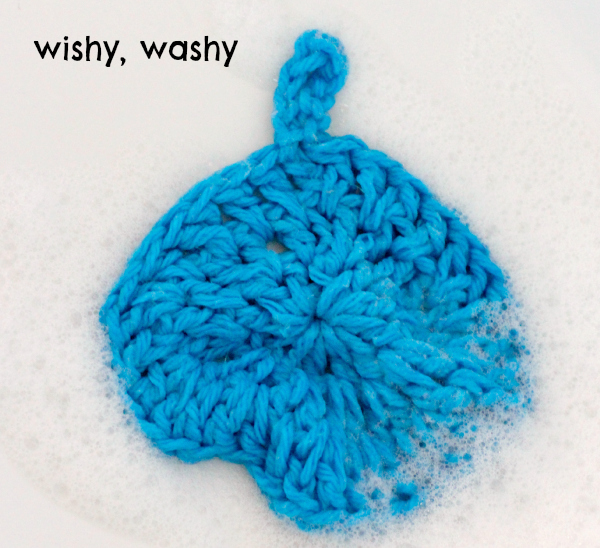
We’re having a lot of fun with bath products lately, as I posted our family’s favorite Homemade Bath Bubbles, complete with delicious smelling essential oils, yay! Now you have a bath scrubbie to use it with. These are ready to soap up and scrub away!
Crochet Bath Scrubbie
Supplies:
(SCROLL TO PRINT PATTERN – Crochet Bath Scrubbie)
- cotton yarn
- crochet hook – size H
- scissors
- crochet needle
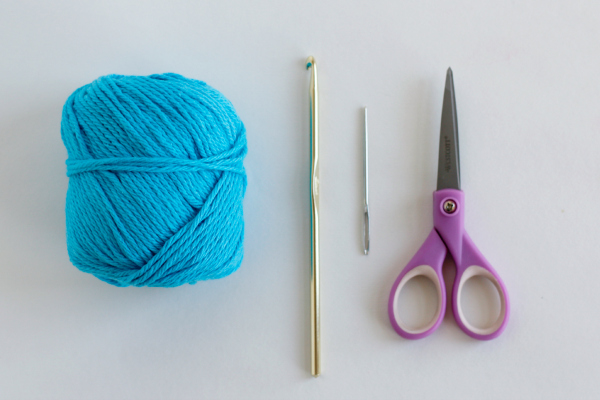
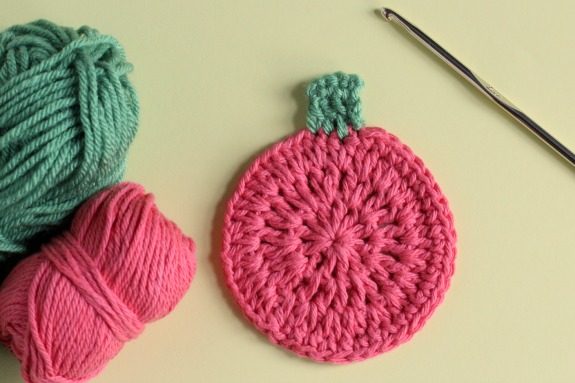
Since your crochet piece will be getting wet, it’s best to use cotton yarn, as this yarn washes well. I love the brand Sugar n’ Cream. It’s not as smooth as normal yarn to crochet on the hook, but it’s very durable and is great for a bath scrub. NOTE: this yarn color will bleed on first use. Before you scrub with it, rinse it well with soap and water. Then it’s ready for bath time and can be tossed in the wash with your dirty rags.

Instructions for Crochet Bath Scrubbie:
1. Chain stitch 4.
2. Slip stitch back through the first chain stitch to create a circle.
3. Chain stitch 2. This will act as your first double crochet in this round.
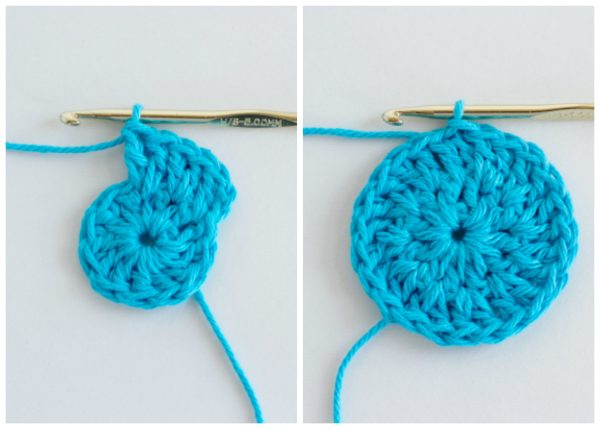
4. Double crochet 11 more stitches in the center of the circle you made in step 2. 12 dc total.
5. Slip stitch through the top of the first chain of 3 to form the first circle round.

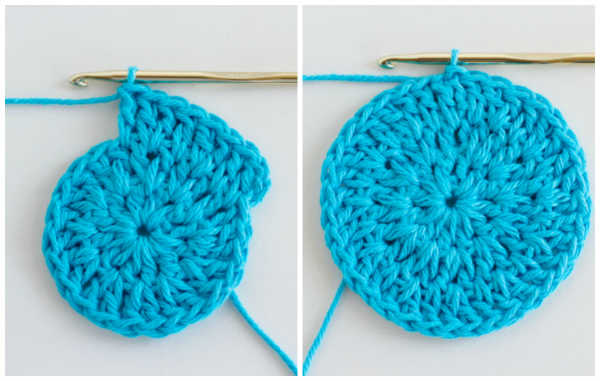
6. Chain stitch 2. This will act as your first double crochet (dc) in this round.
7. Double crochet into the same stitch just to the left of where you chained, so there are now 2 in the same space.
8. Continue to double crochet 2 stitches into each of the remaining holes from the previous round. 24 dc total.
9. Slip stitch through the top of the first chain of 2 to form the second circle round.
(You could stop here and tie off your yarn if you wanted to make a face scrubbie. This would be the perfect size for a reusable face scrubbie!)
10. Chain stitch 2. This will act as your first double crochet (dc) in this round.
11. Double crochet into the same stitch just to the left of where you chained, so there are now 2 in the same space.
12. Double crochet 1 in the next hole.
13. Double crochet 2 into the next hole.
14. Repeat this pattern around the circle with 1 dc and 2 dc all around. 36 dc total.
15. Slip stitch through the top of the first chain of 2 to form the third circle round.
(You can stop here and skip to step 18 if you don’t want to add a hook. It works as a scrubbie just like this.)
16. Chain stitch 8.
17. Slip stitch back through that first chain stitch of 8 to create a circle hook.
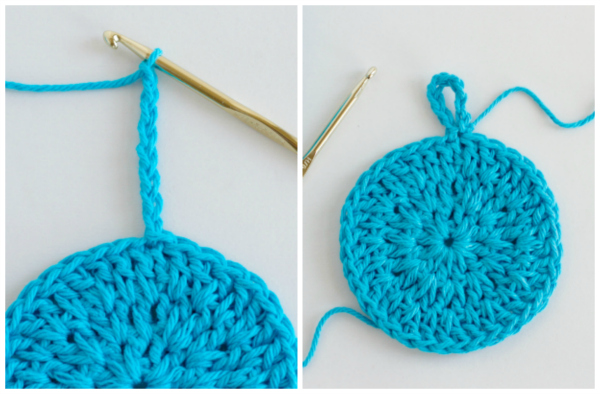
18. Tie off your yarn. Use your yarn needle to thread and hide all the tails. Trim any excess yarn.
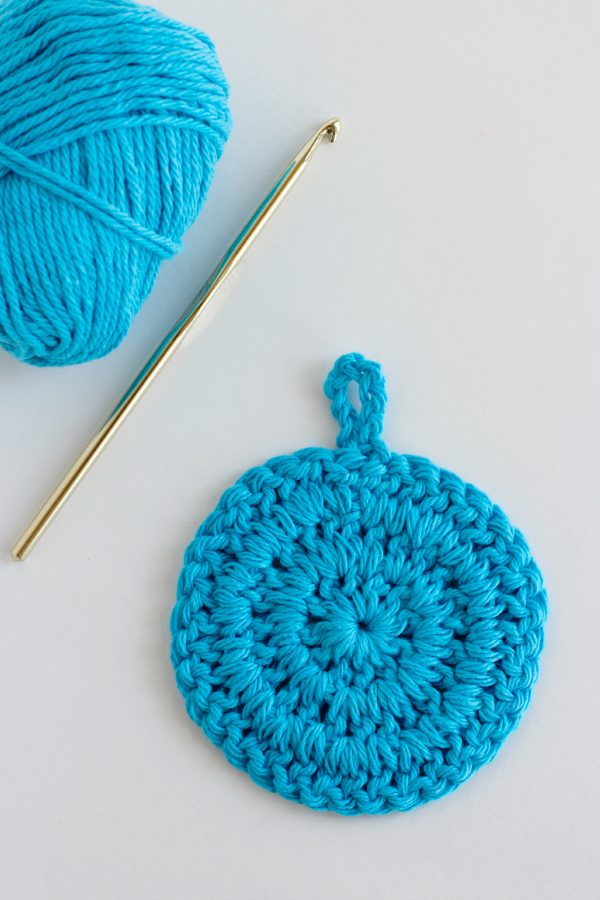
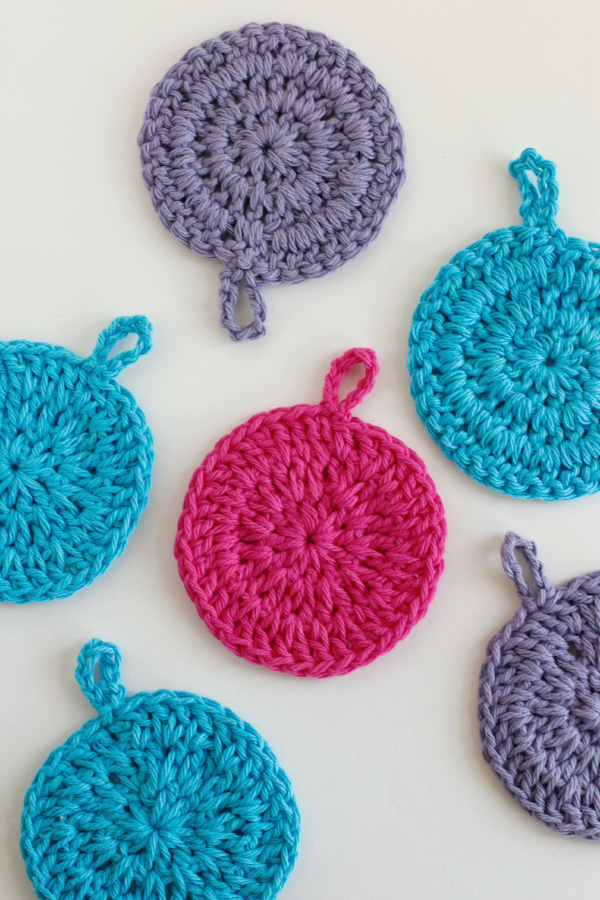
Now your scrubbies are ready for the bath. Make some in all colors!

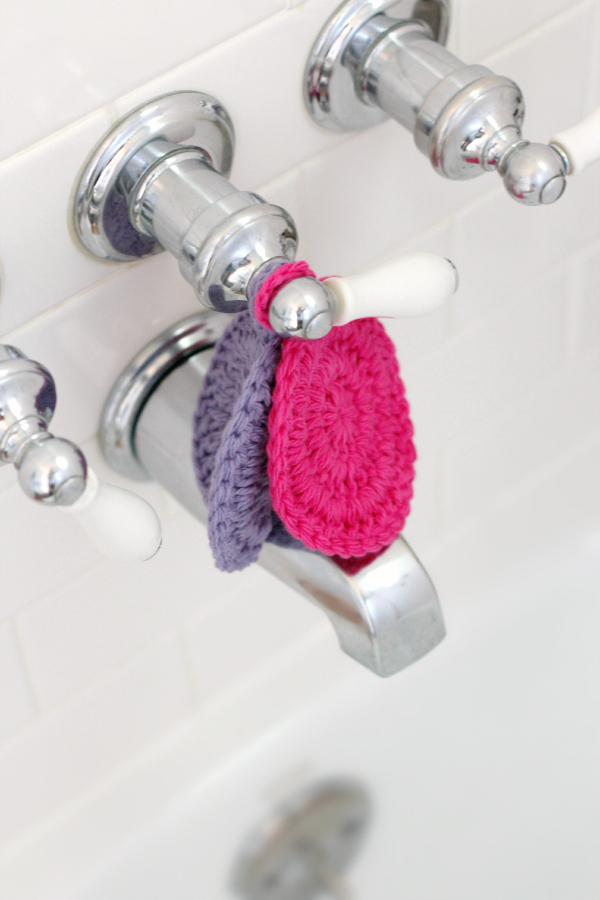
Hook your Crochet Bath Scrubbies onto the tub faucet so they’re ready to go. Or you can hook them onto your homemade bubble bath bottle!
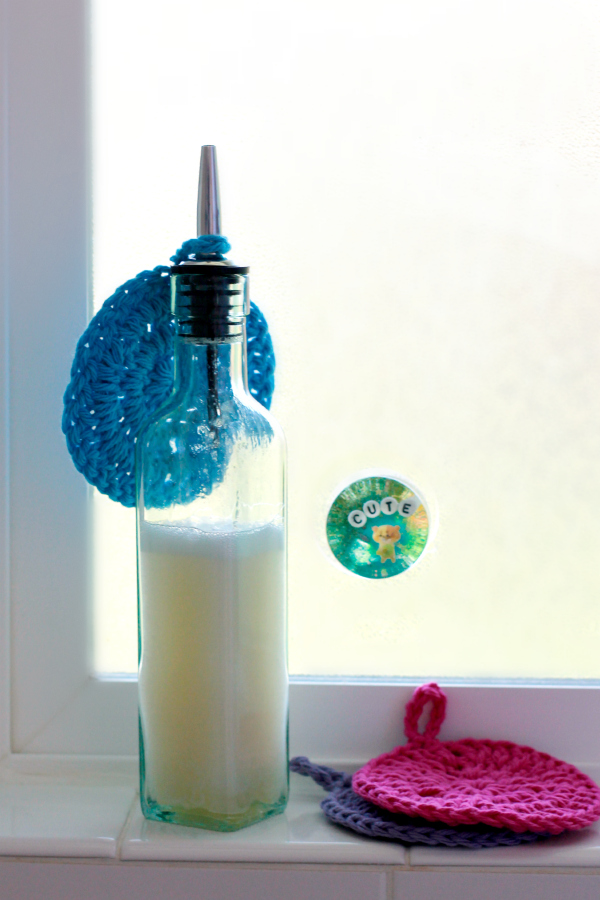
It’s ready for some scrubbin’! Have fun with your Crochet Bath Scrubbies for tub time!
Pin this post for later:
Copy and Paste To Print:
Crochet Bath Scrubbie
Chain stitch 4.
Slip stitch back through the first chain stitch to create a circle.
Chain stitch 2. This will act as your first double crochet in this round.
Double crochet 11 more stitches in the center of the circle you made in step 2. 12 dc total.
Slip stitch through the top of the first chain of 3 to form the first circle round.
Chain stitch 2. This will act as your first double crochet (dc) in this round.
Double crochet into the same stitch just to the left of where you chained, so there are now 2 in the same space.
Continue to double crochet 2 stitches into each of the remaining holes from the previous round. 24 dc total.
Slip stitch through the top of the first chain of 2 to form the second circle round. (You could stop here and tie off your yarn if you wanted to make a face scrubbie. This would be the perfect size for a reusable face scrubbie!)
Chain stitch 2. This will act as your first double crochet (dc) in this round.
Double crochet into the same stitch just to the left of where you chained, so there are now 2 in the same space.
Double crochet 1 in the next hole.
Double crochet 2 into the next hole.
Repeat this pattern around the circle with 1 dc and 2 dc all around. 36 dc total.
Slip stitch through the top of the first chain of 2 to form the third circle round. (You can stop here and skip to step 18 if you don’t want to add a hook. It works as a scrubbie just like this.)
Chain stitch 8.
Slip stitch back through that first chain stitch of 8 to create a circle hook.
Tie off your yarn. Use your yarn needle to thread and hide all the tails. Trim any excess yarn.
*This post contains affiliate links. Thanks for clicking and supporting Make and Takes.
*Originally posted 3/3/15


Do you make your stitches between the previous stitches, or into the top of the stitchs? Thank you!
Mine are done in between the stitches, you can see in the images. But you can really do either, they both work, they just give a different look. If you want an even tighter circle, go with the top of the stitch. If you want it a bit bigger with holes, go with between.
I hope this helps!
these are great. I made some for a co-worker, and she absolutely loves them and asked me to make her some more!
Thanks for sharing your great pattern
Thanks for sharing! So happy they were a hit!
I’m going to try this. Thanks for the pattern.
That’s great! Please let me know how it goes!