I’m never sure what to do during that awkward period between Halloween decor and Christmas decor. I need something fall-ish. Something to keep those beautiful autumn leaf colors around a little longer. A little wool felt, a pillow form, and a needle and embroidery thread were exactly what I needed to bring the fall colors into my living room. Plus, I’ll show you the poor-man’s embroidery pattern transfer!
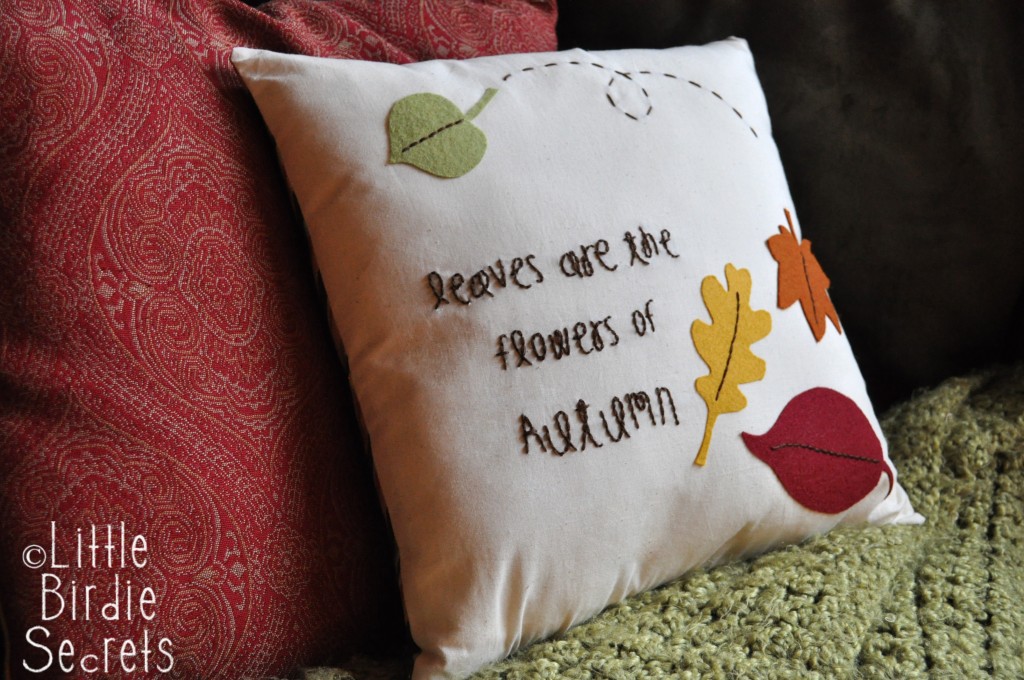
Embroidered Fall Leaf Pillow
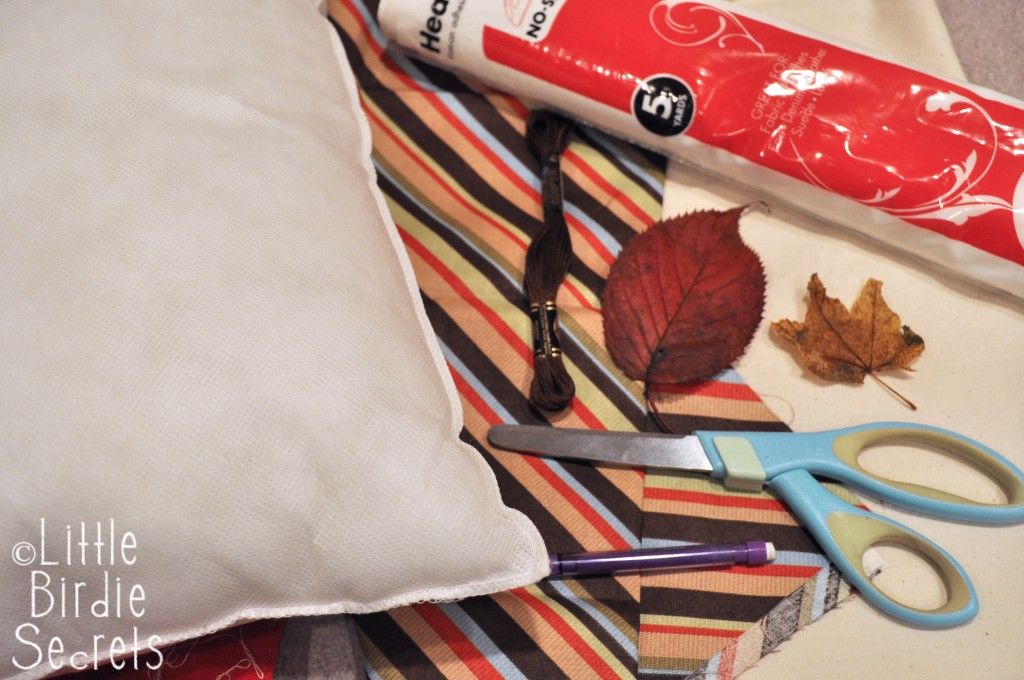
Supplies Embroidered Fall Leaf Pillow Tutorial:
- Pillow form (mine was 14″ x 14″)
- Two pieces of fabric 1″ bigger than your pillow form (mine were 15″ x 15″) – for the front piece I used a plain piece of muslin
- Leaves of different shapes and sizes from your yard
- Pencil, paper, and scissors
- No-Sew Heat N’ Bond or similar iron-on adhesive
- Needle and embroidery floss
- Sewing machine and thread
Instructions:
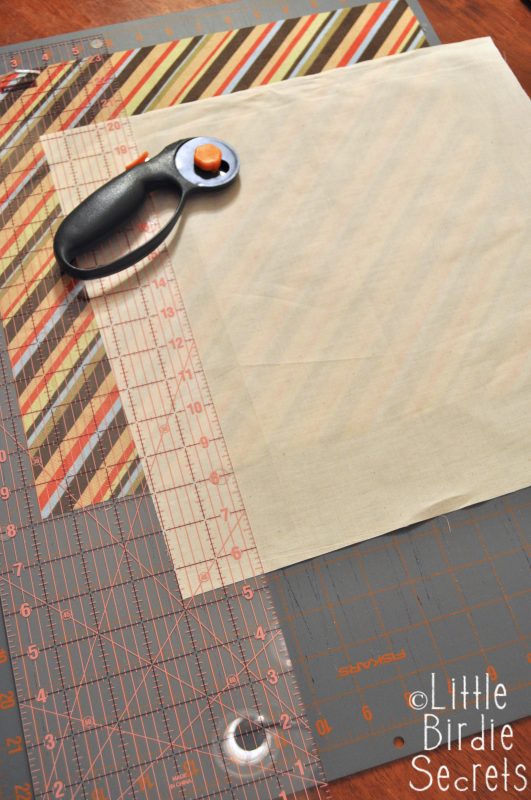
Cut your fabric for the front and back of your pillow 1″ larger around than your pillow form.
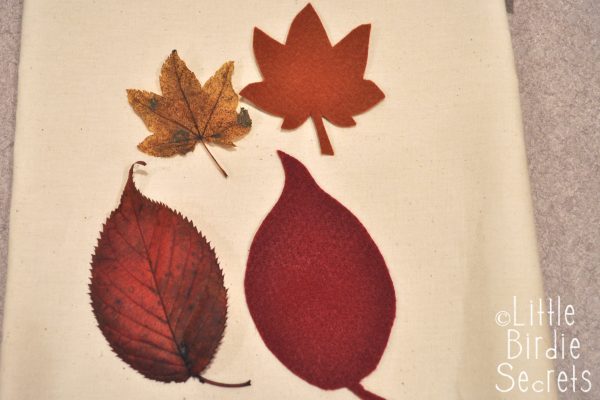
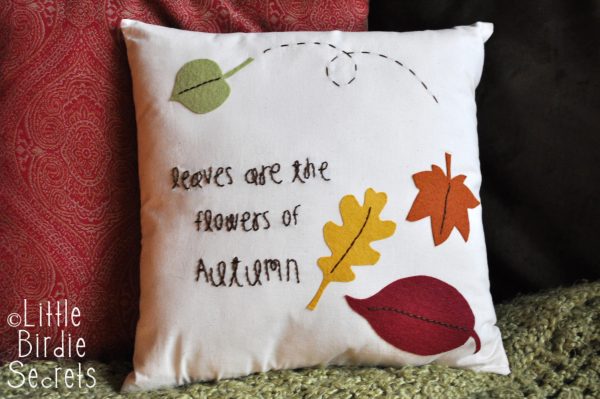
Gather various leaves from outside. Trace them to make a pattern. Cut your pattern out of felt in various fall colors.
Use your same patterns to cut out matching leaves out of your Heat N’ Bond iron-on adhesive. I used the No-Sew version so I wouldn’t have to stitch around the edges of my leaves.
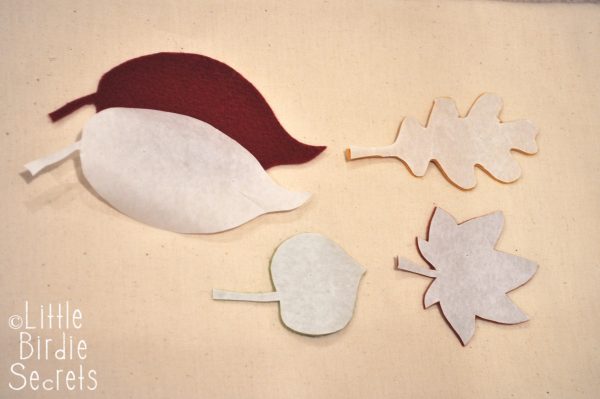
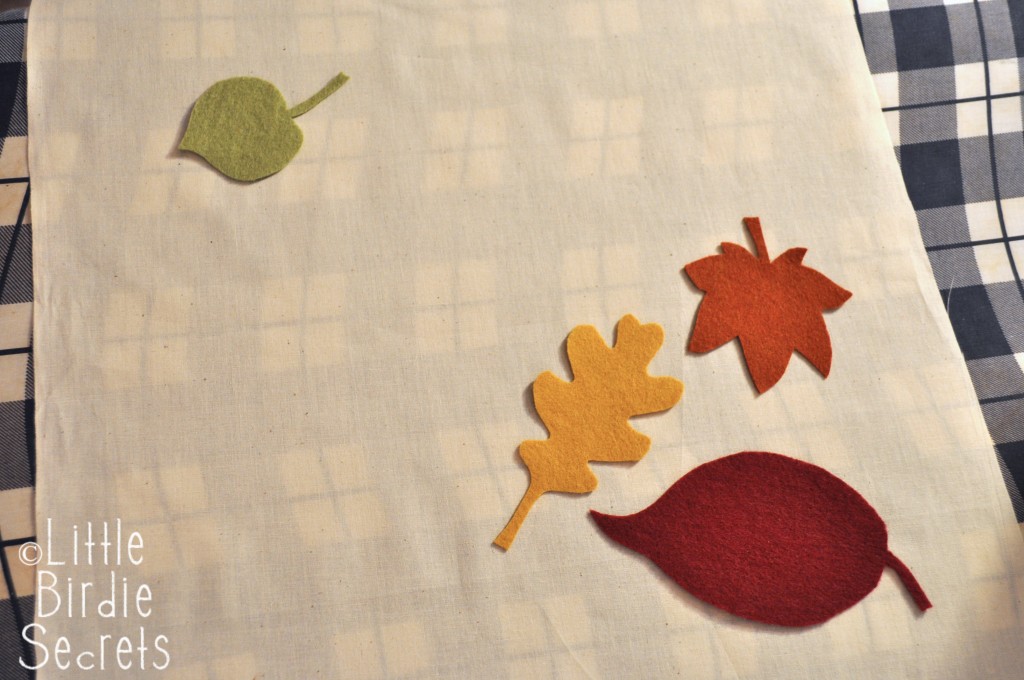
Iron your leaves on the fabric that will be the front of your pillow, following the manufacturer’s instructions.
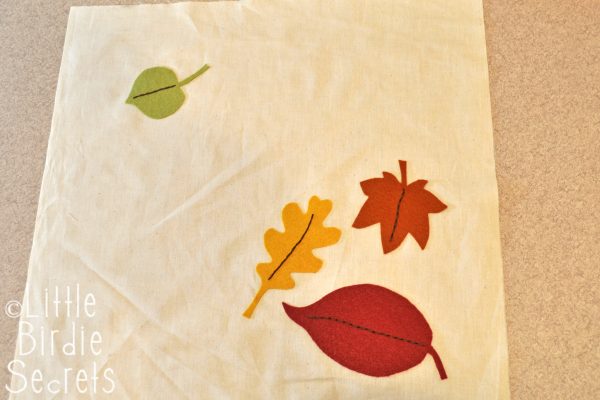
Stitch down the center of each leaf using your needle and embroidery floss.
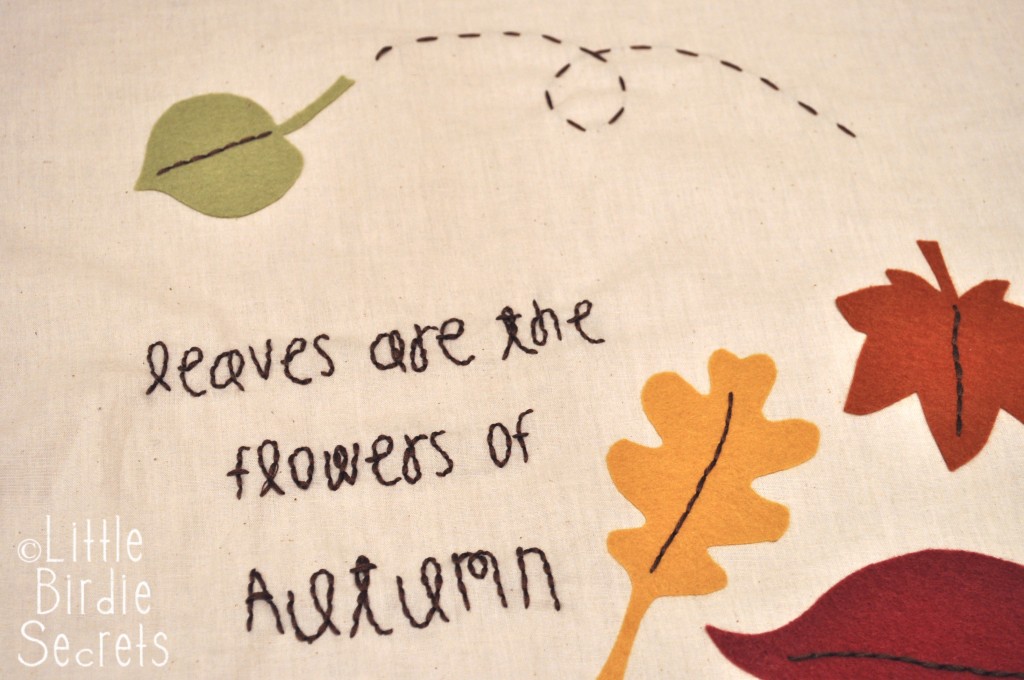
Print a saying in a font you like in the size that will fit on your pillow. Put your printed paper under your fabric and hold up to the light to make sure it will fit appropriately. My saying was, “leaves are the flowers of Autumn.” You could also do something shorter like “Give Thanks” or “Grateful.”
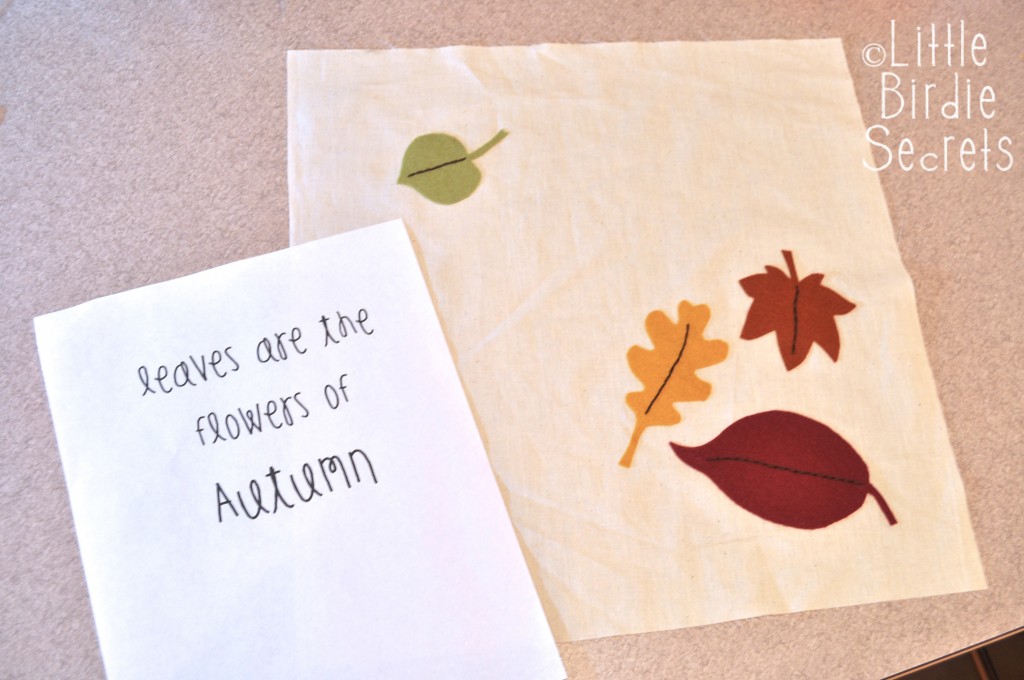
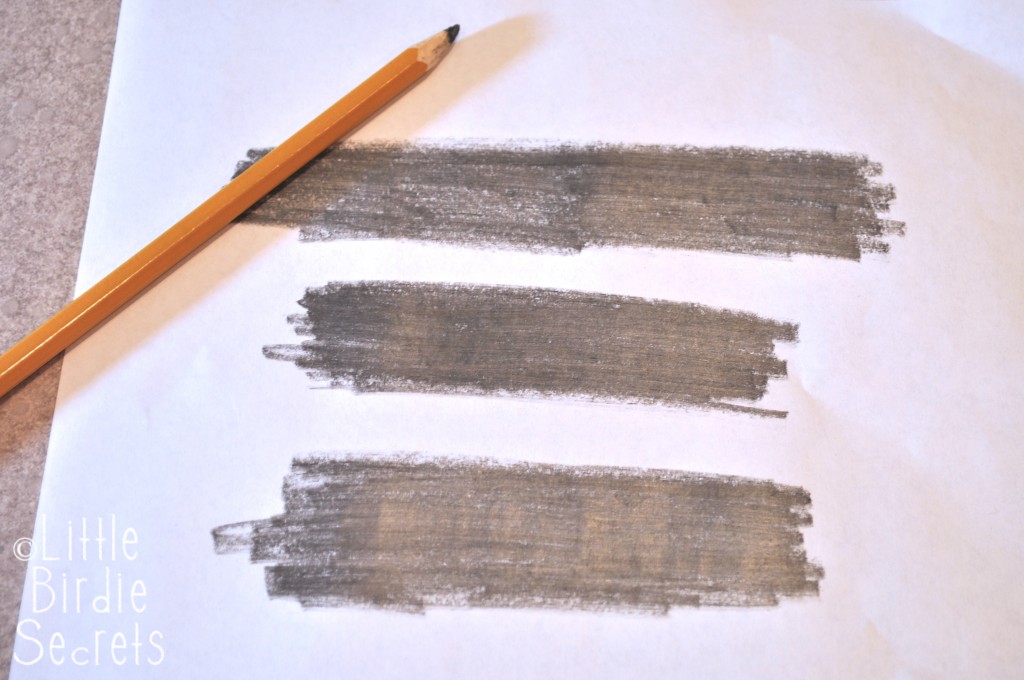
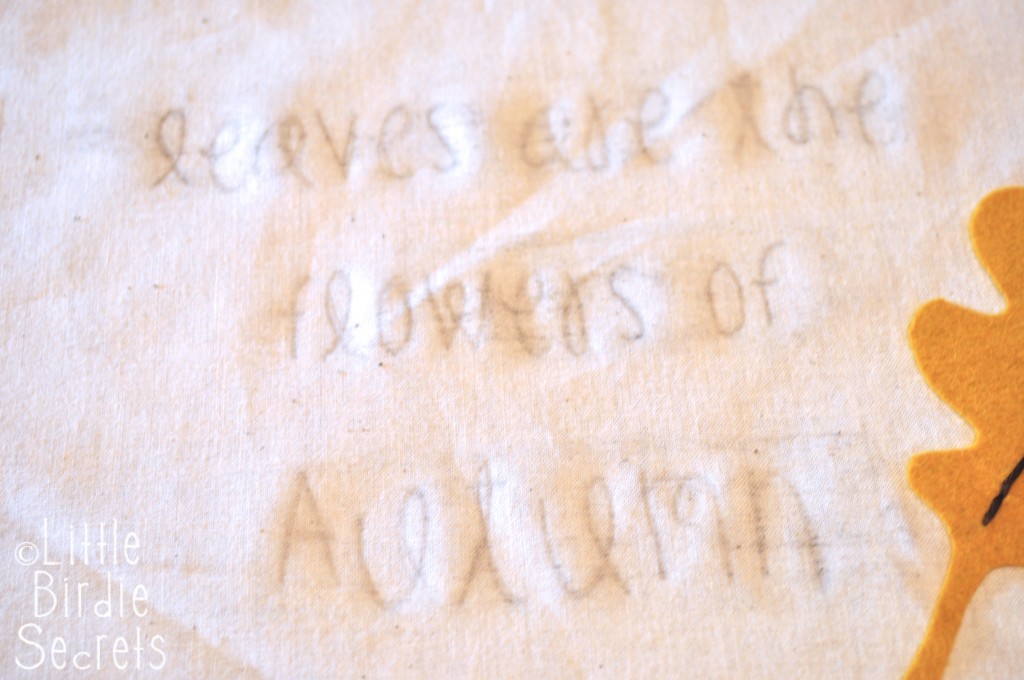
Using a led pencil, color on the back of your paper over the letters. Make sure they are all covered by holding your paper up to a light.
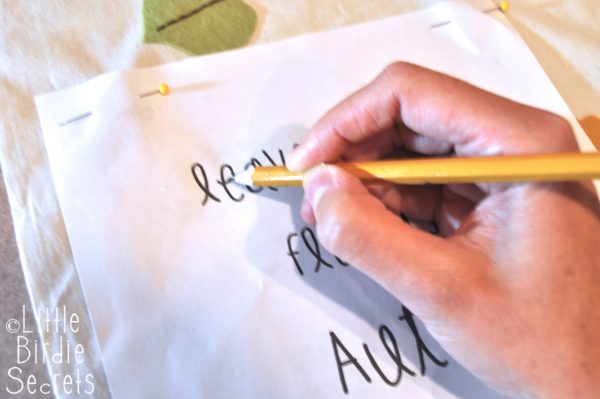
Turn your paper back over and place it where you want your words or pattern on your pillow. Pin in place and find a hard surface. Take your pencil and carefully trace over each letter, pressing hard.
Now your letters have been transferred to your fabric! You could also use a transfer pen or pencil and iron, like I did on this project, but since I didn’t have one on hand, I made do. Wow, I just saved you $2!
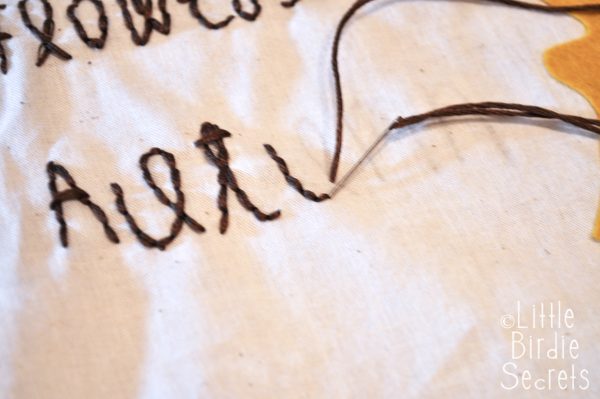
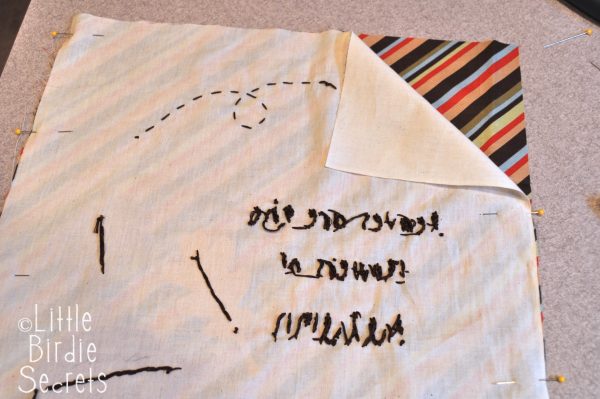
Stitch over the top of your letters, being sure to tie a knot and clip your thread between words.
I also added a little trail on one of my leaves to show the wind blowing.
Pin your pillow front and back together with right sides together. Stitch around the edges using a 1/2″ seam allowance, and leaving a wide opening to insert your pillow form or stuffing. Clip your corners, insert pillow form, and hand-stitch the opening closed.
That’s it! Happy fall!
 Little Birdie Secrets is a regular contributor to Make and Takes and was born from the crafting obsession of friends living in the Pacific Northwest. From quilting to card making to baking, we love sharing tips, tricks, and tutorials to make crafting fun and easy. Come visit us at www. littlebirdiesecrets.com.


WOW . just an amazing pillow, i am grateful that you have shared with us an amazing creative art work,
Keep the good work continue .
Best,
Steve
When you consider the height and weight of your back, you should choose an ideal pillow that is made for this purpose. If you are a normal weight and height, choose a small pillow with arms.
Hello! You have a very nice blog! I invite you to that you visit and / or follow my blog http://www.latortugapecosa.blogspot.com Regards and … congratulation!!!
A wonderful autumnal pillow, going to do this one :-)
Transfer method for letters is an excellent idea.
Thanks !!
I love this! Do you mind sharing what font you used?
So clever! I’ll def try it
LOVE how you transferred the lettering for embroidery! I’m always taping it up to a window and it always moves around, etc. This is so great. And a beautiful pillow!
That is a darling pillow! How smart that you traced your patterns from real leaves. This is a great idea for embroidery transfer. Did you find that the pencil got on the fabric other than where you wanted it?