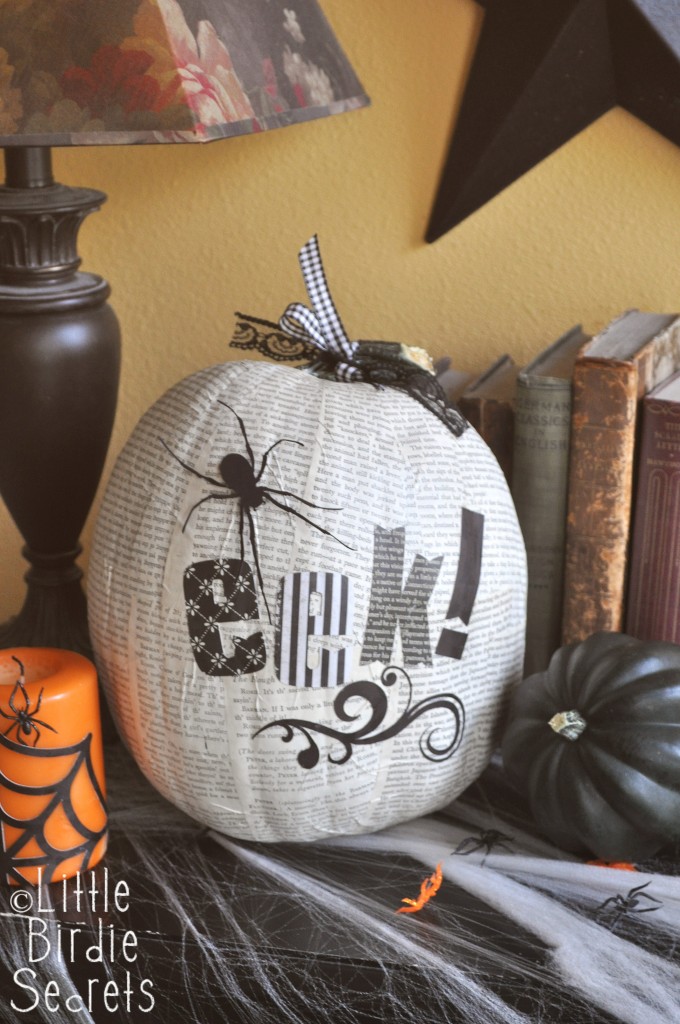
Eek! We have spiders on the brain this Halloween. Inspiration for these decoupage Halloween pumpkins, covered in book pages, came from a tarantula spider that my son got a few years back. Not only are these spooky and silly, but these Halloween pumpkins are so fun to make and display! I love me some decoupage!
How To Decoupage Halloween Pumpkins
We love using old magazines or books to decorate with decoupage, so this was a great project for covering a real or faux pumpkin. If you choose to use a faux pumpkin, then you can pull these out and use them again and again every Halloween! Here’s how we made our Halloween pumpkins!
Book Page Decoupage Pumpkins
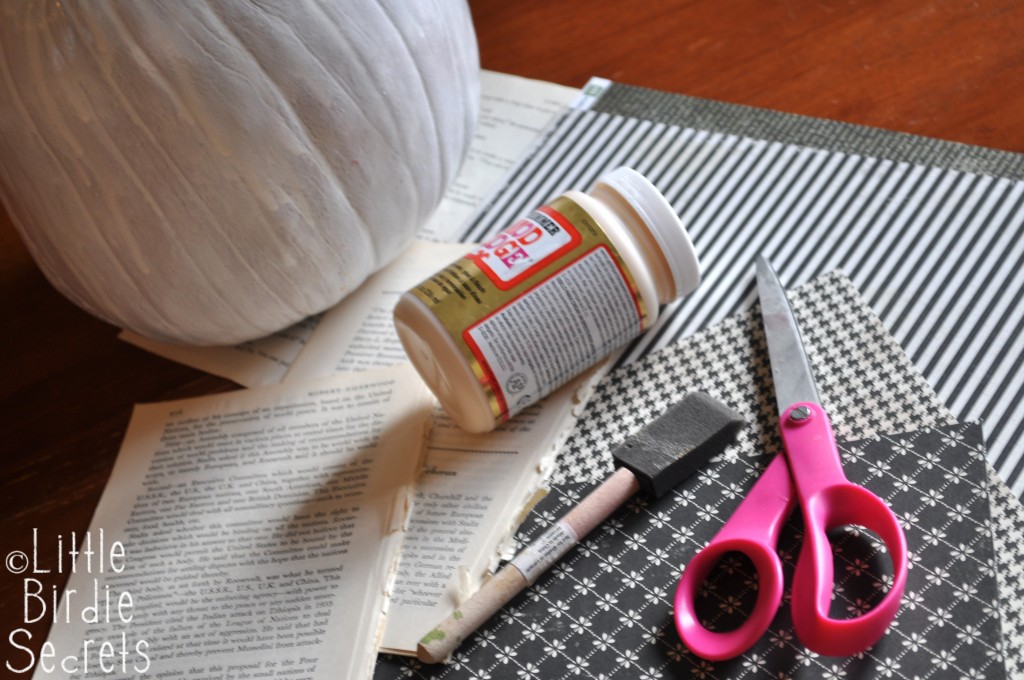
Supplies:
- White pumpkin (real or fake, it’s up to you–I spray painted a real pumpkin white, but a foam pumpkin would last for years)
- Thin book pages
- Mod Podge or other decoupage medium
- Foam brush
- Die cut letters or letter stickers
- Die cut spider and flourish
- Pop-up adhesive dots
- Ribbon and lace
Instructions:
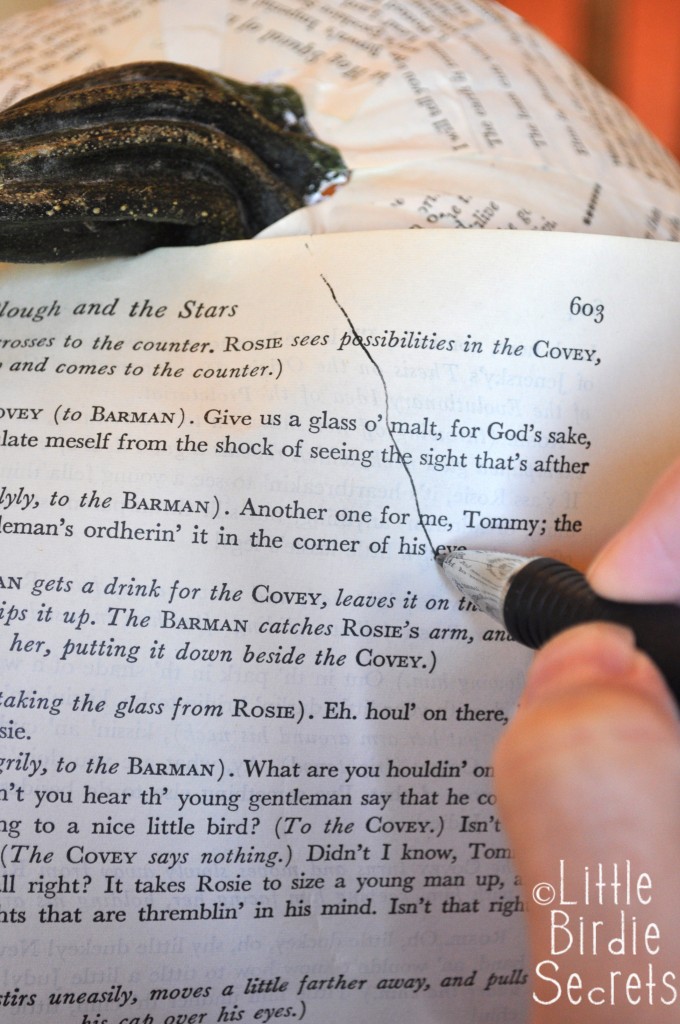
1. Start by cutting banana-shaped pieces from your pages. If you have a larger pumpkin, cut half a banana out of one sheet and the other half out of another, so you have enough to cover the length of your pumpkin. I used a pencil to lightly trace the curve of the pumpkin before cutting.

2. Cover the back of your book page banana with a thin coat of Mod Podge.
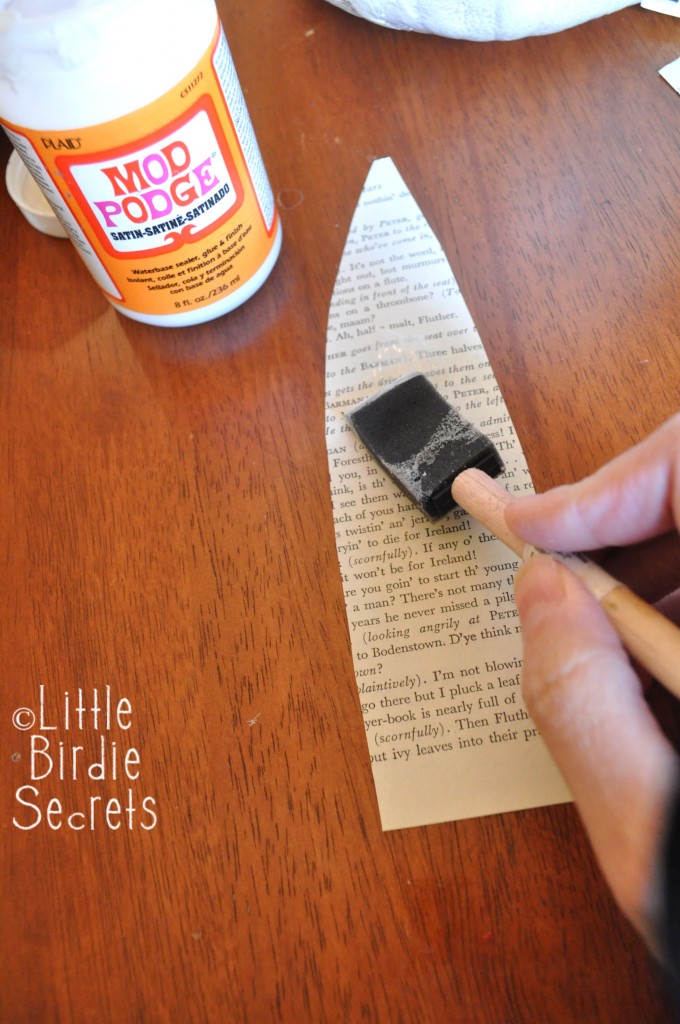
3. Press your banana onto the pumpkin and smooth it out until it is all adhered. Yes, there will be wrinkles–embrace them! It gives a nice touch of character.
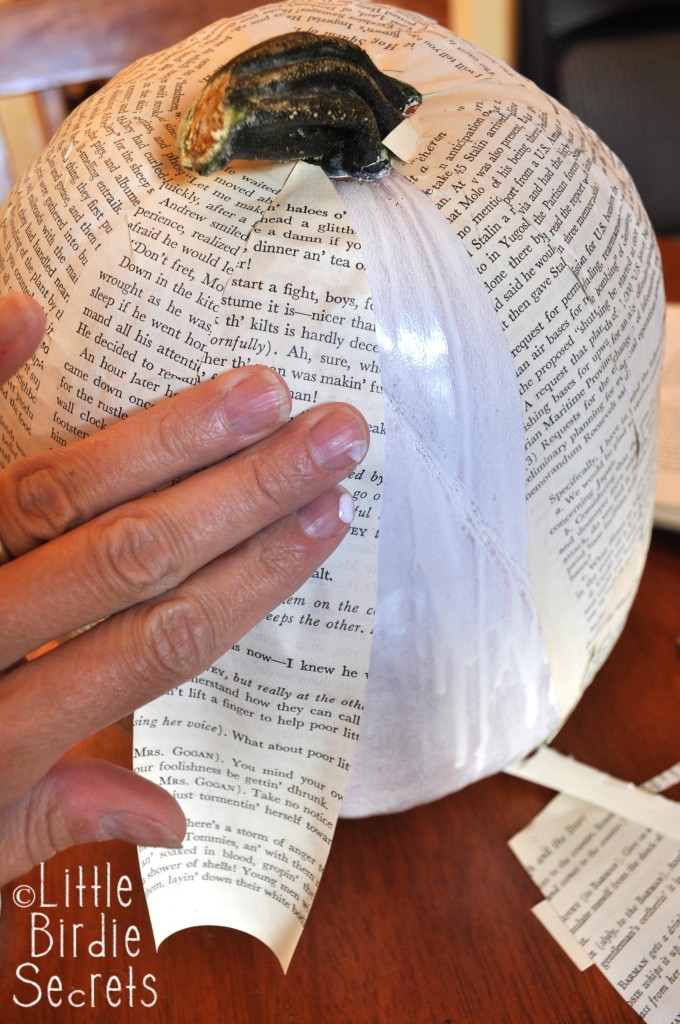

4. Continue with your strips of book paper until the entire pumpkin is covered.
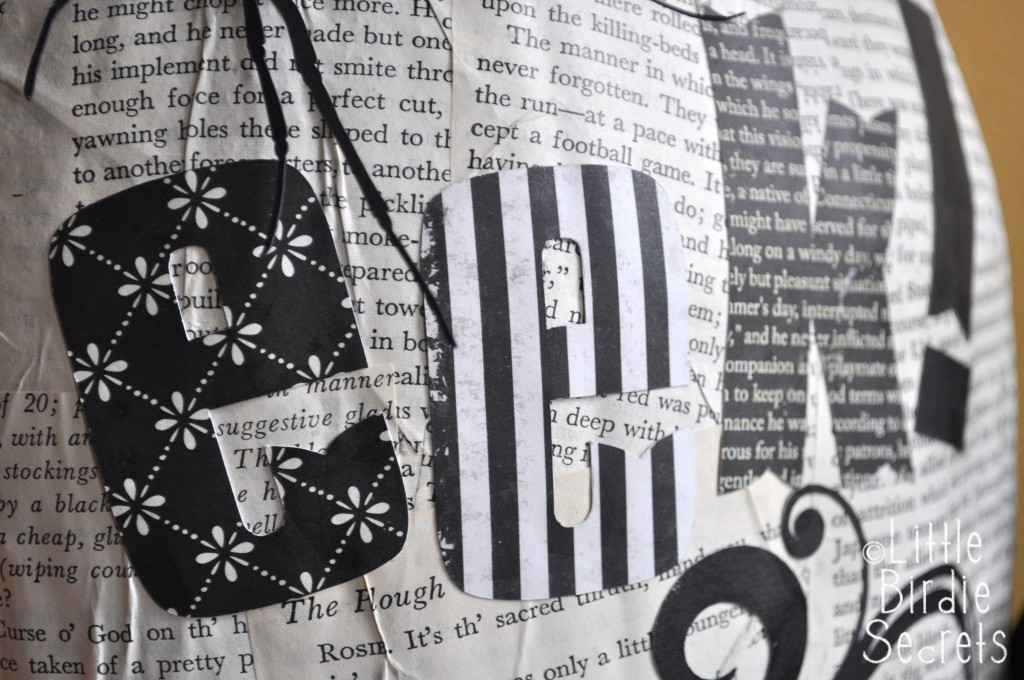
5. Die cut the letters for your pumpkin’s message from different patterned papers. Mine was eek!, but you could say boo!, spooky, etc. You can also use stickers or vinyl for your letters. (All my die cuts were done using the Silhouette digital cutting machine.) Use Mod Podge to adhere your letters.
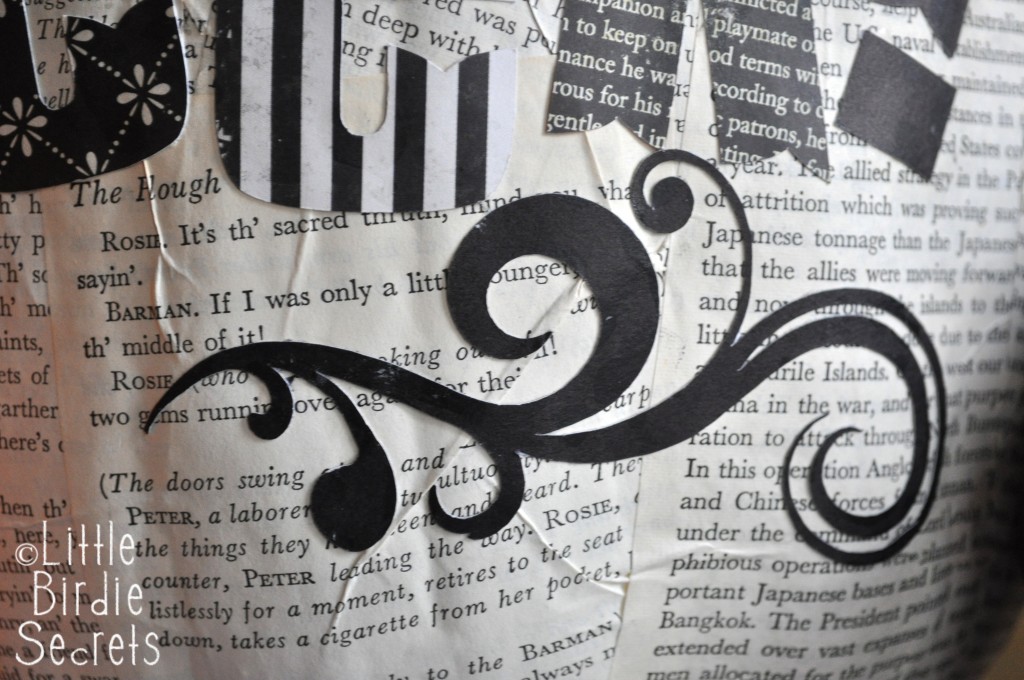
6. Die cut a flourish and apply with Mod Podge under the words. If you’ve used a craft pumpkin instead of a real one, you could cover it in a thin layer of Mod Podge at this point to keep it protected so you can use it again next year. I didn’t Mod Podge over my real pumpkin.
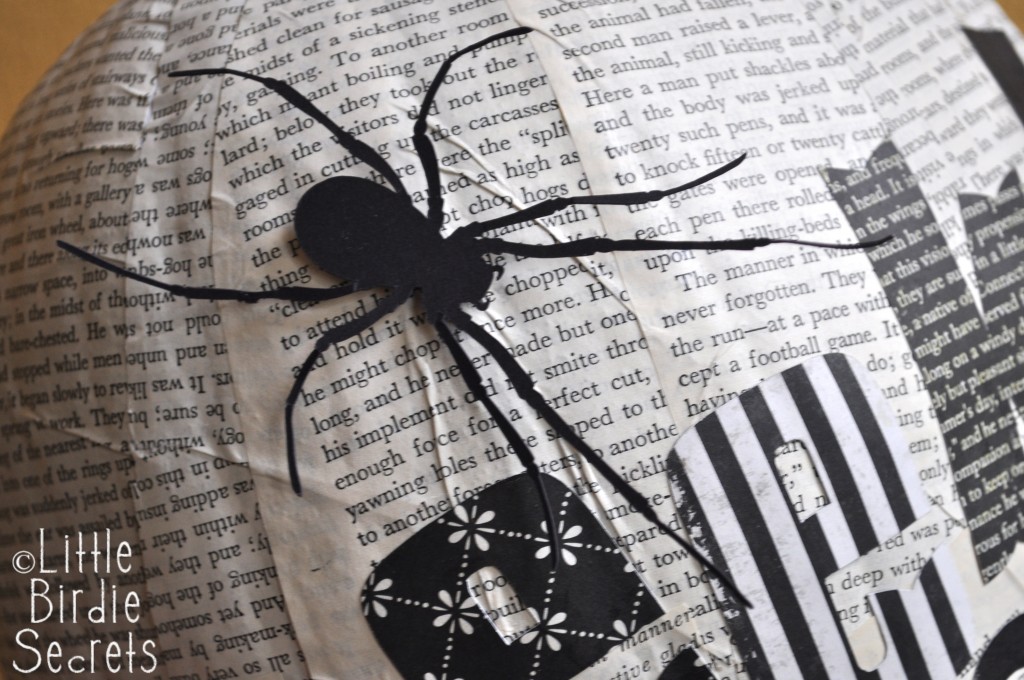
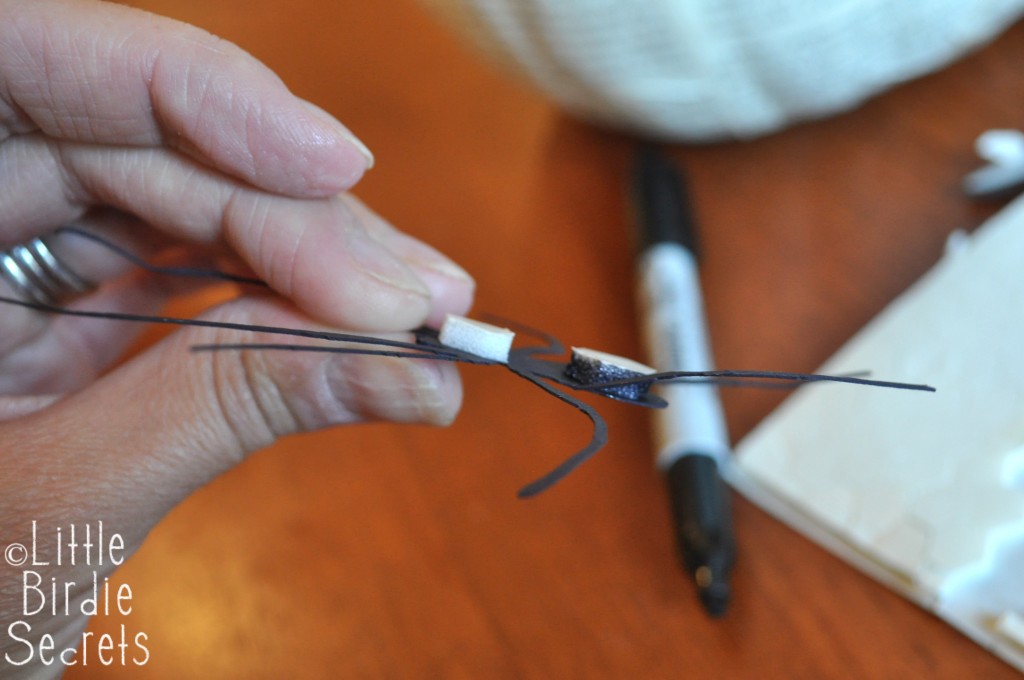
7. Die cut a spider (or use a sticker). I popped mine up using a pop-up adhesive dot. I colored the sides of the pop dot with a black marker to hide them.
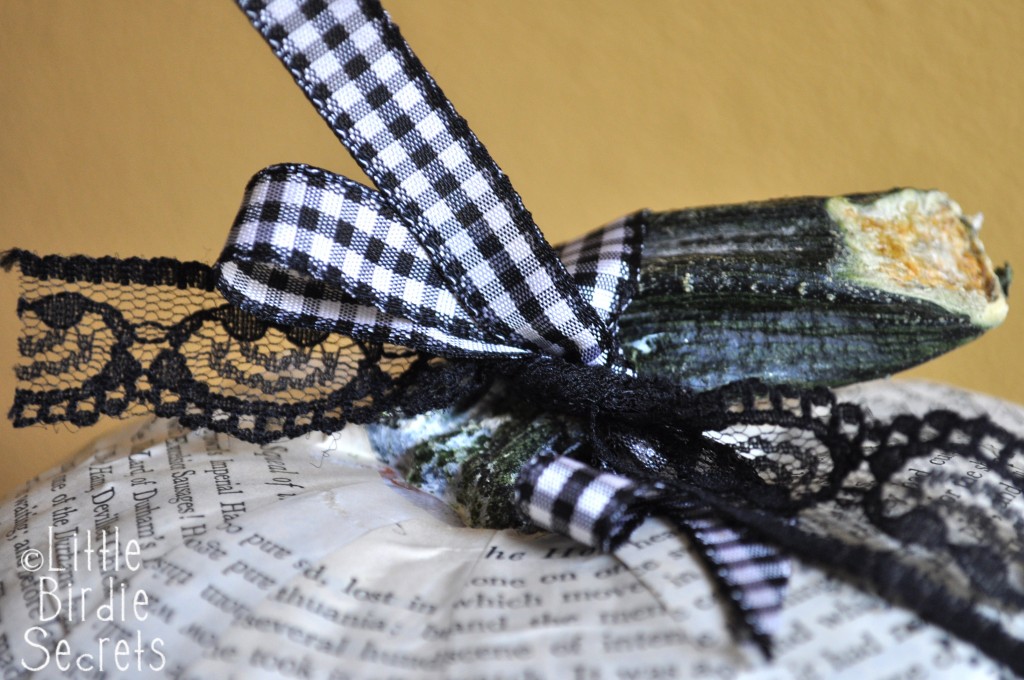
8. Tie coordinating ribbon around the pumpkin stem and you’ve got a great table display!
Now you’re all set and ready for super spooky spidery decor! Halloween pumpkins make the festivities begin!

*This post was originally posted in 2010 and has been updated


What font is eek ?
I’m sorry to say I’m not sure. This was published several years ago. I hope you can find something similar!!
Thank you! With your help, I make this “illuminated pumpkin”! :) I hope you like it! http://www.facsimilefinder.com/post/8/illuminated-pumpkins
Love this idea! I shared it on my blog today with other No-Carve Pumpkin Ideas. Feel free to grab a Featured On button from my sidebar and I hope you’ll come check it out!
Is that book “The Plow and the Stars?”
this is *just* adorable!!! LOVE, LOVE it!
(stumbled, too!)
That is such a cute idea… especially when you have a “faulty pumpkin”
I absolutely love this – of course. :D
That is so cute!
That is just too cute, what a clever idea. I still love to decorate pumpkins and must give this a try this year. My son always wanted a spider, somehow I got him to settle for a bird….phew! You are brave!
These are too cute. I love white pumpkins. There’s something fun and eerie about them! Eek!
You are a brave woman for allowing a spider in your home. I am in love with this pumpkin!
What a fun idea!