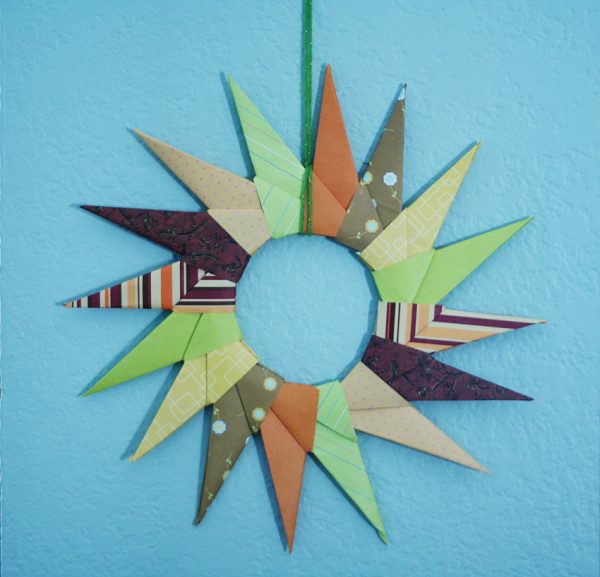
Do you like to decorate your home for each season? I enjoy sprucing things up and putting out a few special decorations, but I really love involving my kids in the decorating. Kid-made decor is my favorite! Here is a project your older kids might enjoy trying – an origami starburst wreath. With some simple folding, you can craft a colorful wreath to hang in your home. I love how our autumn-inspired wreath turned out!

This origami wreath is made of 16 identically-folded pieces that interlock and create a cool starburst shape. Since there’s lots of folding to do, this is a great project for a few kids to work on together. Once you get the technique down, it goes pretty quickly!
You need 16 pieces of 6″x6″ paper for each wreath. Use thin paper for this project – either special origami paper, copy paper, or thin scrapbook paper. We went the scrapbook paper route and it worked just fine. Just remember to crease all your folds really well. Let’s get started with some origami folding!
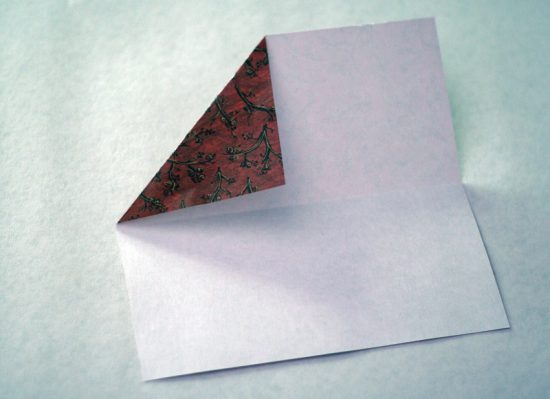
Step 1: With the colored side facing down, fold your square in half and unfold. Then, fold one corner to the center, using the center crease as a guide.
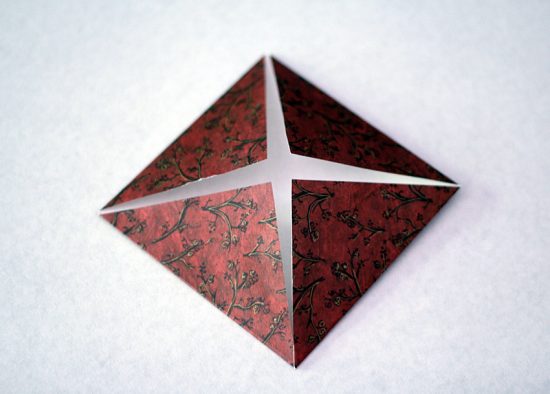
Step 2: Continue folding each corner to the center of the square. When all 4 corners are folded in, it should look like this:
Step 3: With a point facing you, fold the bottom half up to meet the center crease.
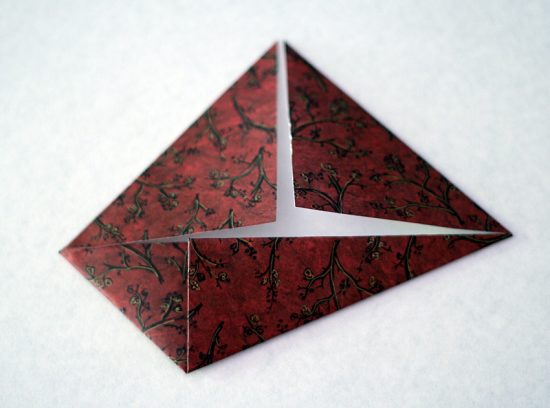
Step 4: Do the same with the top half, folding it down to meet the center crease. Kind of looks like a kite now!

Step 5: Fold the triangular part on the left side down and under (a mountain fold).
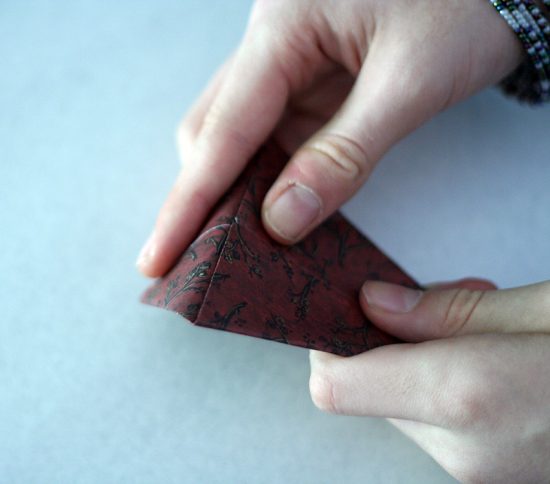
Step 6: Last step! Fold the bottom half up to meet the top half. This is a valley fold, but my girls call it a taco fold.

Now you have a triangular, paper airplane-looking thing. Go ahead and make 15 more!
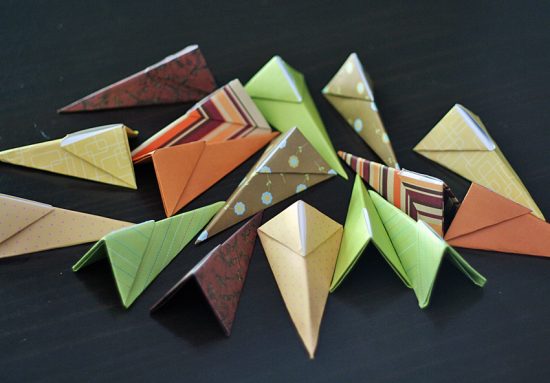
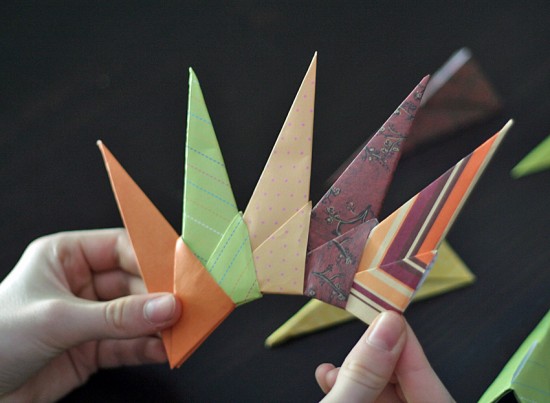
Time to start sliding the pieces together and forming the wreath. Take two triangles and slide the points of one into the “pocket” of the other.

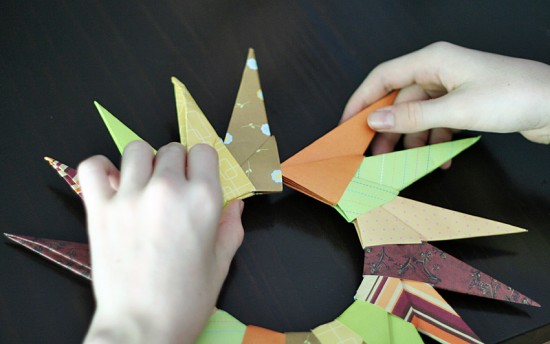
Continue adding pieces in whatever pattern you choose. I love our fall colored papers!
After adding the last piece, simply slide the first and last pieces together to close the wreath. We had to do a bit of wiggling and adjusting at this point, but we were pretty impressed that it stayed together!
Add a loop of yarn or ribbon to hang your fancy new wreath. Ours is hanging by our front door and I love looking at it. I’m already thinking we’ll need some wintery ones to hang in the windows around Christmas time!


I just finished your star burst & love it