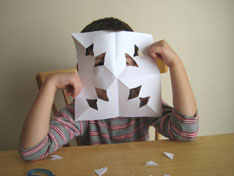
Paper snowflakes are super fun to make. You never know how they will turn out when you open them up. You can fold and cut them anyway you want. I always start with a square piece of paper, as that will make them the most symmetrical. The biggest trick is to not cut all of the fold marks off, or you will end up with 4 separate pieces. You will need to show your kids what the fold is and even practice a few times. You can even show them what it would look like if you did cut it wrong. Opps!
Here is a classic and fun way to enjoy the snow inside your house too. Or if you live in a warmer climate, you can still act like it’s winter where ever you are.
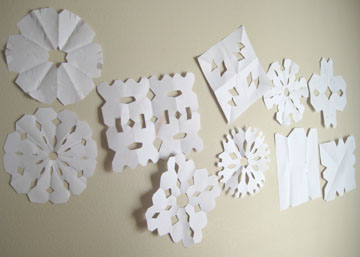
Bringing the Snow Inside
Supplies:
- paper
- scissors
- crayons or markers (if you wanted to color the snowflakes)
- tape (to hang them on the wall, windows, or refrigerator)
Instructions:
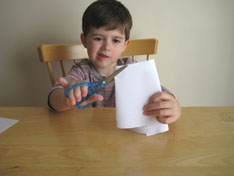
For the paper to be a 6-point snowflake, start with a square piece of paper. Then fold it into thirds. Then make your decorating cuts.

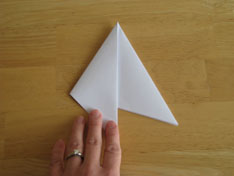
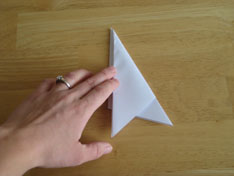
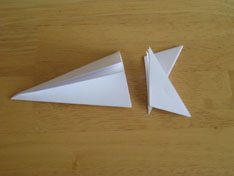
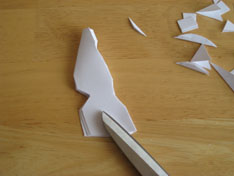
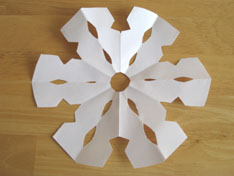
For the paper to be a 4-point snowflake, I still start with a square piece of paper. Then you can fold it any way and make your cuts.

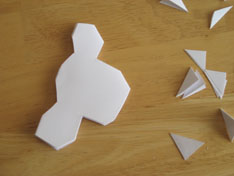
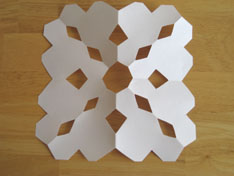
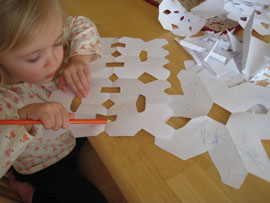
The kids loved helping and Matt’s turned out great. Lucy did the coloring for us, as I am not ready for her to use scissors. We hung our masterpieces on the wall but you could hang them anywhere in your home. You could even attach them to some string and hang them from the ceiling for a falling snowflake look. I think these easy paper snowflakes turn out so beautiful. Such an easy winter craft to try with your kiddos.
More websites with great directions on making paper Snowflakes:
- 3D paper snowflake
- Print and cut out this perfect hexagon
- Patterns for cutting all kinds of 6-point snowflake


Okay, finding your blog just made my day. What lovely ideas you’re sharing here! Can’t wait to explore more.