Hot summer afternoons are perfect for family crafting around the table. Simple paper and glue collage projects are low-prep and fun for all ages. This paper grid art is a fun way to explore positive and negative shapes, and all you need are a few basic art supplies. I especially love the symmetrical shapes and the contrast of the colored paper against the black background.
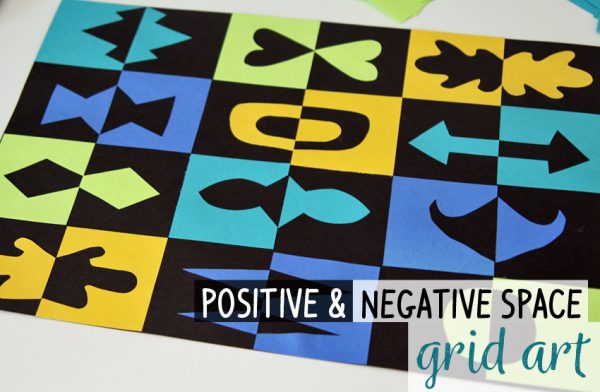
Positive and Negative Paper Grid Art
Get your scissors ready – there are lots of little shapes to cut for this art project. Your positive and negative space grid art can be simple or intricate. Cutting the paper squares is great scissor work for littles, and it also requires some focus practice while organizing and glueing. Older kids can make more complicated shape cut-outs, try making letters of their names, or create shapes that all fit into a theme (superheroes, nature, foods, etc.).
Supplies:
- 1 sheet of black construction paper, cut to 8 x 12 inches
- 12 2-inch colored paper squares, assorted colors
- scissors
- glue stick
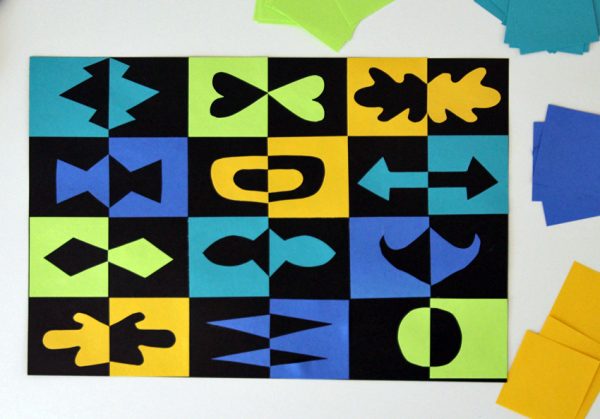
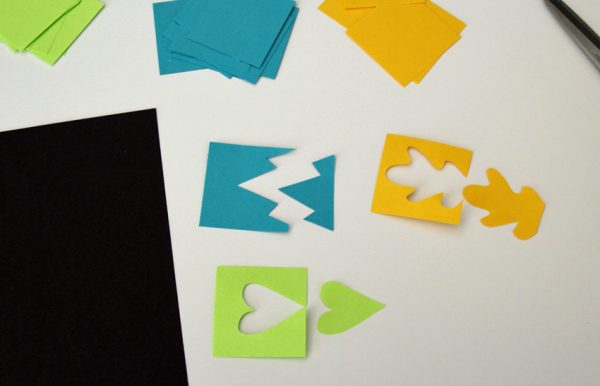
Cut a shape from the side of a colored paper square. Be sure to save the cut-out shape! You can cut simple shapes, like triangles, squares, and half circles. Then, try zig-zags, abstract wavy shapes, half-hearts, arrows, or swirls. Anything goes!
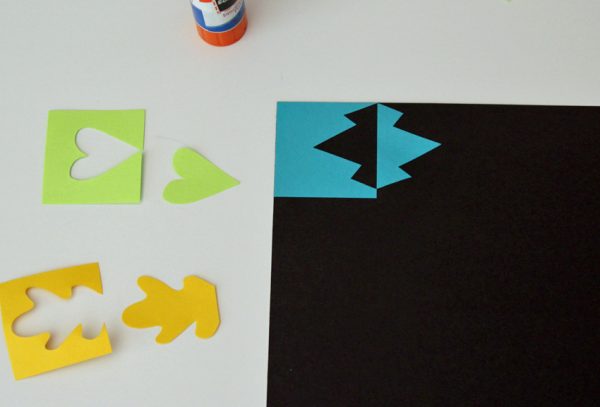
Glue the square shape in the upper left-hand corner of the black paper. Flip over the cut-out piece, match it up to the square, and glue it into place.
Line up one of the 2″ squares above the black paper to help you place the next square and it’s matching cut-out. Continue with two more squares and shapes to complete the row.
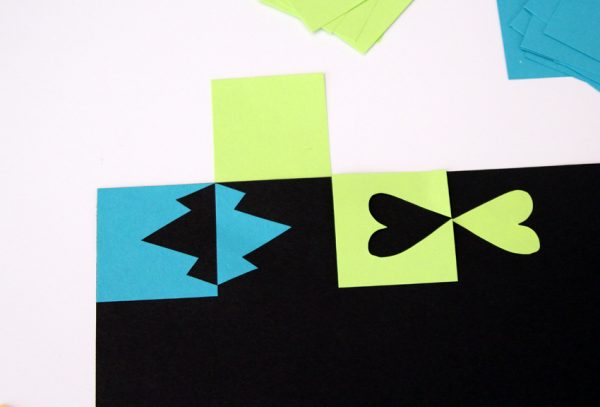
When starting the second row, switch the order that the pieces are glued down: lay-out the shape piece first, then the square piece.
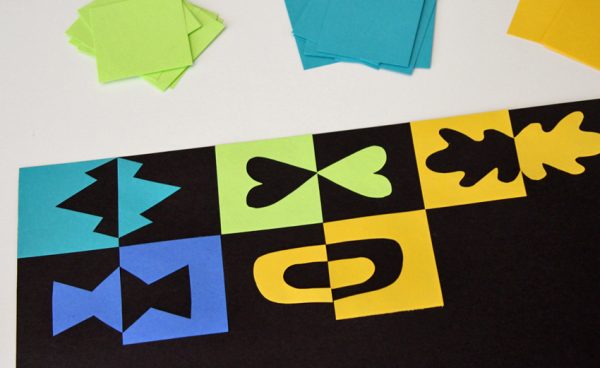
Continue cutting and glueing, working your way across the paper to complete rows. Don’t forget to switch the order each time you start a new row.
You can also cut two or more shapes from one square, just match them up and flip them over to glue.
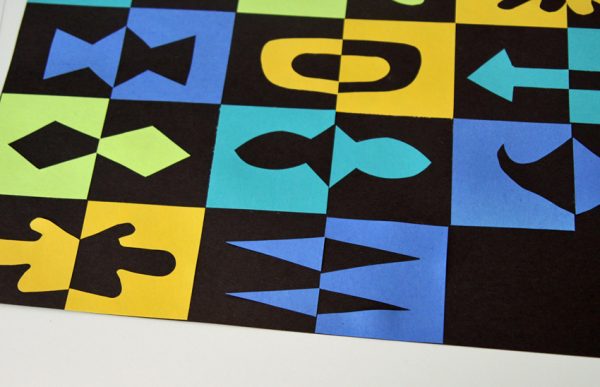
The finished product is a bold, eye-catching design – almost like an optical illusion. It looks like a complicated art project, but it’s really quite simple!
Have fun creating your own unique positive and negative shape grid art project!