I am constantly looking for great artwork for my home so it’s no wonder that I love it when my kids make awesome things! Children’s artwork doesn’t just have to be restricted to the refrigerator for display. In fact, some of the best artwork in my home was created by my children. The trick to making the artwork work for your home in any room, is to find the right project. Typically, projects with simple shapes and concepts are the most versatile. Well guess what? today’s project is just that and is something I know children will enjoy!
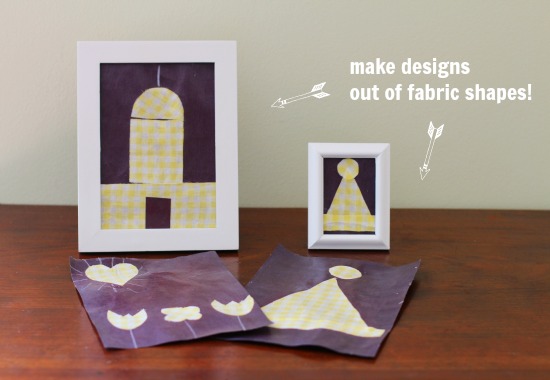
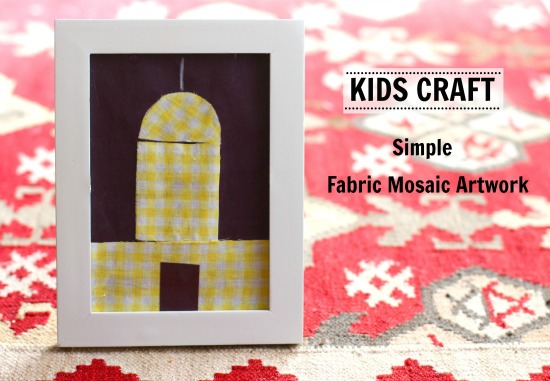
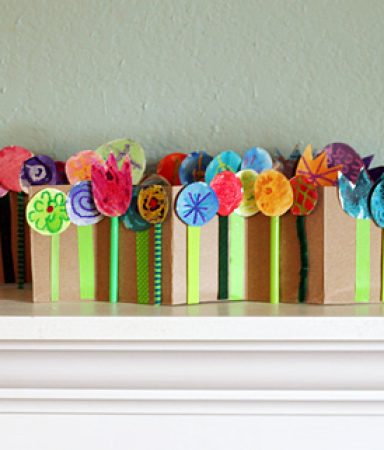
Today we will be making simple mosaic artwork out of fabric shapes. The really awesome thing about this project is that it is so fun for children of all ages. For smaller children, you can pre-cut geometric shapes and have them arrange and glue. Older children can cut their own shapes from the fabric and create their own designs with endless possibilities. My children came up with many designs including a birthday hat, flowers and (my personal favorite) this cool architectural building!
To start making your very own mosaic artwork from fabric you will need just a few materials:
- Pre-cut Fabric Shapes (cut them into an array of geometric shapes or any shape you like: think flowers and hearts too)
- Construction Paper (we used black for a bold effect)
- Scissors (to cut the fabric and trim paper if needed)
- Fabric Mod Podge (which is, as always non-toxic and safe for children! Yay!)
- Small Container (for Mod Podge)
- Frames (optional and for framing your work)
- A Sponge Brush
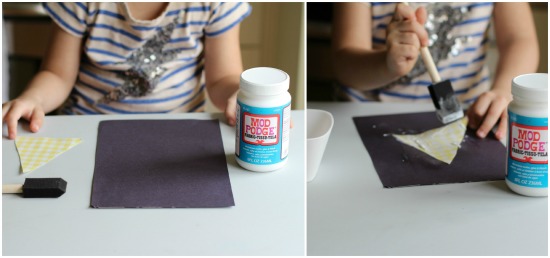
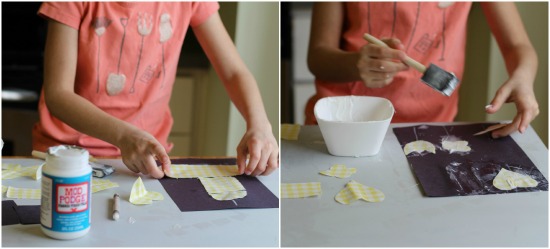
Steps 1 and 2
Arrange your geometric shapes of fabric on your work surface and lay out your paper. Distribute a little Mod Podge into a small container then dip your brush into the Mod Podge. Spread a little on the back of your fabric and then stick your fabric onto the paper. Continue doing this as you create your design.
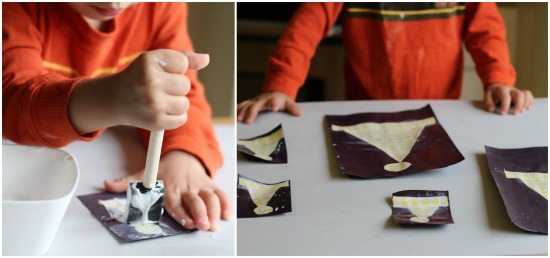
Step 3:
Brush as layer of Mod Podge Fabric onto the top of your design once finished to seal the mosaic creation and give your artwork a nice finished look.

Note: This project works so well for all ages! Older children and even toddlers have the skill to create this artwork!
 Step 4:
Once you are finished, allow your artwork. Mod Podge feels dry within an hour but you should really allow the artwork to dry a full 24 hours before you begin framing.
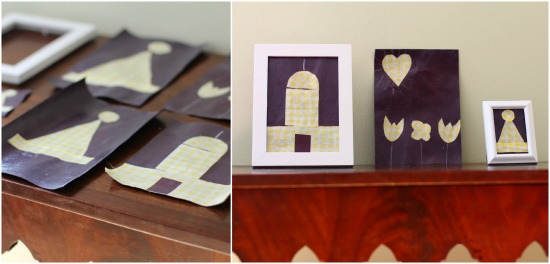
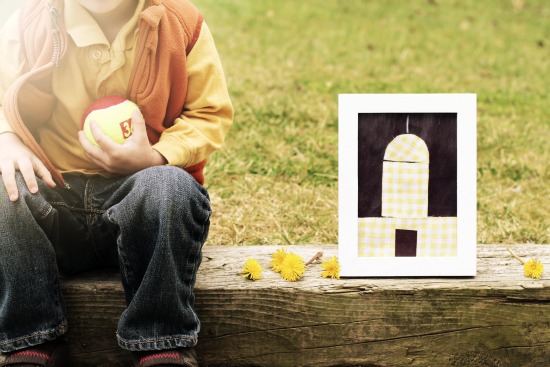
There you have it! You are finished and now you have some sunny, spring-loving, cheerful mosaic artwork to proudly display in your home! I know your kids will smile when they see how you are showing off their artwork!
Happy crafting my friends and enjoy! The end.


What a great idea! Great activity, great art piece, great use of all that left over fabric! Can’t wait to try.
Jen–yes, it’s definitely very tactile. My 2.5 year old really enjoyed this aspect!
Tulisa–you guys will love this! We even made more since I photographed these and I’m telling you, there are endless possibilities with all the shape, color and fabric options.
One post edit note: an additional step can be added but is not necessary. For cleaner lines when cutting fabric and no “frayed” edges, you can mod podge all over the fabric first, let it dry completely then cut your shapes. This step, however adds additional drying time so can be skipped, as we skipped it.
Maggie– Lola will love this! I suggest adding that extra step for her since she’s older and this will help her add extra details when cutting fabric shapes!
Have fun ladies!
I think my Lola would really love this- she loves working with fabric and makes amazing things with it on her own. Hmmmmm I wonder what object shape she’d like to make with the fabric…
This is a great idea, I’ve been looking for ways in which to keep my children entertained in the Easter holidays and this is perfect. It will keep them entertained as well as keeping them creative and that is exactly what I have been looking for.
Thank you for sharing this.
Love this idea. It’s tactile and shows kids how simple shapes combine to create super cool structures. So creative!