Guest post by Jen Goode of Projects for Preschoolers
Make a pretty fall tree that is beautiful window art as well. Using tissue paper and construction paper, this pretty tree craft is perfect for even the littlest hands. This is a great art and craft project to do while talking about fall, trees, colors and even texture.
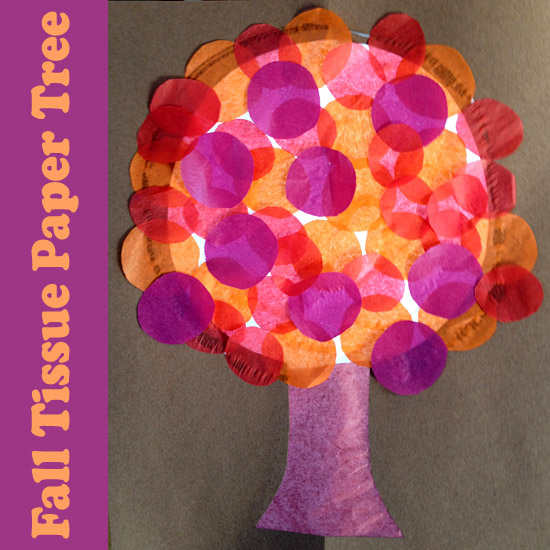
Supplies for Tissue Paper Fall Trees:
- Brown construction paper
- Red, orange, purple, brown and white tissue paper
- Scissors
- Glue
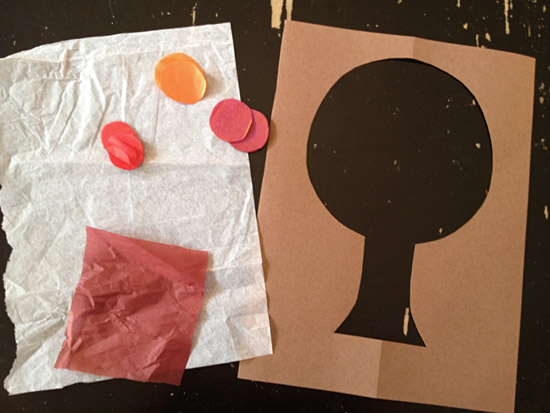
1. Cut a tree shape from a piece of brown construction paper: Fold a piece of brown construction paper in half. Cut out a half circle to make the top of the tree and a rectangle for the tree trunk. Tip: folding the paper in half can make it easier to create an even tree shape.
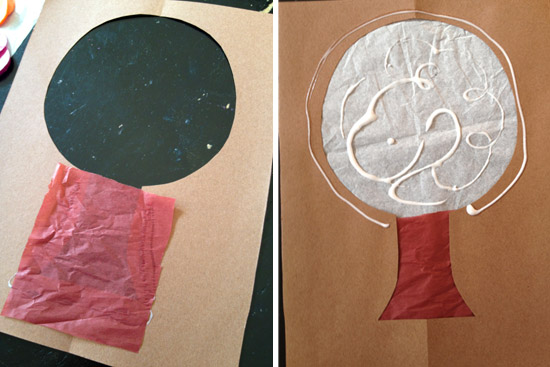
2. On the back of the tree, add white and brown tissue paper: Glue a piece of brown tissue paper on the trunk area, make sure to overlap the edge of the cutout tree shape. Glue a piece of white tissue paper cover the leafy area of the tree. Now you’re ready to add some color! Turn your tree paper over so you are working on the front side of the tree. Using the red, purple and orange tissue paper, cut out circles about 1-2” in diameter. Glue the circles in the leaf area of the tree.
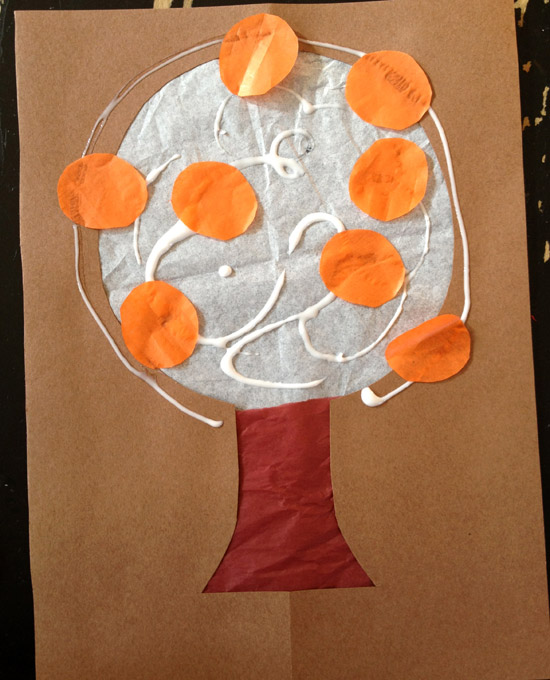
You can make any kind of pattern you’d like. Overlap the circles for a pretty leaf look.
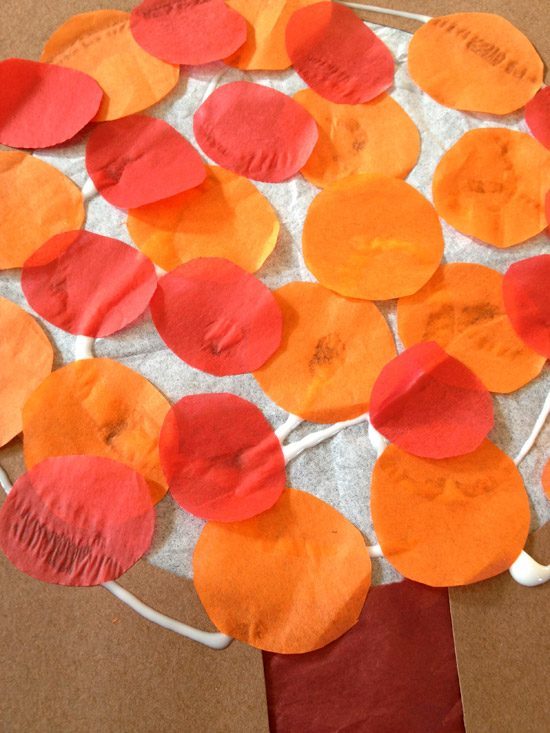
3. Once the glue dries, you can hang your tree art in a window and the light will shine through the tissue paper.
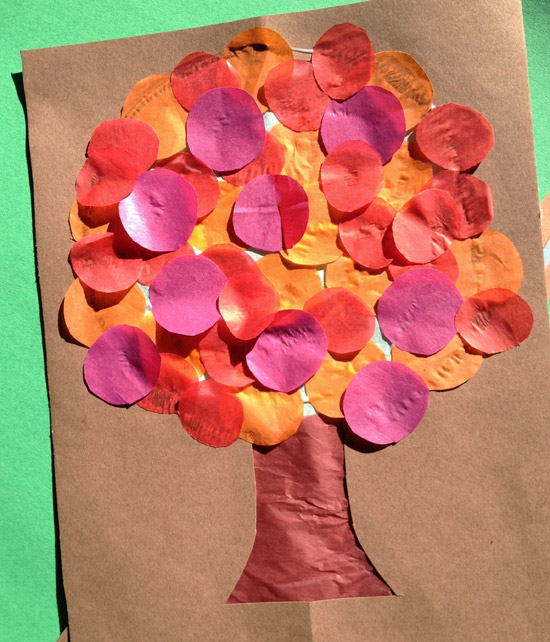
Tip: Change the colors you use to create different looks.
 Jen Goode is a Colorado work-at-home mom of 3 and professional Illustrator, aka the “Doodler in Charge” at JGoode Designs. She had the opportunity to explore art at a very young age which has grown with her into a career. As a result, Jen strives to pass on this same love for creativity to others at 100 Directions and Projects for Preschoolers where she shares DIY projects ideas, recipes and creative fun for families.


so cute
This will be a perfect craft for my 3 year old. We’ll hang it in our front window. Thanks!