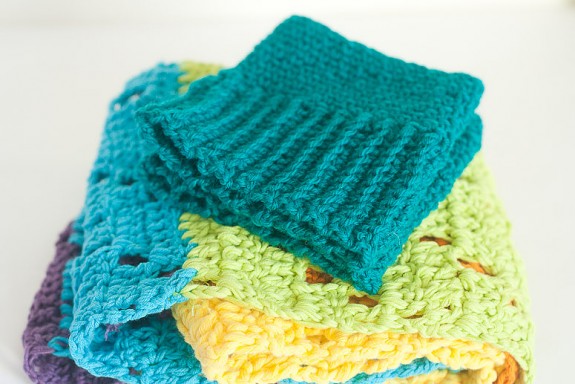
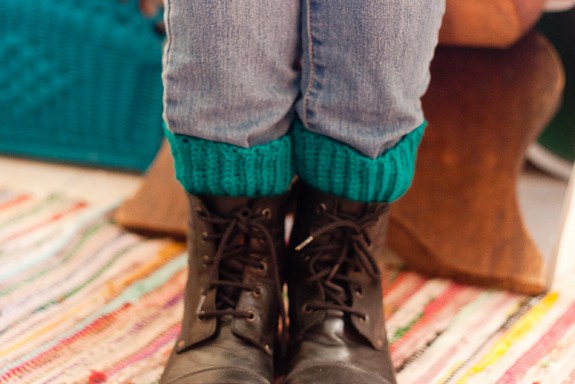
When I took up crochet again a few years ago, one of the first projects I worked on was crochet boot cuffs. They didn’t take too long, were fairly simple, but had enough of a challenge to keep things interesting. Plus how cute are they? I love how I can add a pop of colour in the winter, and a bit of style to my boots. Today I’ll show you how you can make your own crochet boot cuffs. You’ll also learn a crochet ribbing technique, as well as a simple and lovely stitch called the linen stitch.
Supplies for Crochet Boot Cuffs:
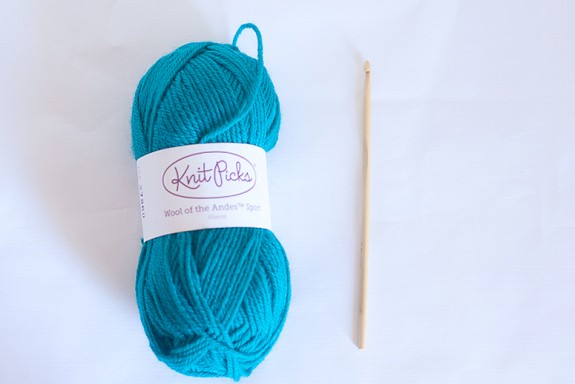
- Sport weight yarn
- US G (4mm) hook
Crochet terms used in this tutorial
Chain – ch
Single crochet – sc
Back loop only – BLO
Slip Stitch – ss
First we’ll make the ribbing, and them we’ll work on the body of the cuff.
Let’s begin!
Chain 13
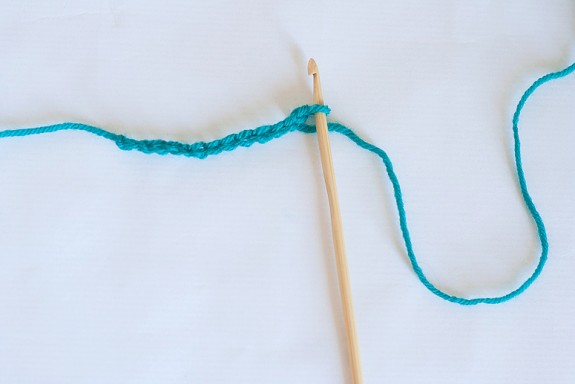
Row 1: Make a single crochet (sc) in the second chain from hook, and in all the chains across
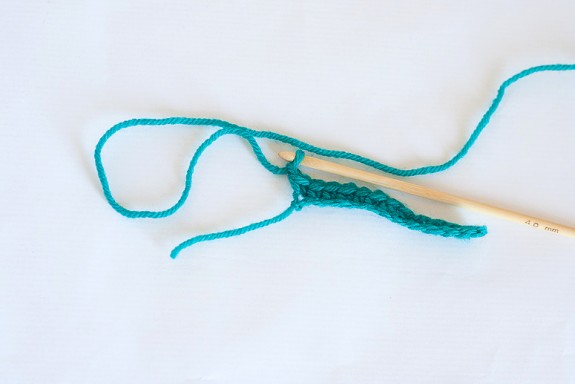
Chain 1, turn
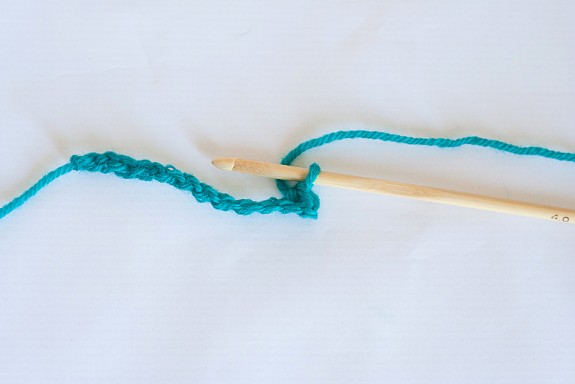
Row 2: sc in back loop only of each sc
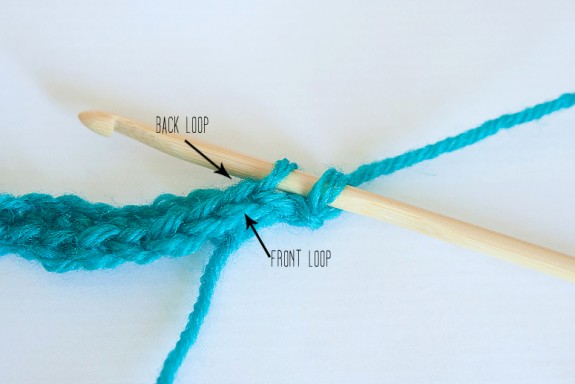
This is what it will look like at the end of the row
Chain 1 turn
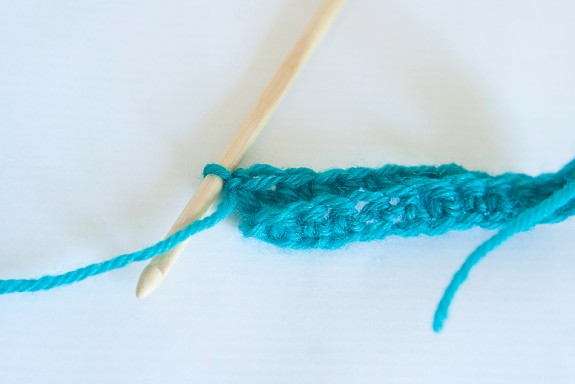
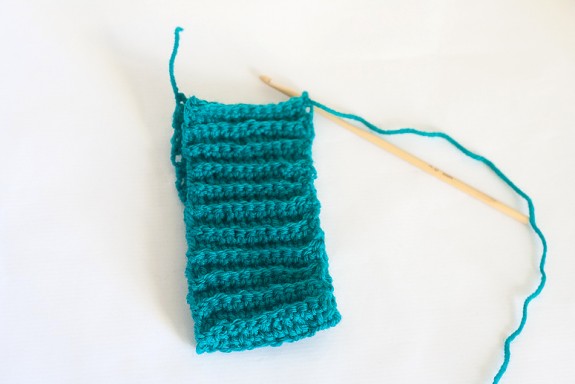
Rows 3 to 44: Repeat row 2 i.e sc in BLO across row, ch 1
And after four rows you can see the ridges or ribbing start to form
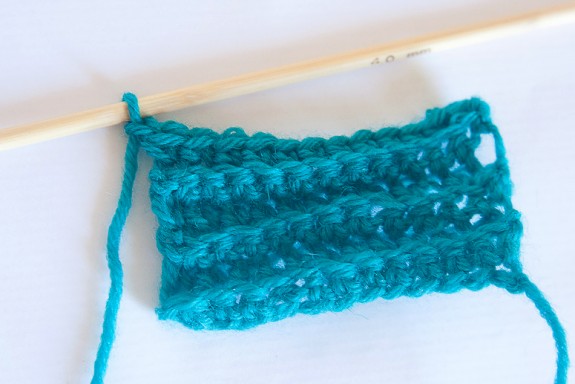
Halfway there!

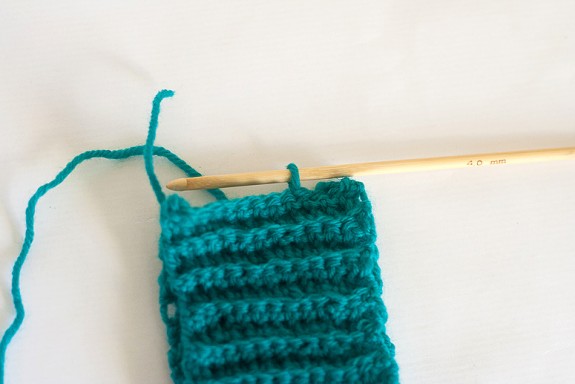
After completing Row 44, your ribbing should be about 10 inches long. Fold it over so that the two edges line up:
Now slip stitch the two edges together
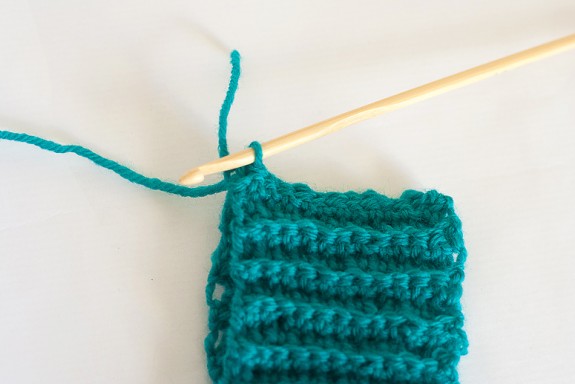
You’ll now have a ring of ribbing
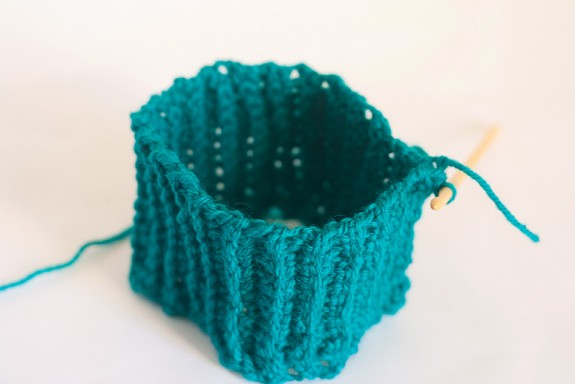
Now we’ll continue working around this ring.
Row 1: sc around the ring, making one sc in each “hill” and “valley”
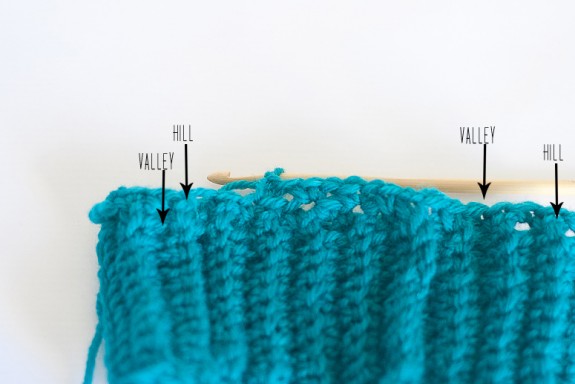
Join with a slip stitch to starting sc and place a stitch marker to mark the start of the round.
Row 2: Chain 1, skip one stitch, sc in next stitch, repeat around the ring
Row 3: Chain 1, sc in chain 1 space; repeat around.
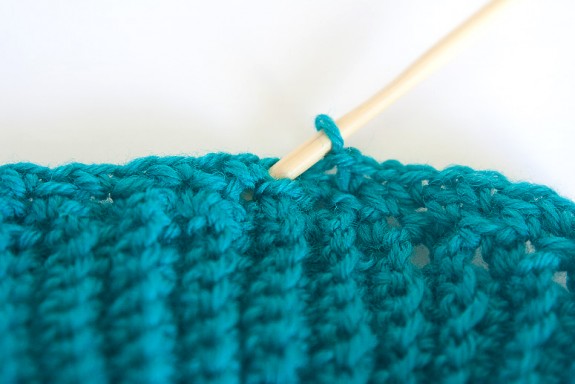
In other words, you are making a single crochet in between two single crochets in the row below. This is the linen stitch also known as the woven stitch.
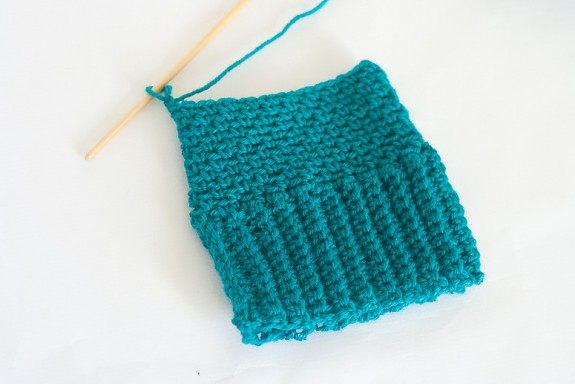
Repeat Row 3 until your work measures about 5 inches tall.
There’s no need to join at the end of the rounds, but you might want to use a stitch marker so that you know where each round ends.
Fasten off, and weave in yarn ends.
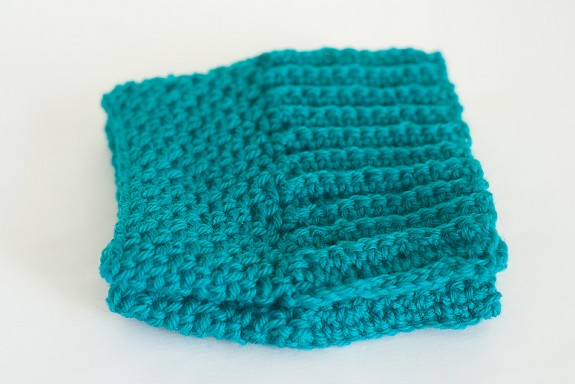
Now wear them with your favourite boots!

Additional tips:
- These cuffs should fit average sizes. You can make them larger or smaller by varying the number of rows of ribbing that you make.
- You can also make the ribbing narrower by starting with a shorter chain.
- You can dress them up by adding buttons or other embellishments too!
If you have any questions, I’d be happy to answer in the comments below.


Francine, I love this pattern, but I think I’m doing something wrong. My top row of linen stitching wasn’t even. By that I mean it wasn’t level. It kept going up at the end. I was wondering if you move the stitch marker to the last stitch of the row you’ve just finished or to the first stitch of the new row. Maybe that’s what I did wrong. Thanks for you help!