We started with some chain stitch wrapping ribbon and a chain stitch necklace in our Crochet-A-Day series. Now let’s ‘up the ante’ by adding in the single crochet stitch. You can do it, I’ll guide you through, cuz’ we’ll need to make loads of these, Crochet Bracelet with a Button!
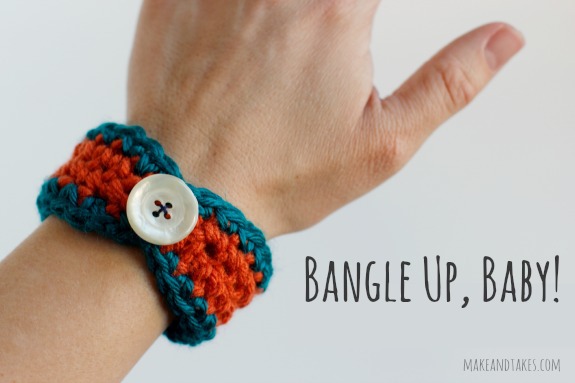
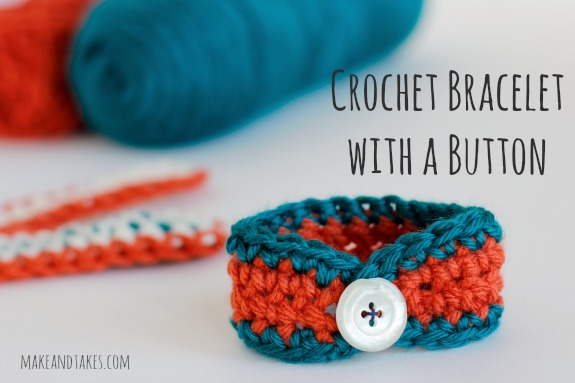
Crochet Bracelet with a Button
I promise, you won’t be able to stop. And then everyone you know will be wearing your bracelets.
It will be a bracelet bangle city!!
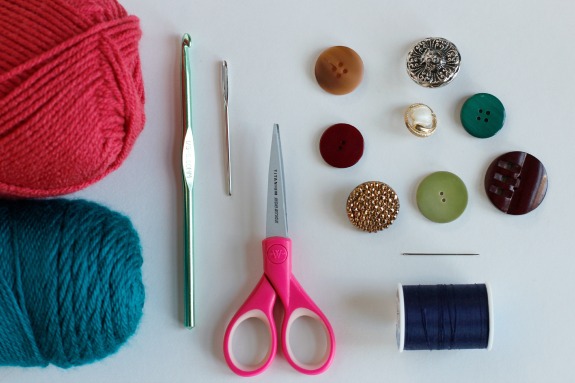
Supplies:
- yarn – 2 colors of medium gauge
- crochet hook I
- scissors
- crochet needle
- sewing thread – color to match your yarn
- sewing needle
- buttons – size, shape, and color is up to you!
NOTE: the tutorial I’m sharing is specifically for the bracelet shown above. For different size wrists, you’ll need to adjust accordingly.
Instructions:
1. Chain 21 stitches.
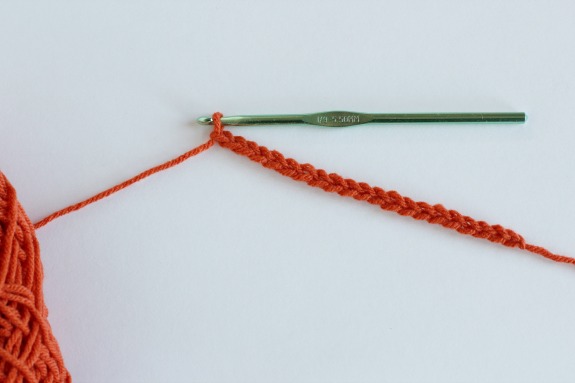
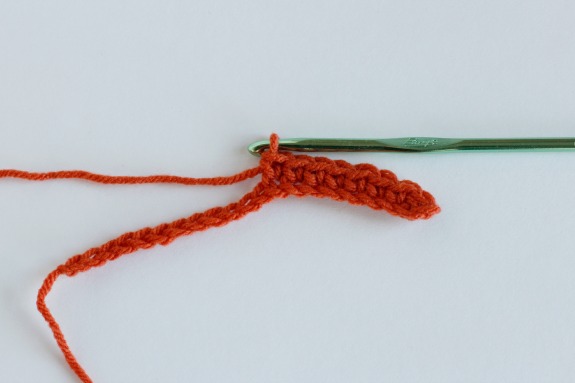
2. Turn your piece. Skip 1 chain, and single crochet into the 2nd stitch from the end. Single crochet 19 more stitches to the end of your first row.
TIP: view this how-to video for mastering the single crochet stitch.
3. Once you’re at the end, single crochet 2 more stitches into that last stitch. There will be 3 single crochet stitches in that last stitch.
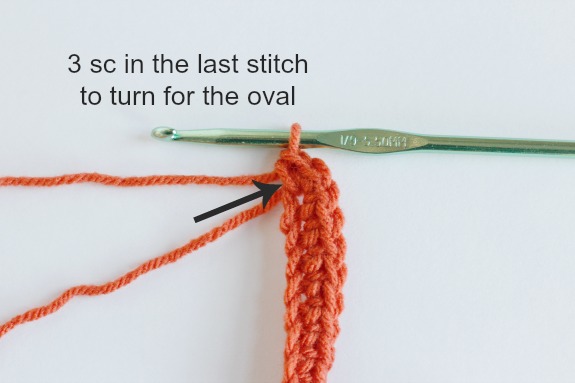
4. Keep going around with single crochet stitches, in an oval direction, all the way to the other end. When you’re at the end, you will single crochet another 2 extra stitches into the last stitch as you turn around the oval, just like you did on the first end with #3.
**Only crochet through one end of the V stitch for this 3rd row, matching what you did with the 2nd row.
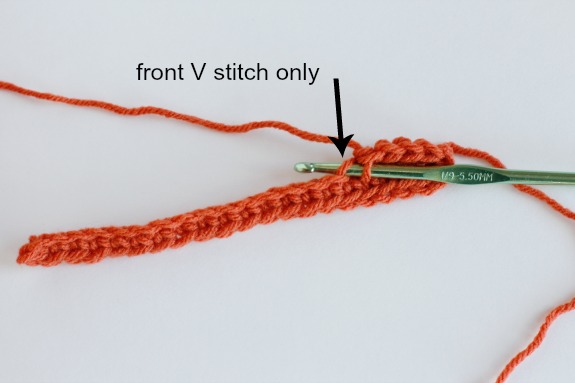
5. When you get the end of your oval, slip stitch through the first single crochet of that row, to finish off the piece. Cut your yarn, pull it through, and hide the tails.
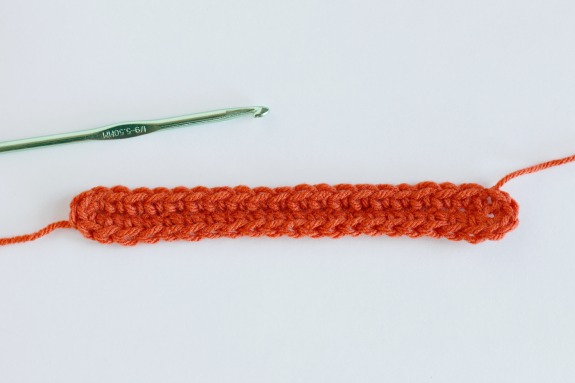
6. To add a new color to your first finished piece, make a slip knot with your second colored yarn (blue). Put your hook through the double V stitch of your first piece (orange), anywhere along the piece. Add your slip knot of blue yarn onto your hook and pull it through. Chain 1. This will be your first stitch in the blue row.
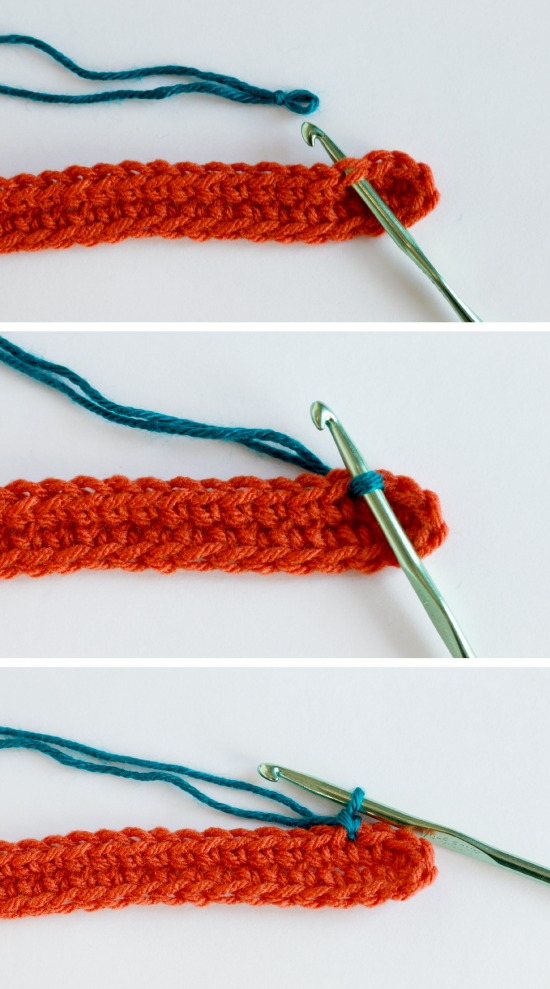
7. Keep crocheting along with single crochet stitches, going through both orange V stitches with the blue, until you get to one end.
8. Once you’re at one of the ends of your piece, chain 4 stitches. Skip 2 of the orange stitches and single crochet your blue back into the piece.

9. Keep crocheting single crochet stitches until you meet up with your blue starting point.
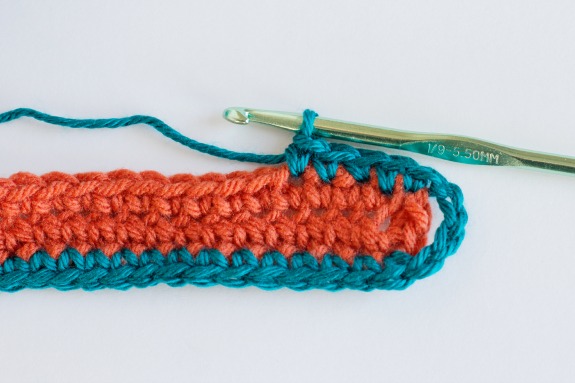
10. Slip stitch with the blue yarn when you come to your first stitch around. Pull your yarn through, trim off the end, and hide all your tails into your piece with the crochet needle.
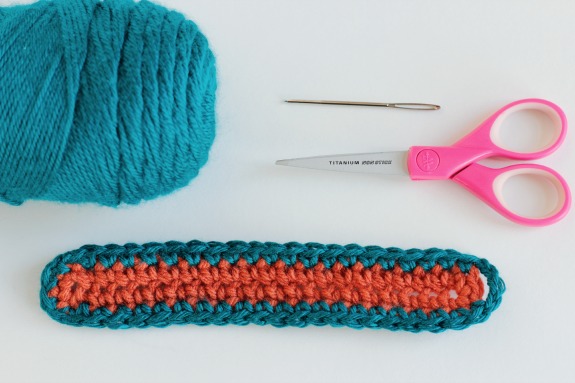
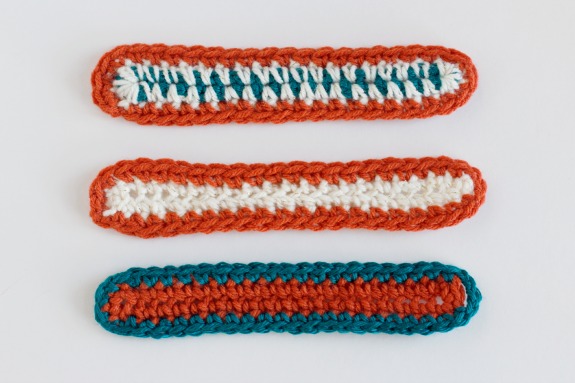
Once you’ve made one, the possibilities are endless. So many colors, sizes, styles. If you can throw in a row of double crochet stitches, awesome. Or even use 3, 4, or 5 different colors. Too. Much. Fun!
We’re almost done. Now’s the fun part… choosing the button accent. You can match, mis-match, go gold, choose whatever you’d like. Just make sure the button you pick will fit through the hole you made on the one end. **If you need a bigger hole, simply chain stitch more than 4 stitches on step #8.
11. Pick your button. Then thread your needle with sewing thread and tie a knot on the end of the thread.
12. Sew on your button to the non-hole end of your bracelet. Sew up through your yarn, through your button a few times, and tie a knot. Hide your thread through your piece and trim off the excess.
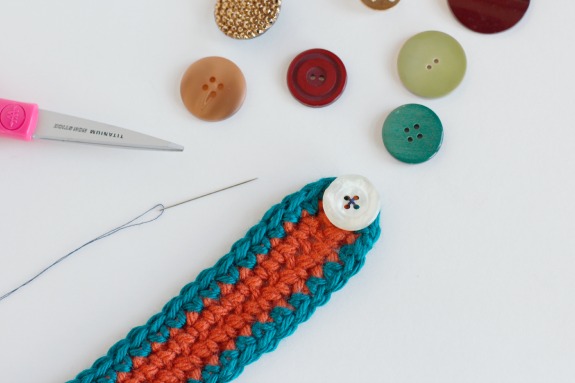
13. Button up your bracelet!
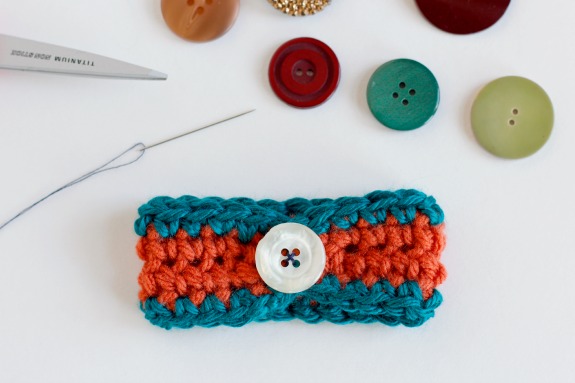
You’re done. You did it! Now go make one for all your friends. They make fabulous birthday gifts!


Me encantó estoy aprendiendo y con estas instrucciones me fue muy bien ahora a seguir mezclando colores gracias
Awesome bracelet. Thanks for sharing. I have some small amounts of yarn leftover from.other projects that I really like but didn’t know what to do with it, well now I do!