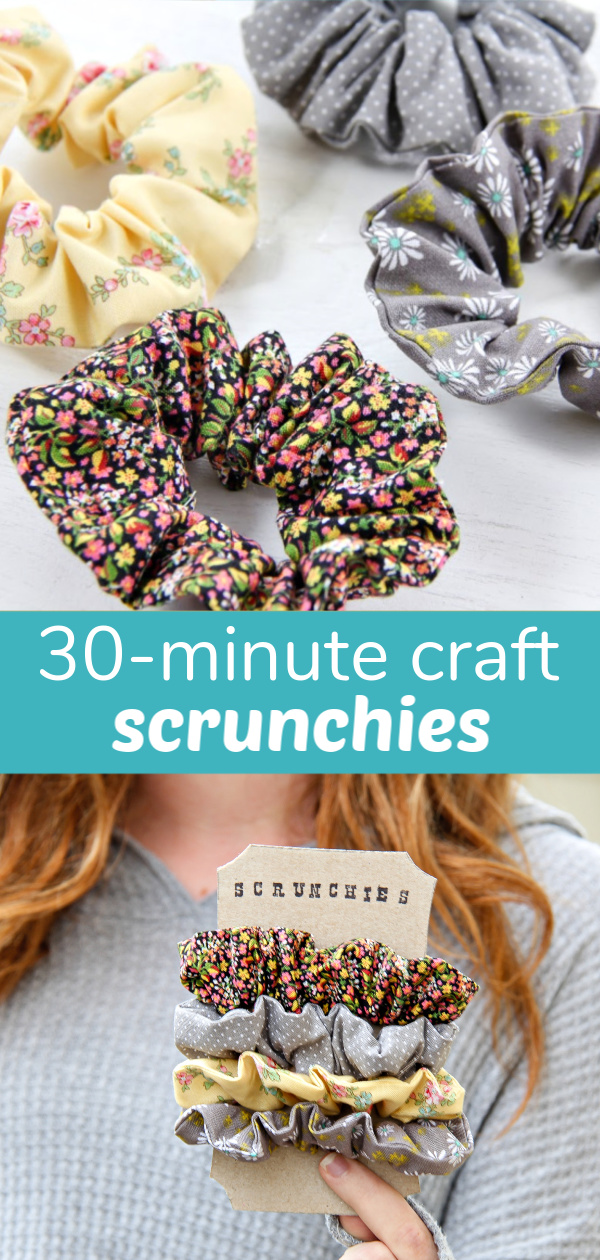
Looking for a beginner sewing project for your tween or teen (or even for yourself)? Scrunchies have made a comeback, and these handmade scrunchies take just 30-minutes to make. They make great handmade gifts for friends too.
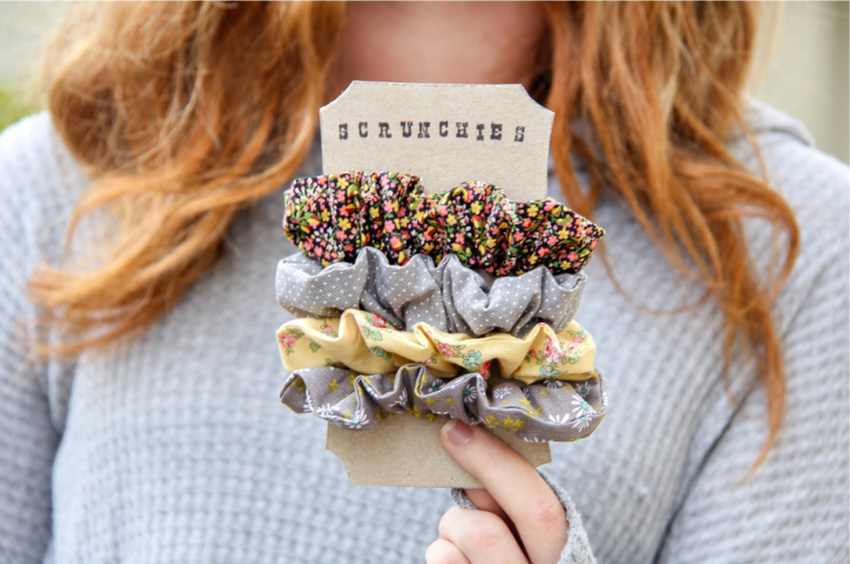
Handmade Scrunchies
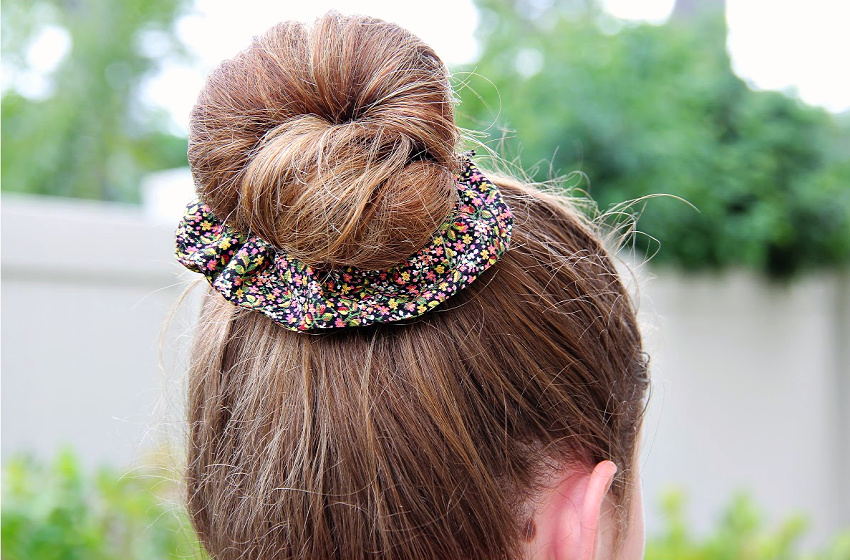
This was one hair accessory from my school days that I never thought would make a comeback, but lo and behold, here we are and kids’ once more are loving the variety of colors and patterns available to wear over their messy buns, and in ponytails.
Supplies:
- Fabric scraps or fat quarters
- Safety pin
- Sewing machine
- 1/4″ elastic
- Scissors
- Fabric marker and ruler
- Iron (optional)
Instructions:
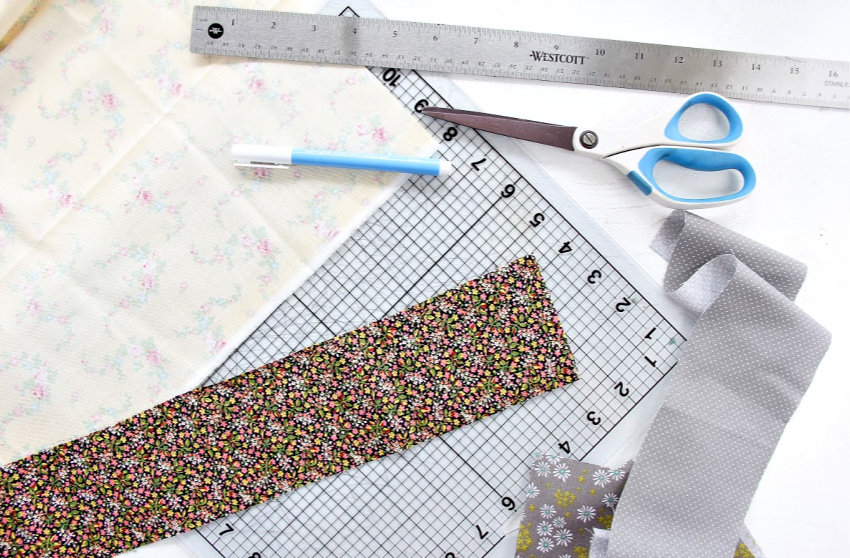
Measure your fabric, and using the fabric marker and ruler mark a16″ x 3.5″ rectangle on the reverse side of the fabric. Cut out your rectangle. It’s going to look really long, but trust me, you will need it this length, you could even add on an extra inch in length if you’d like your scrunchie to have a little more ‘scrunch’ to it (just don’t change the length of the elastic).
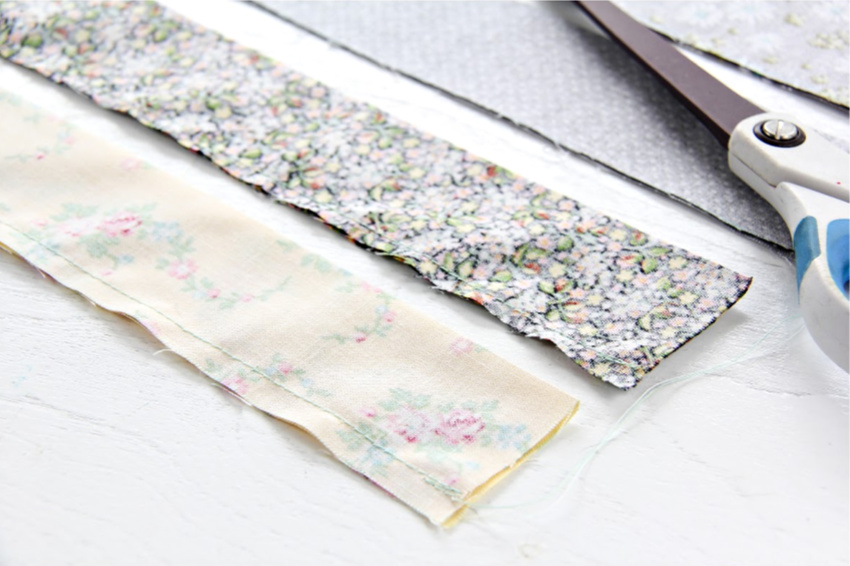
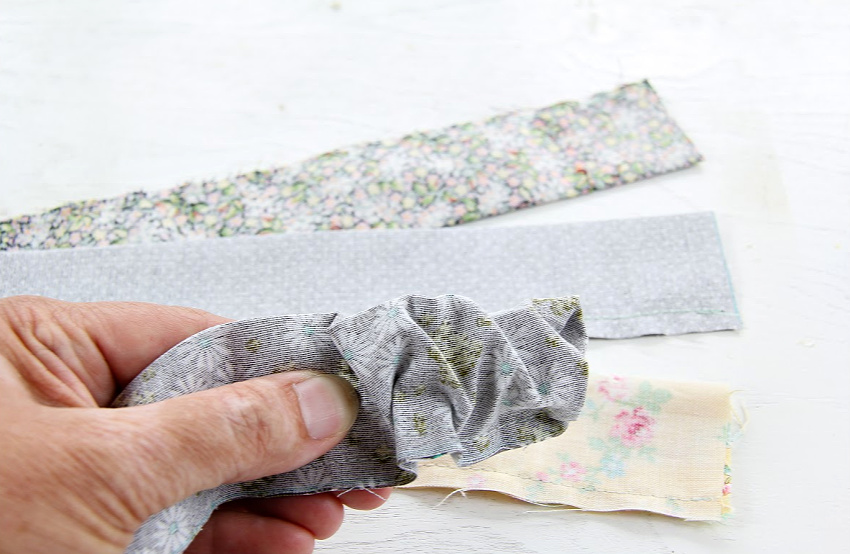
Fold your fabric in half lengthways, with the back side on outside. I prefer to iron it in place, but you could just pin it in place. Sew along the long side leaving about a 1/4″ seam.
Place a safety pin at one end, making sure to not pin the opening closed (see the diagrams below). Fold the pin inside the opening and pull it through – for anyone who has threaded elastic with a safety pin before, it’s the same principal. Gradually move the safety pin through the tube until you get to the other side, turning your fabric the right way out.
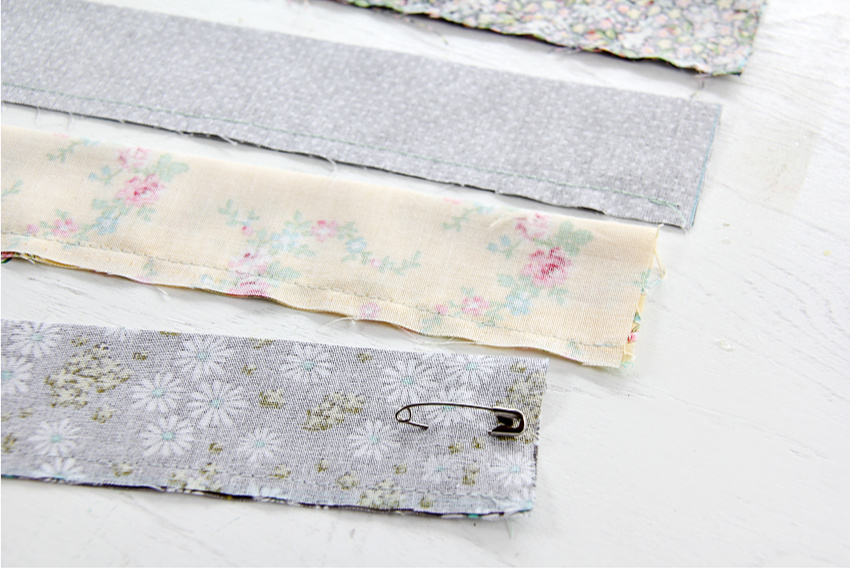
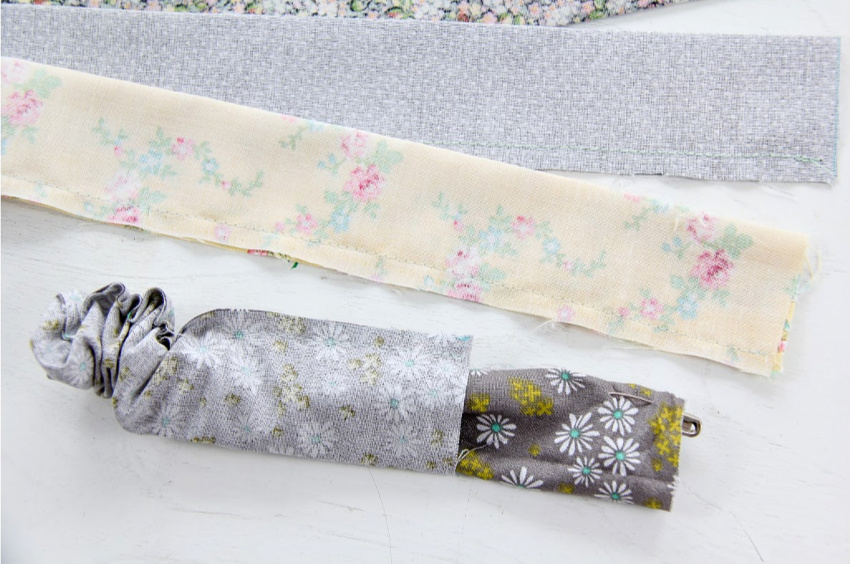
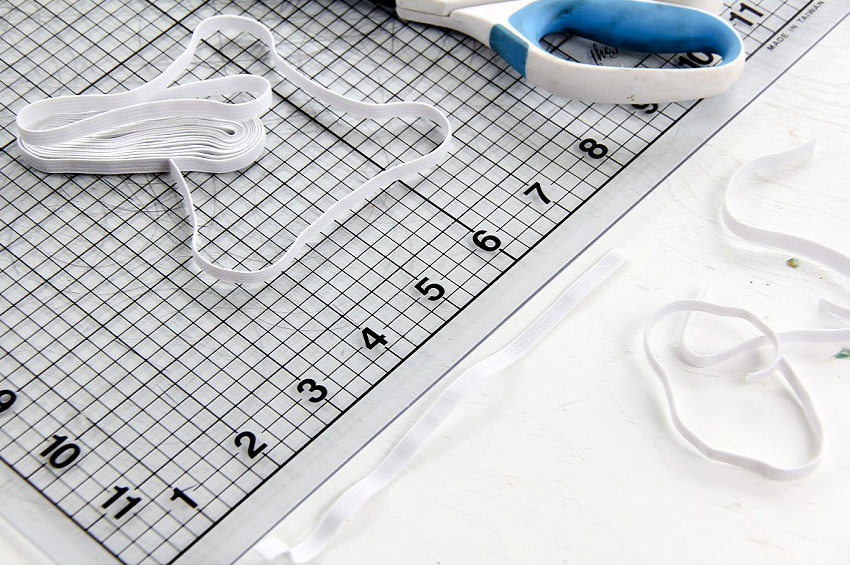
Cut a piece of elastic about 7″ in length (no longer than that). Attach the safety pin to the elastic and pull it through the fabric tube.
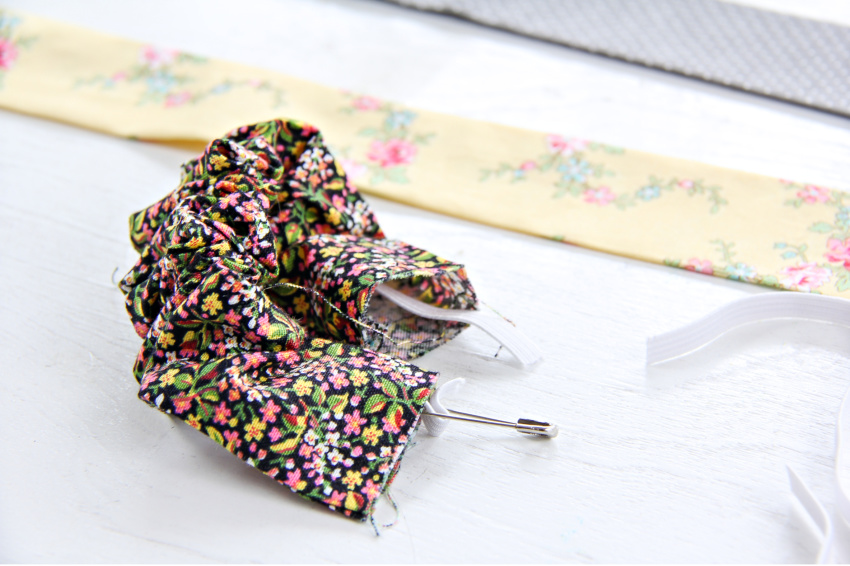
Sew the ends of the elastic together. My sewing machine is a bear some days so I ended up hand-stitching, but a sewing machine is preferable.
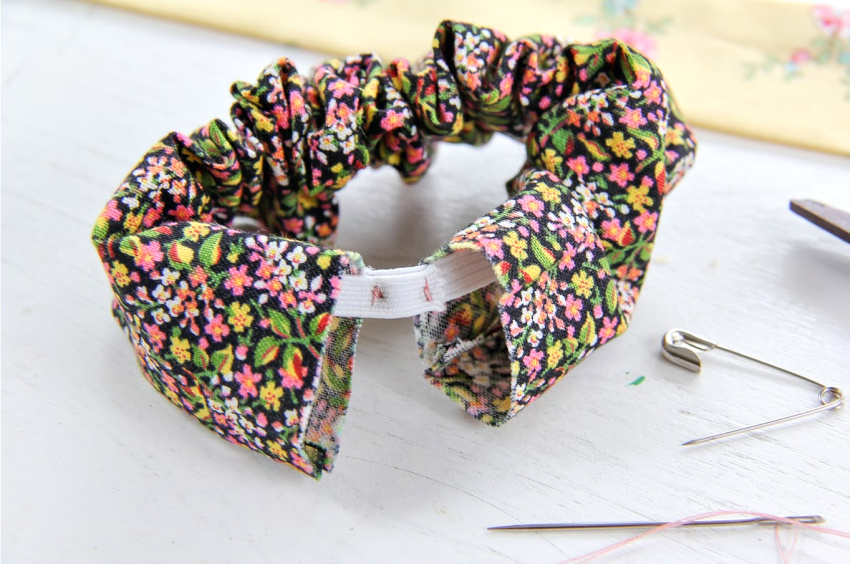
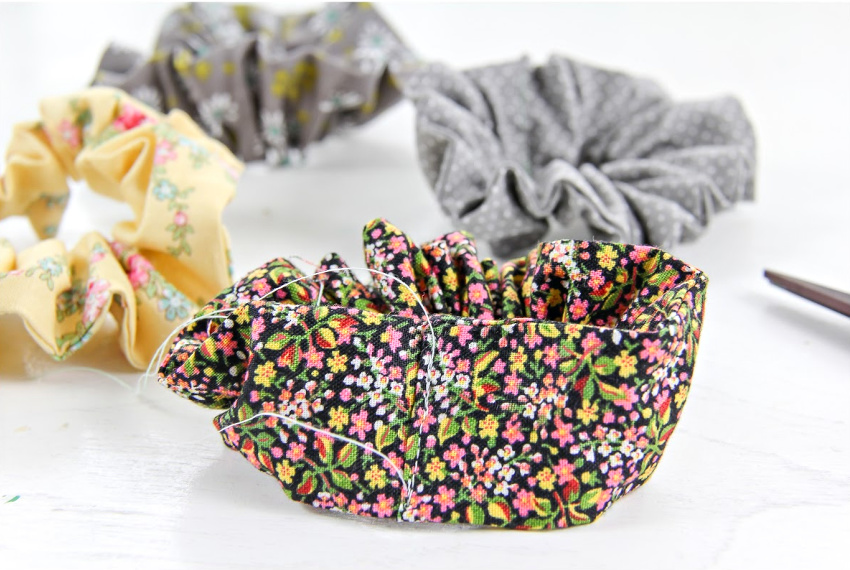
See the fabric openings in the above photo? Fold the ends inside the fabric tube about 1/4″ and iron them in place. Push one end inside the other and sew into place. Bonus points if you can sew that seam over where you joined the elastic together for extra support.
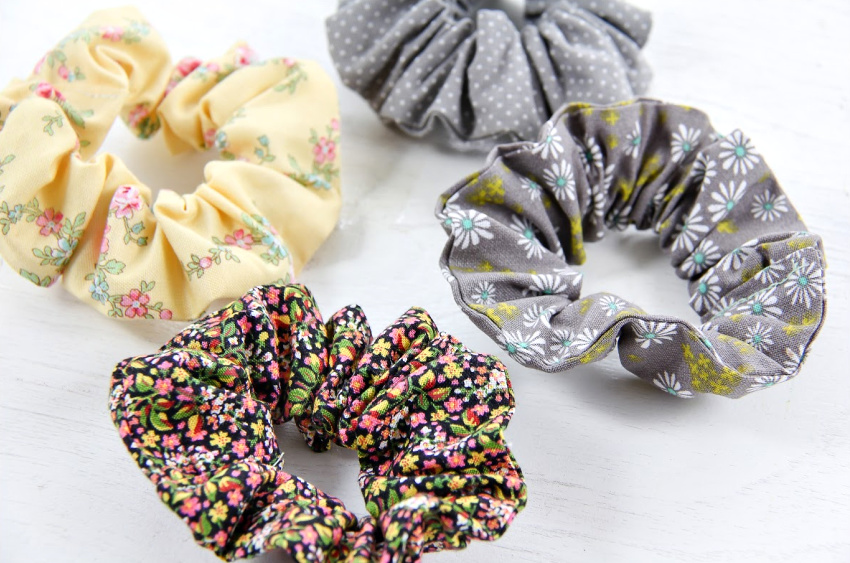
That’s it! Make them in as many colors and patterns as you can, or matching ones for all your friends.
Note: If you are wondering how to make the cardboard scrunchie holder shown in the first picture, in PicMonkey I found a label (under banners and labels) in a shape I liked, printed it out and used it as a stencil on corrugated cardboard, and then stamped the word ‘scrunchies’ onto it. It’s a fun way to give handmade scrunchies as gifts, or to keep them all together at home.
30-Minute Craft: Handmade Scrunchies
Please pin post for later:


My 14 year old granddaughter loves scrunchies, but her hair is too thick for the store bought scrunchies. I bought a set of handmade scrunchies. They were excellent quality, but once again we had the problem of them being too small both in the size of the “ruffle” and in their ability to hold her hair. Your tutorial was a tremendous help. Thank you!
So glad to hear. Thanks for sharing!!
This is a perfect Christmas gift for all of my friends! Thanks for the tutorial!