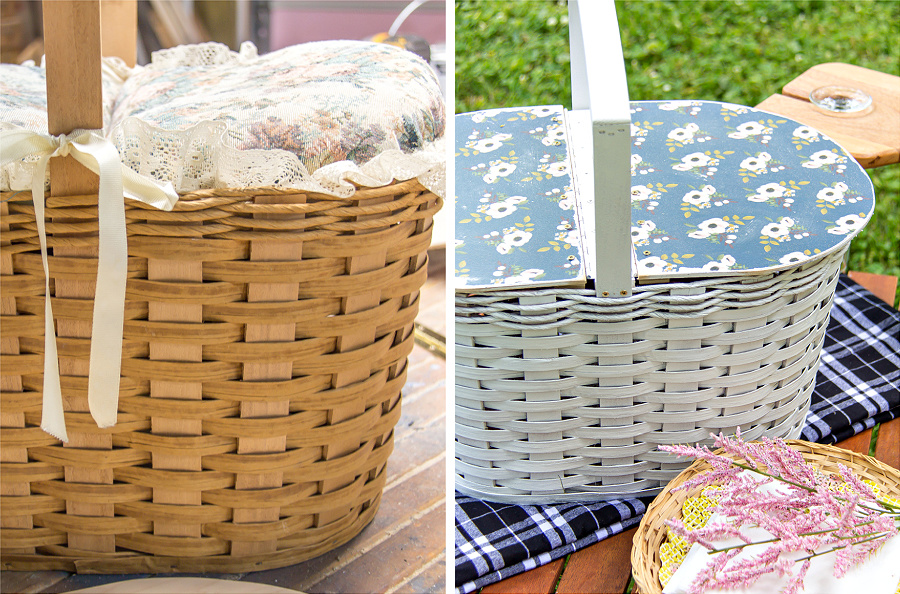
With the warmer weather, we’ll be heading outdoors more for summer concerts in the park and picnics at the beach and lake. We are showing you how to make a DIY picnic basket to fill with your favorite picnic foods. Don’t forget to check out our 7 tips for a fabulous family picnic too.
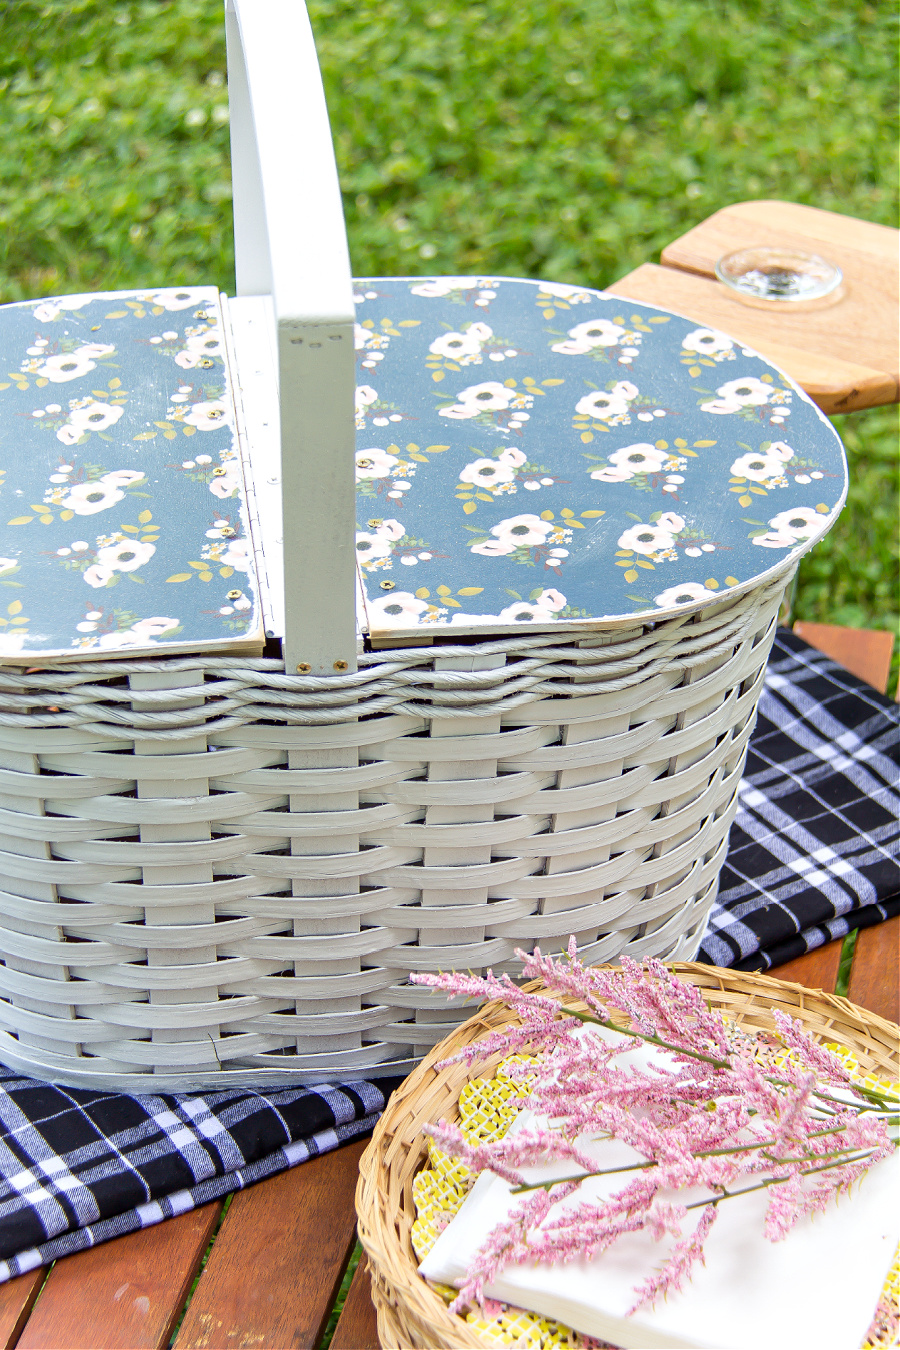
For this project, we took a thrift store basket, which we think might have been used for yarn crafts, and turned it into a picnic basket perfect for spending summer outdoors.
How to turn an ordinary basket into a DIY picnic basket
The basket that we found at a local thrift store cost $15, but you might have an old Easter basket you are no longer using or a basket from a gift hamper. This makes the project very cost-effective. We spent under $10 for the hinges and wood and already had glue and paper on hand that we could use.
Supplies:
- Basket
- 1/4″ plywood
- Hinge (with screws)
- 3/8″ thick wood
- Scrapbook or gift wrap paper
- White spray paint
- Mod Podge
- Scissors
- Drill or screwdriver
- Sandpaper
- Saw
Instructions:
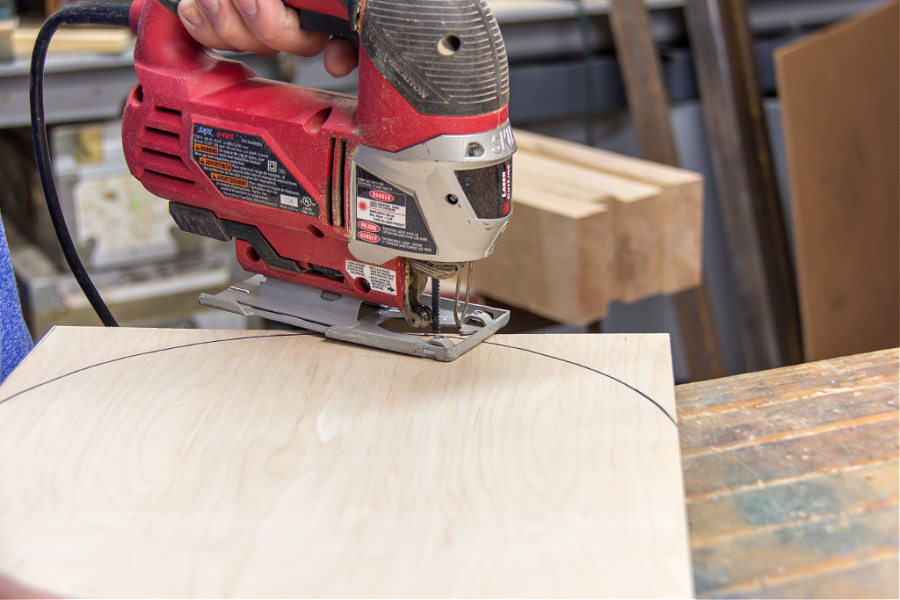
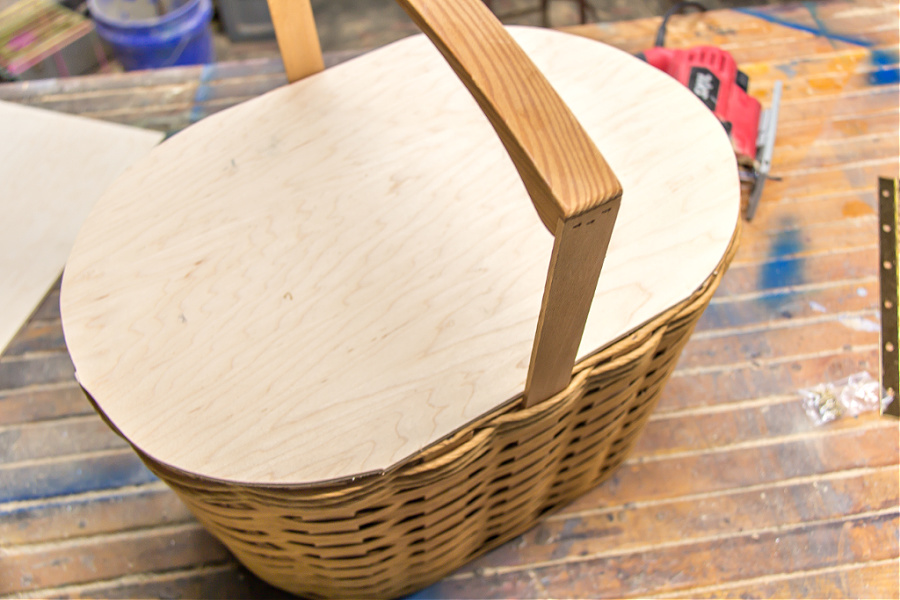
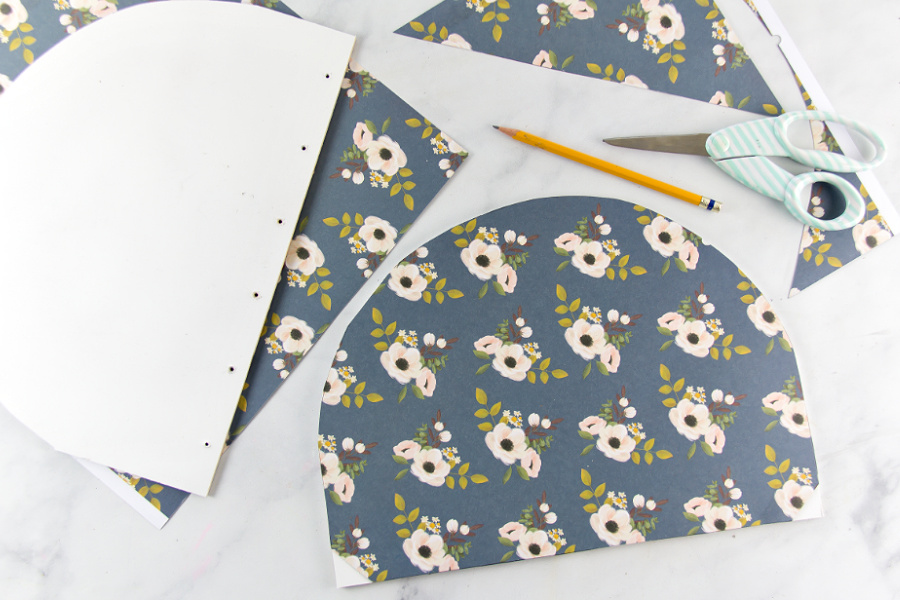
The first step is to make the lid shape for your basket. We used a 1/4″ sheet of plywood to make ours. The shape of the basket opening was sketched onto it and then we used a saw to cut it out. Don’t worry if you have rough edges around your lid, you can use sandpaper later to smooth them out.
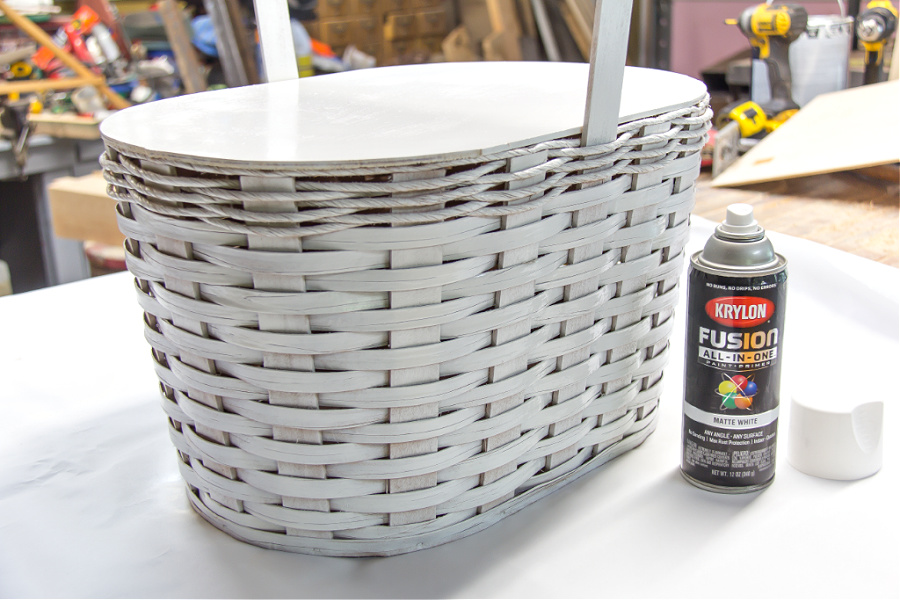
The next step is to spray paint your basket (if you want to). You might want to leave yours its natural color and that’s just great too. I didn’t want the inside of the basket to be painted so put the lid on top and painted that at the same time. Our basket needed two coats of paint. Make sure to let the first coat dry completely before applying the second one.
Cut the lid exactly in half using a saw, and then apply scrapbook paper (or vintage gift wrap that’s not shiny) to the top of each piece using Mod Podge.
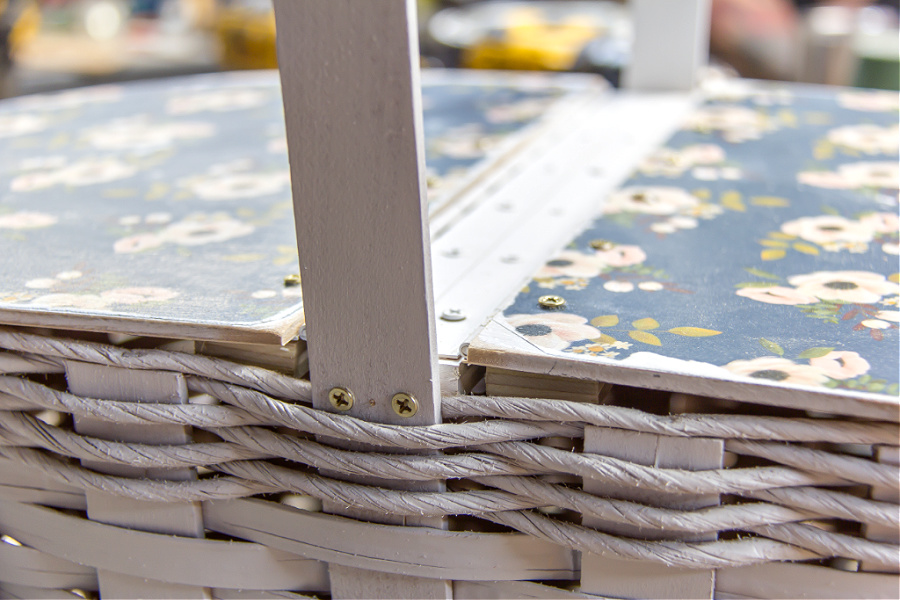
Cut a piece of 3/8″ wood to fit between the handles or the top of the basket.
Place the hinge over the top (spray paint it if you like), and then the two lid pieces.
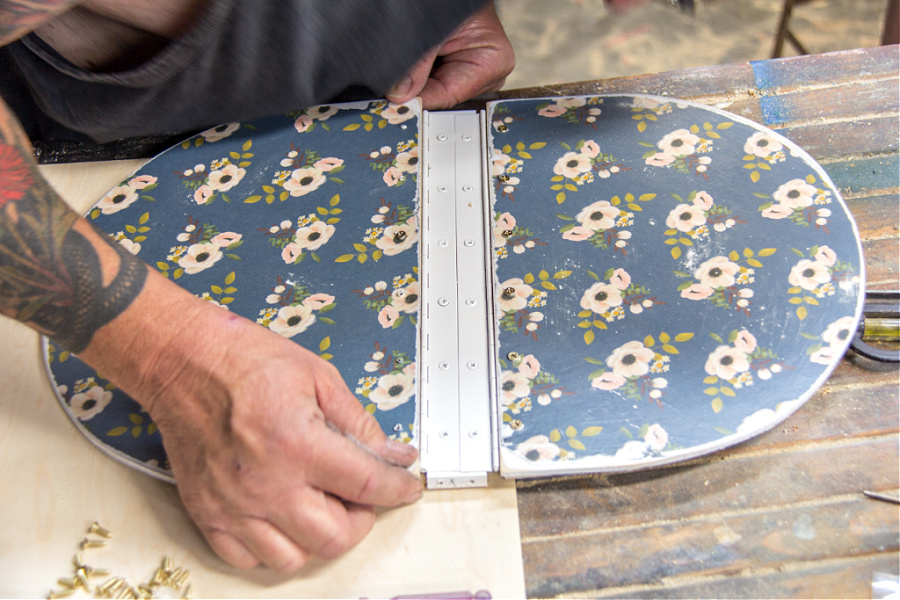
Attach the wood bar running between the two lid pieces to the basket using screws as well. This will hold it securely in place and prevent the middle section of the lid to fall inside the basket.
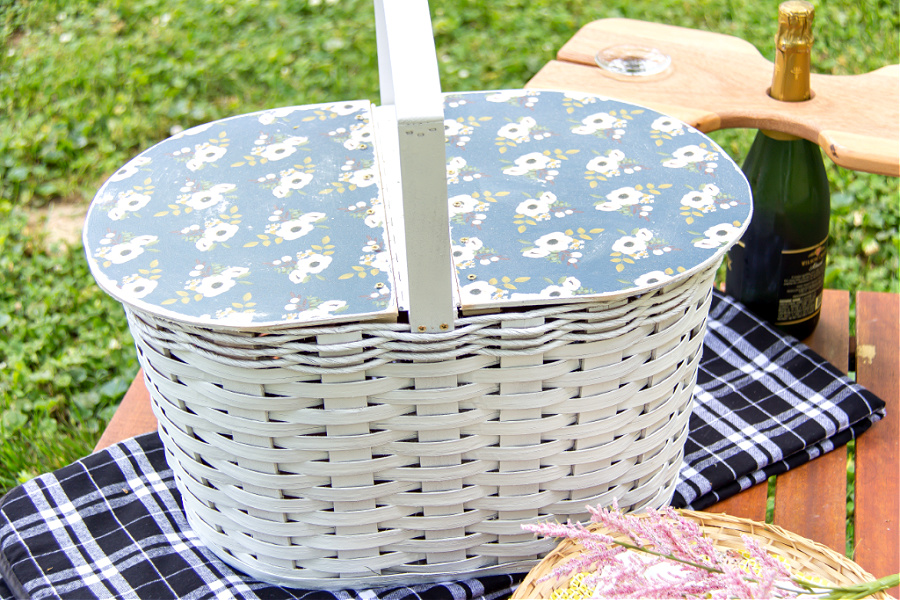
Using sandpaper smooth over rough edges around the lid, and remove a little of the paper to give the lid a worn look so you can see a little of the paint and wood underneath. Add a couple of coats of Mod Podge over the top, allowing each to dry thoroughly before re-applying.
Now you DIY picnic basket ready for some outdoor fun!
Please Pin Post For Later:
![]()