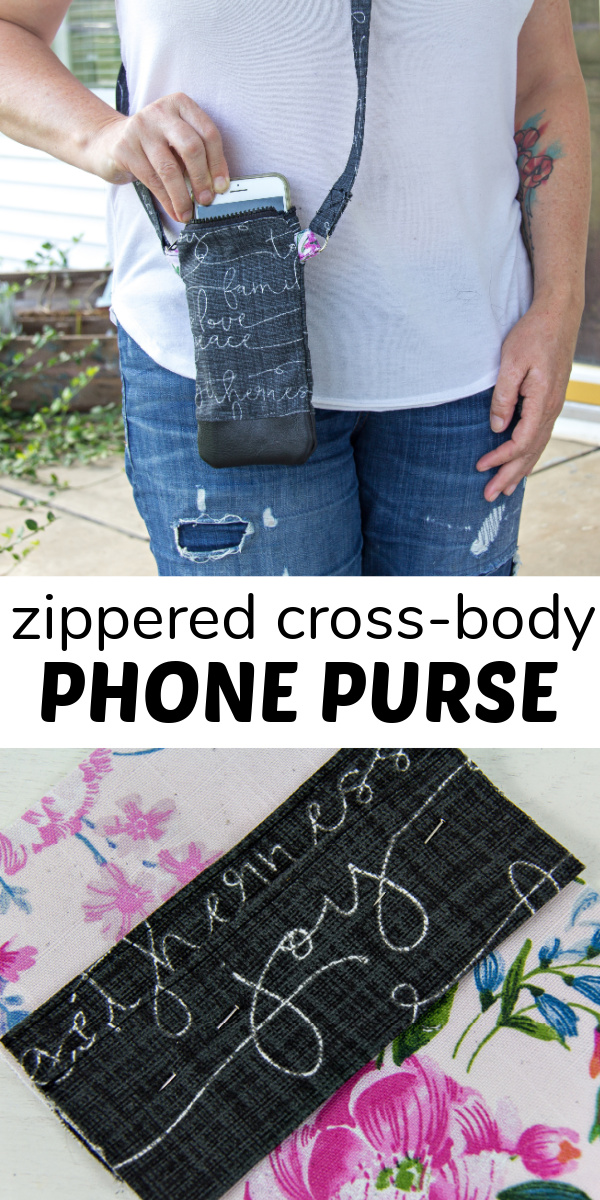
We’ve been sharing a lot of beginner sewing projects lately. A lot of these are perfect crafts for teens to make something fun that they can use. This DIY Zipper Phone Purse is no different. It makes a great handmade gift too.
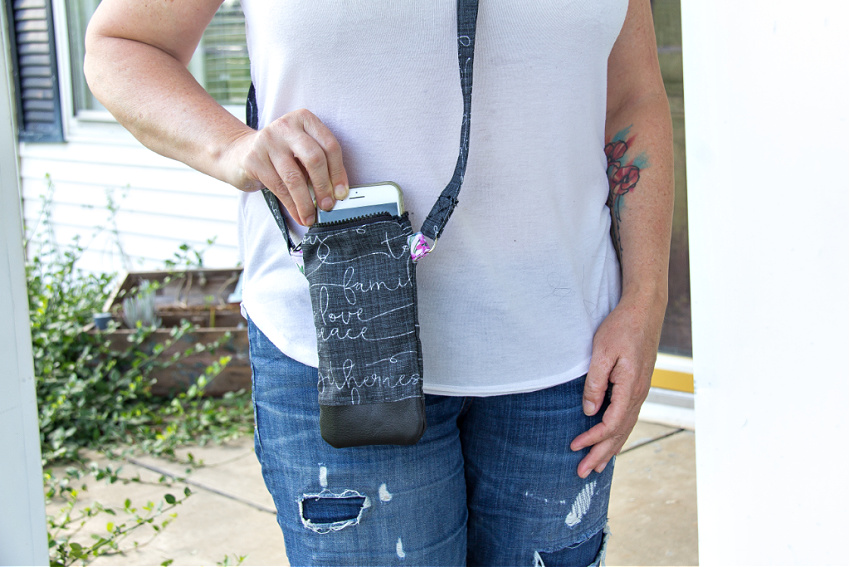
DIY Zipper Phone Purse
This handmade phone and card purse is perfect if you don’t want to carry around a bulky wallet or bag. I had a few leather scraps that I decided to add to mine, but to make an easier version of this you can skip that part and cut our outside fabric to the same size as the inside pieces.
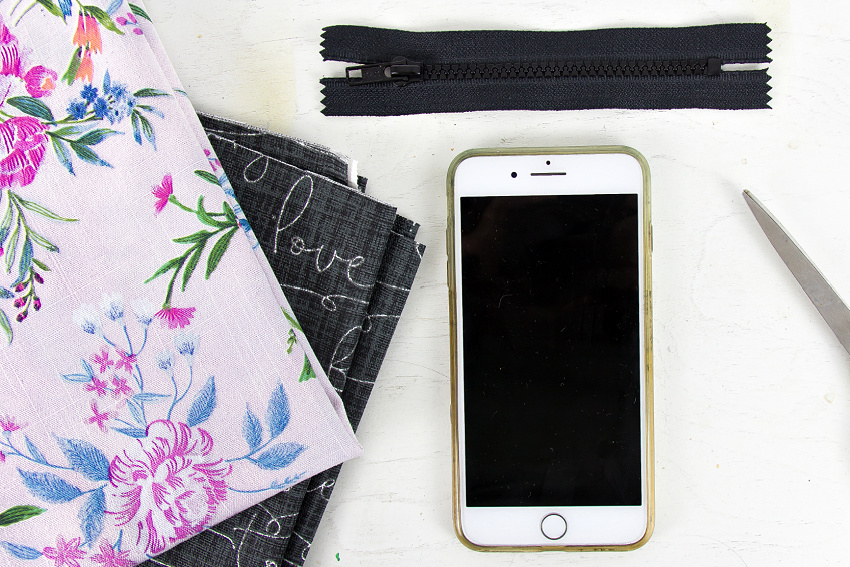
Supplies:
- Fabric – 2 prints in a heavy outdoor or canvas fabric. I ordered 1/2 yard of each, but you only need a 1/4 yard.
- Leather (scraps are perfect for this project) – optional
- 2 D-rings
- 5-inch zip
- Sewing machine and thread to match the fabric
Instructions:
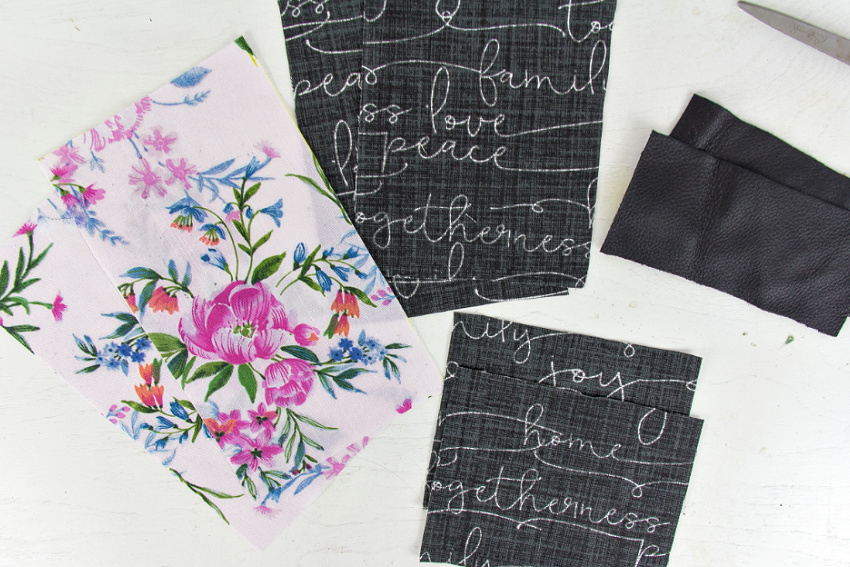
Cut your fabric into the following measurements:
- Outside fabric – 2 pieces 5 1/2″ x 6 3/4″
- Inside fabric – 2 pieces 5 1/2″ x 8 1/2″
- Credit card pockets – 2 pieces 5 1/2″ x 4 1/4″
- Leather for the bottom of the purse – 2 pieces 5 1/2″ x 2 1/2″
- D-ring tab straps – 2 pieces 3″ x 3″
- Cross-body strap – either one long piece approx 54″ x 3″ or two pieces 27″ x 3″
Sewing credit card pockets in a bag
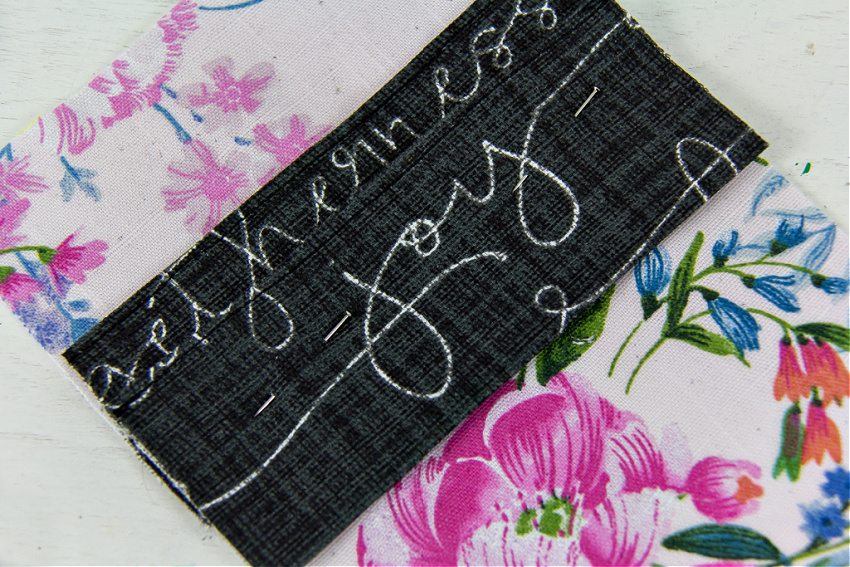
The first thing we are going to do is make the credit card pockets. Using the two 5 1/2″ x 4 1/4″ pieces of fabric, fold them in half with the wrong side facing out. Sew across the long side. Repeat with the other piece of fabric. Turn both in the right way.
Press both pieces with an iron. Sew across the top section of each to reinforce it.
Pin the first one about 1 & 1/2 inches from the top of the back inside bag piece and sew just the bottom of it. Place the second one over the top leaving about a centimeter and pin that into place too. Sew across the bottom. The sides of these will be sewn closed when you sew the side seams of the bag which you will do a little later on.
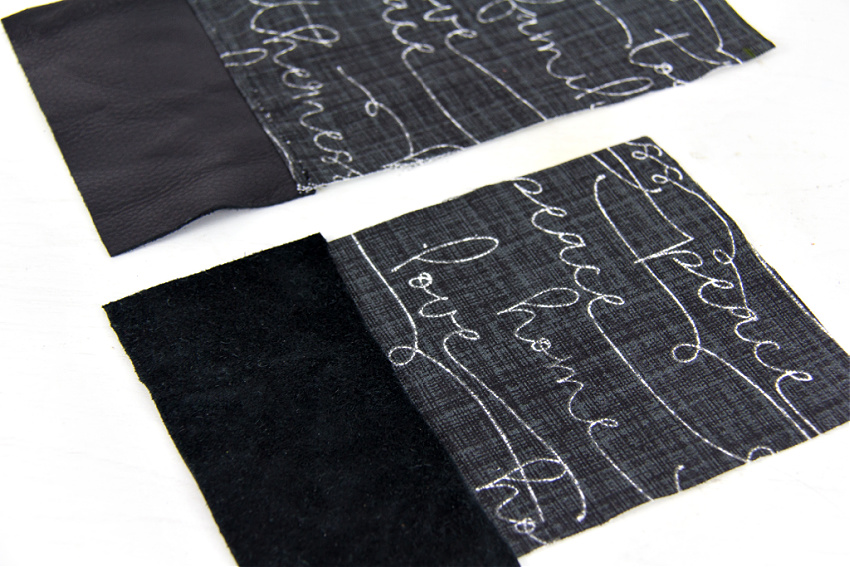
Adding leather to a phone purse
Sew the leather pieces on to the bottom of the front and back ‘outside’ pieces of the phone bag. Make sure you are sewing on the wrong side of both so the fabrics are facing each other.
Sew a zip onto a bag
It’s time to add the zip to your fabric. Place your front and back pieces (inside and outside) together. Fold over about 1/4-inch at the top and iron so it’s flat.
Lay the back sections with the inside facing you across the top of the zip. Sew that into place (see photo below).
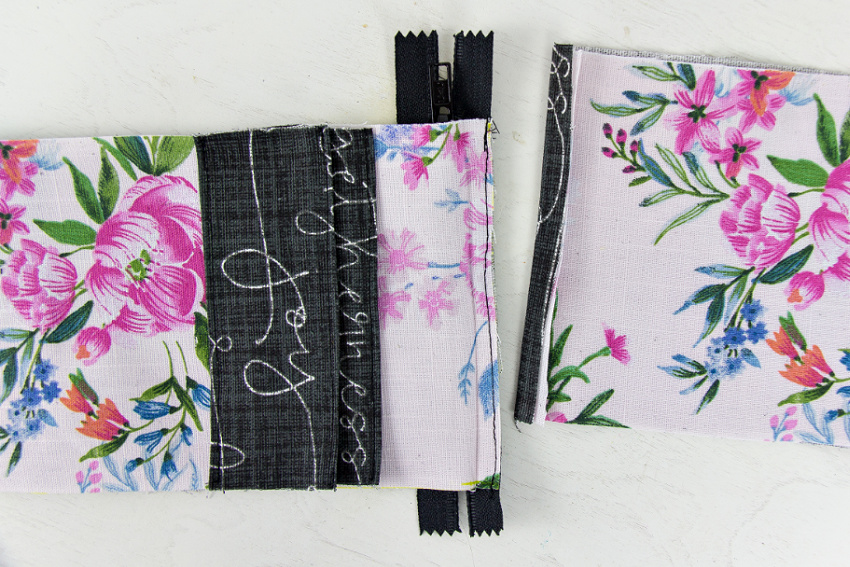
Hold the zip in place and flip the fabric over in the other direction. Sew again but closer to the zip this time. Repeat with the other side of the bag.
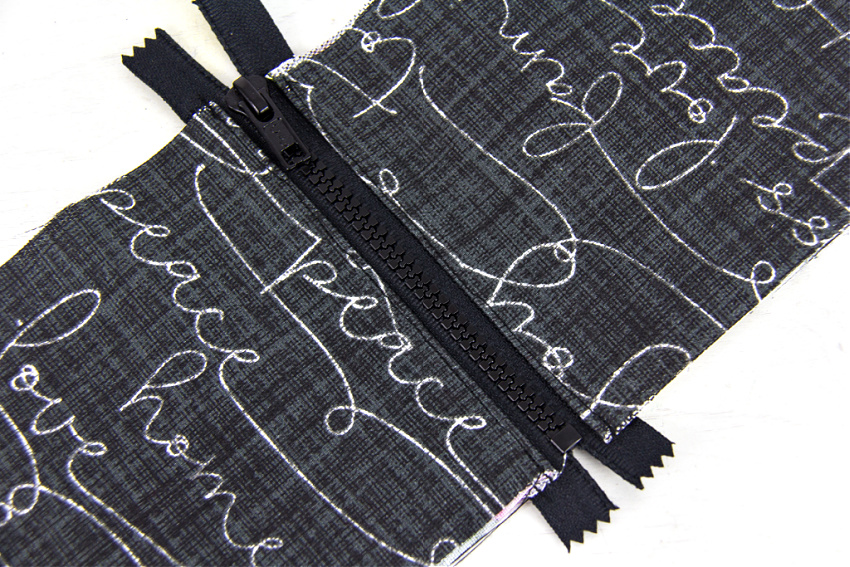
Tip: If you don’t have a zipper foot for your sewing machine, (which I can’t find because most of our belongings are still in packing boxes) you can open the zip part way through sewing to make it easier to sew the fabric on the end of the zip. Just make sure the needle is still firmly in the fabric when you lift the foot to move the zip past it.
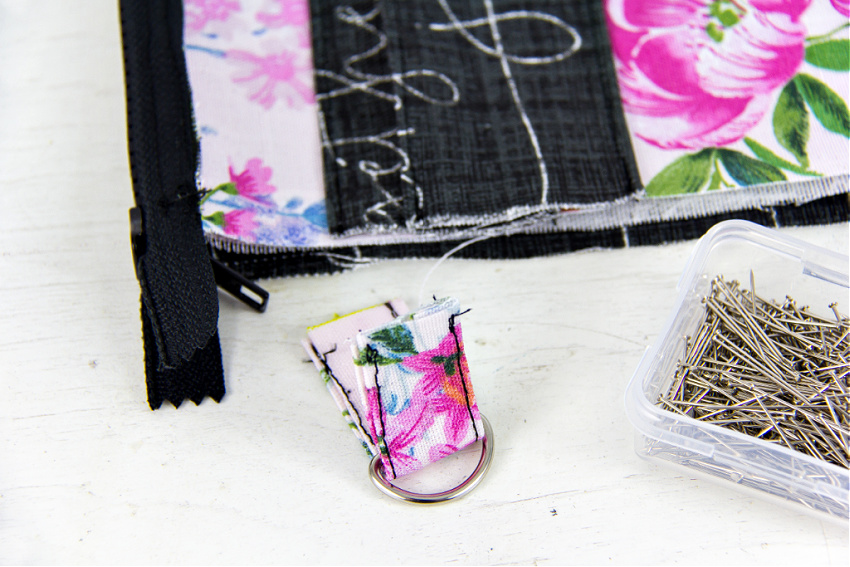
Make tabs for D-rings
Next, we are going to make the tabs for the D-rings. I made mine using the fabric inside the purse to add a little color and contrast to the bag. You are starting with two 3-inch squares.
Fold the outside of each square inward so that the edges meet in the middle. Iron them into place.
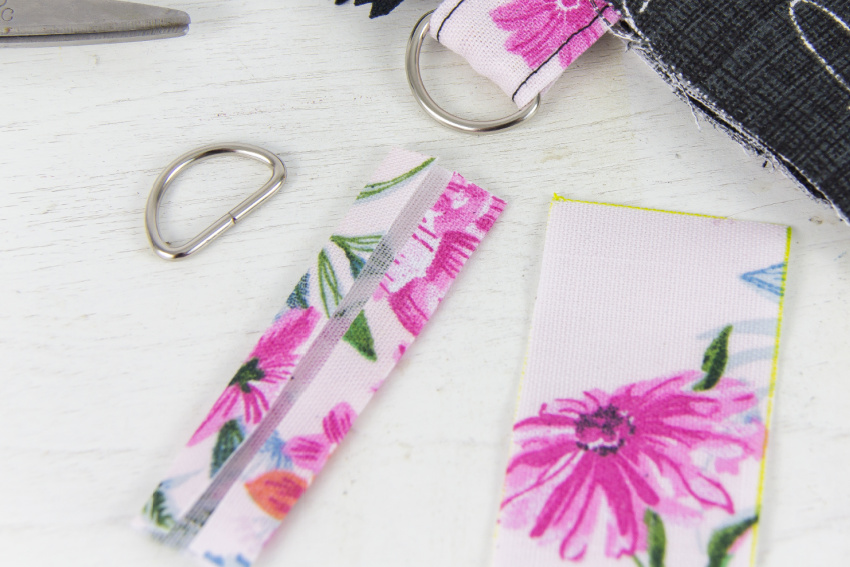
Fold the fabric in half, and again, iron it into place. This makes the tabs stronger.
Sew both sides of the tab. Fold it through the D-ring and set aside. Repeat with the other tab and D-ring.
Sewing your bag seams
It’s time to sew your seams on the side and bottom of your bag. Make sure that the leather pieces on both the front and back of the bag line up and pin your fabric before sewing so that nothing shifts. Sew the bottom first and then open up your zip. if you don’t open the zip before sewing the sides you are going to have a lot of trouble turning the bag in the right way.
As you get to about 2-inches from the zip on each side, place the tab with the D-ring inside the bag and continue sewing to stitch them into place.
Add a strap to your purse
Adding a strap to your phone purse is the final step.
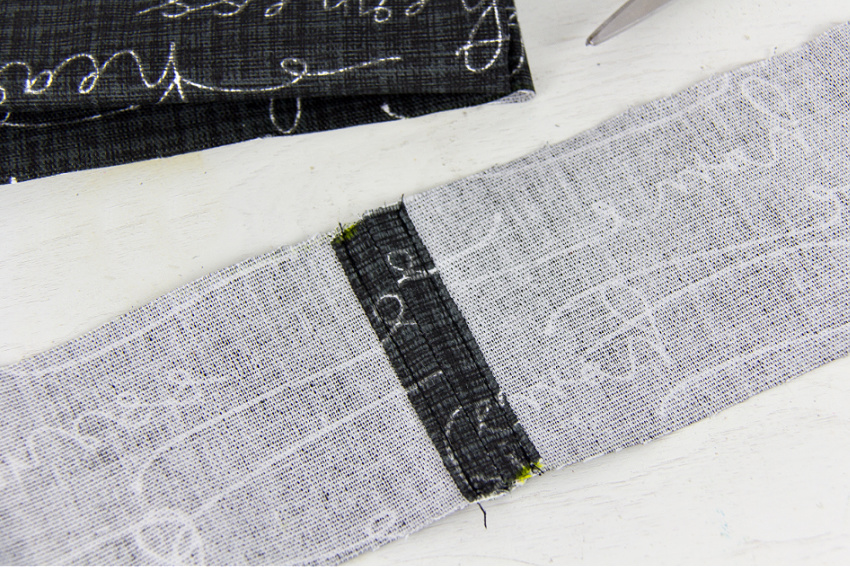
Depending on how much fabric your purchased will depend on whether you can cut one long strip of fabric that’s 54″ long and 3″ wide, or whether you will need to cut two or more pieces and sew them together. I had to cut two pieces, so I cut them evenly so that the join would be on the shoulder and less noticeable.
Join your fabric strips together by sewing them together. Sew the flaps down as well because this will make it less bulky and easier to fold your fabric.
Use the same method that you did to make the D-ring tabs to make the cross-body strap. Fold both outside edges into the center and iron flat.
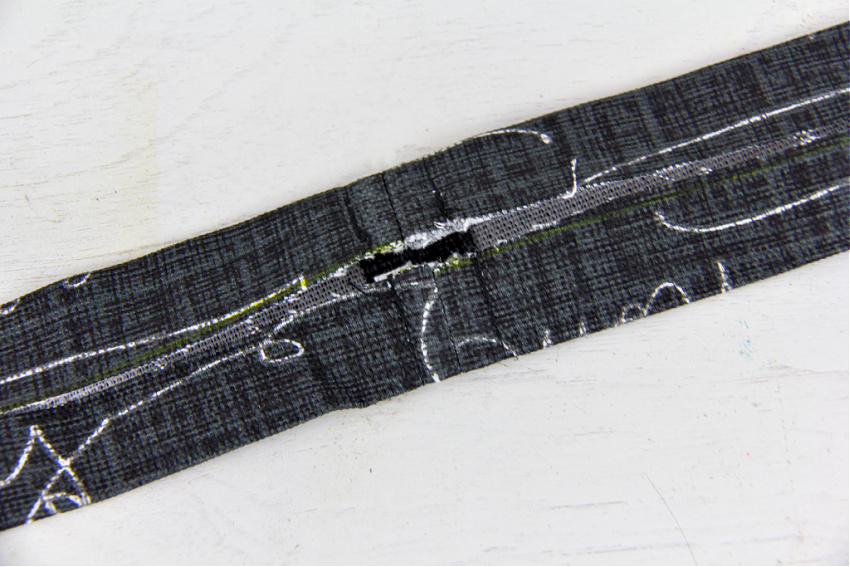
Fold your fabric in half again and sew both sides of the strap to reinforce it.
Put the end of the strap through one of the D-rings so about 2-inches is through. Fold it over and sew a square and ‘x’ to reinforce the strap so that it doesn’t break. Repeat on the other side.

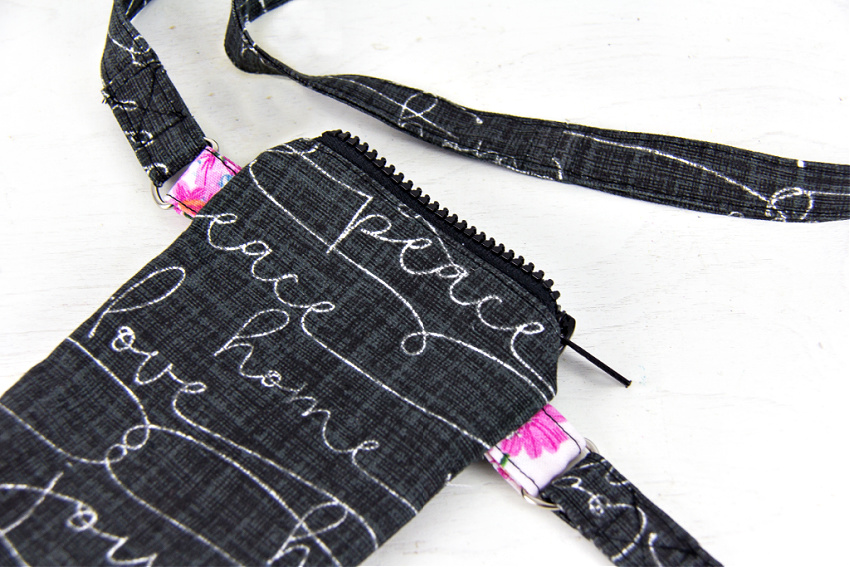
Now you have a fabulous zipper phone purse that will hold your smartphone and a couple of cards when you go out!
Please Pin Post For Later: