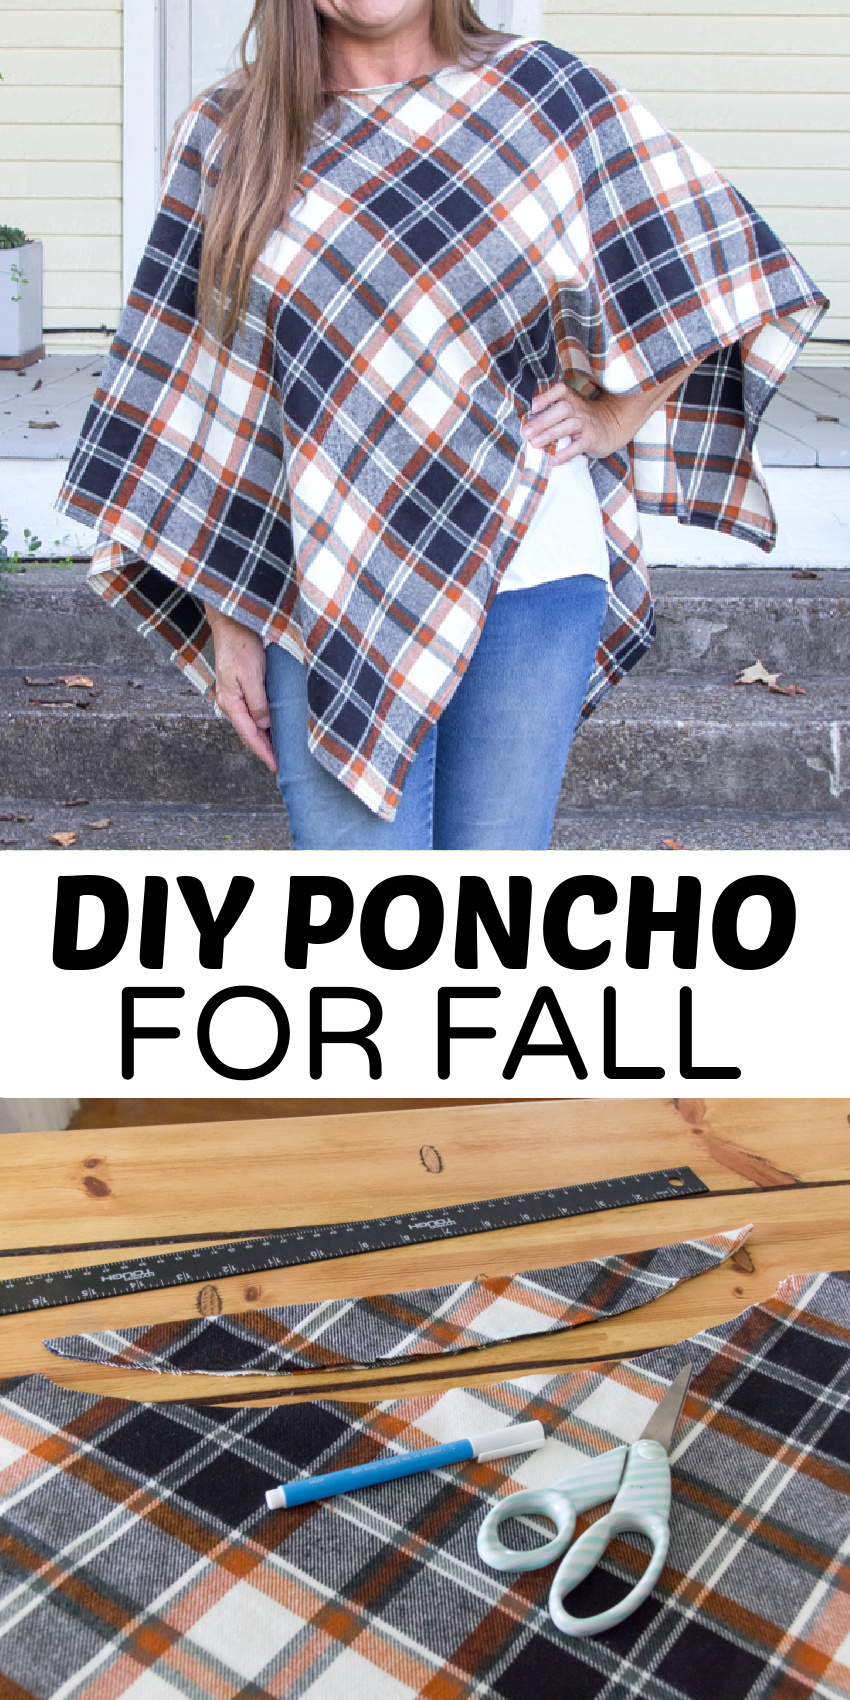
Fall is in the air! It’s time for all things pumpkin and spice, fall colors, and getting cozy. We’ve previously shown you how to make easy no-sew blanket ponchos along with DIY fleece ponchos. Today we are showing you how to make the easiest flannel poncho for fall.
DIY poncho
One of my favorite things to wear in fall is flannel shirts. They are so comfy, cozy, and keep me warm on those slightly cooler days and nights. This DIY poncho is going to be your favorite thing to wear in fall. I’ve made it using flannel, it’s in fall colors, and it’s so comfy you will love throwing it on for cool nights reading by the fire.
Supplies:
- Fabric – 1.5 yards of 100% cotton flannel
- Scissors
- Washable fabric marker
- Pins
- Yardstick
- Sewing machine and thread
Fabric tip: If you choose not to use 100% cotton flannel, make sure you do purchase fabric that is not too stiff and will hang nicely.
Poncho size: Medium/Large
I wear a medium or large depending on the cut and brand. If you want to make this smaller or larger then take off or add on at least 2 inches to all of the sides.
Instructions:
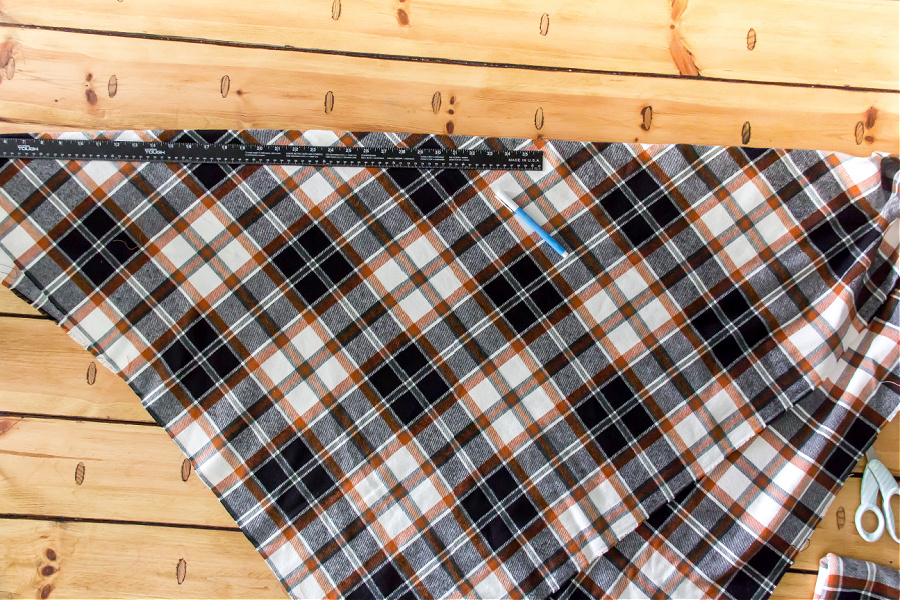
Your fabric should measure 54″ by 46″. Working with the longest sides, fold the fabric into a triangle shape. The points won’t match up and you don’t want them to (which you can see in the image below). I prefer the look of uneven sides, but if you don’t, make sure you cut your fabric into a perfect square so that the points do match.
Mark the center point along the fold (the longest edge). I used a top I had in my closet that I really like the wide neck on as a guide to measuring the hole for my head. I like a wide neck that sits on my shoulders. Grab a t-shirt or sweater that you absolutely love to use as a guide – you could make a scoop neck or a v-neck. Alternatively, use a tape measure to get your measurements from shoulder tip to shoulder tip to make a wide neck like I did. Make sure when you mark for cutting that you allow for seams as these will be doubled over.
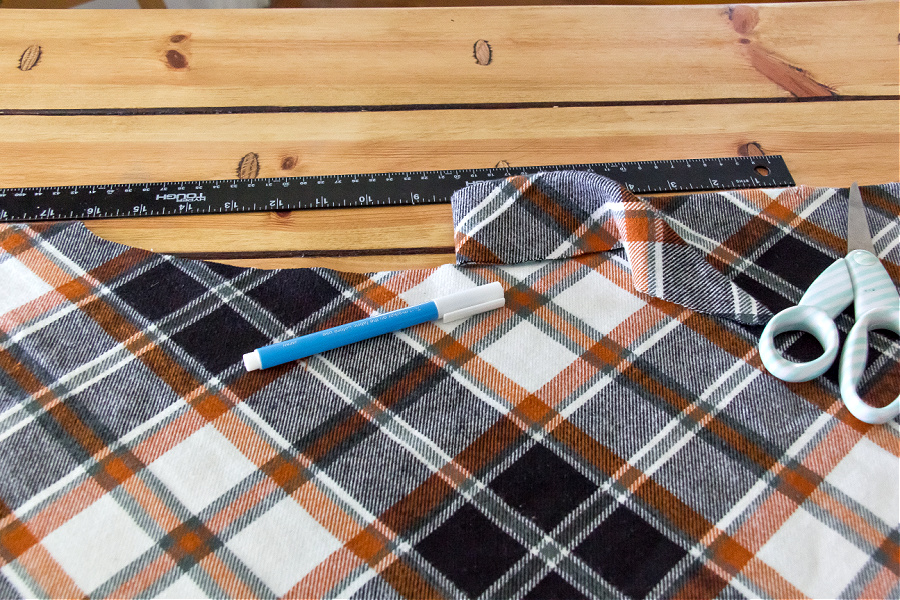
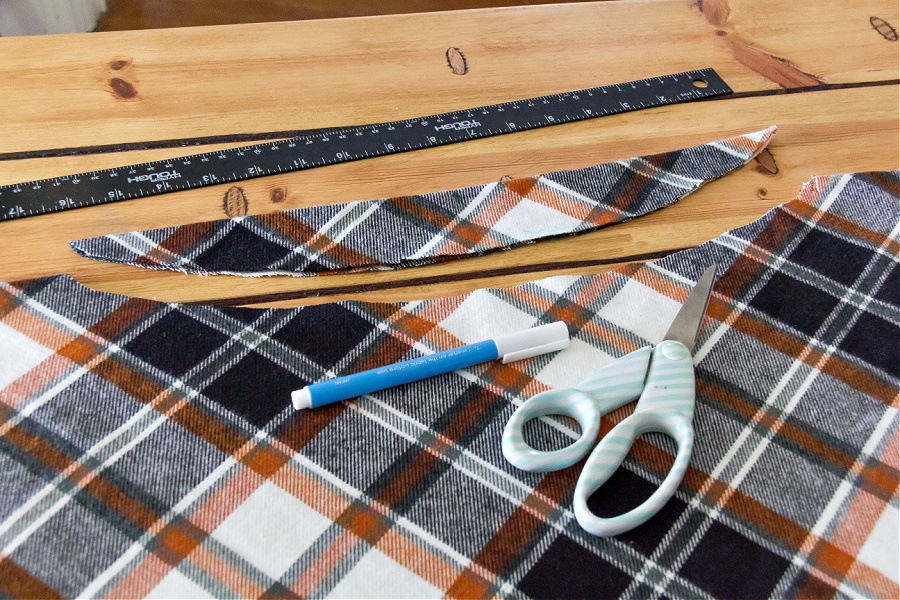
Tip: Because I was doing a really wide neck I wanted to make sure that it was completely even. I had sketched it out with the washable fabric marker, but I cut just half of the neck, folded it over and then cut the other half so that they matched completely. You can do this no matter what shape neckline you decide to use for your poncho.
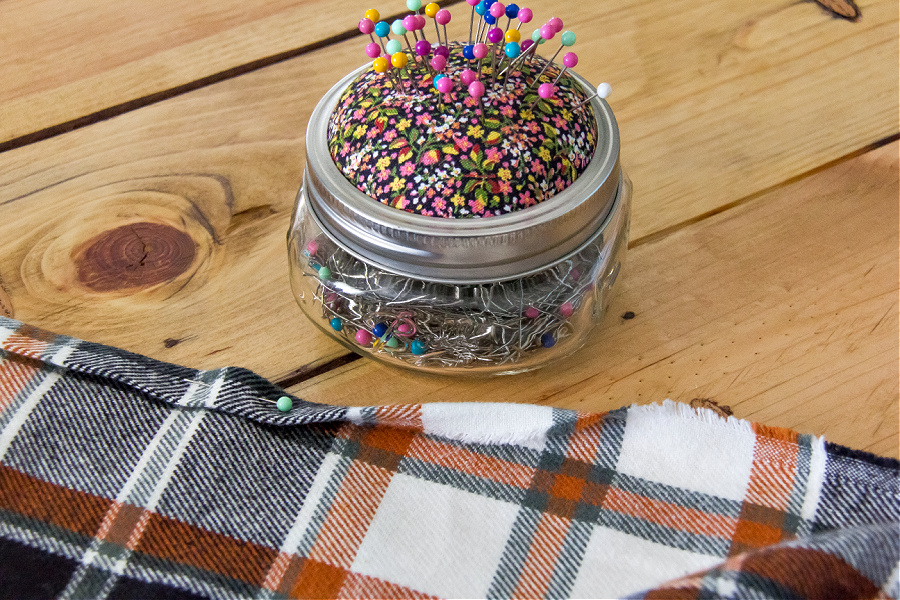
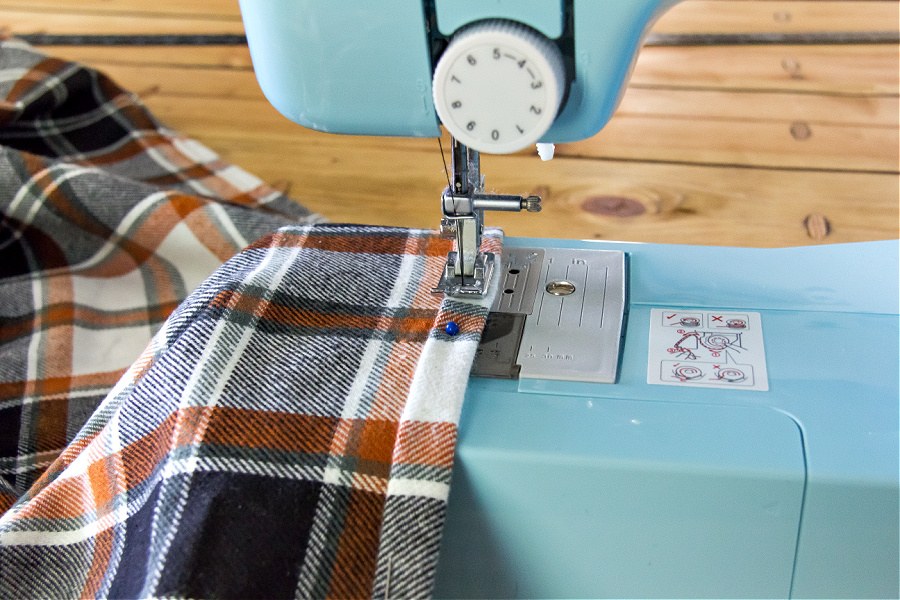
All you need to do from here is hem the fabric, including each side of the poncho and the neckline.
Roll each edge over twice, iron it to keep it in place, and then pin it. This will prevent the fabric from fraying.
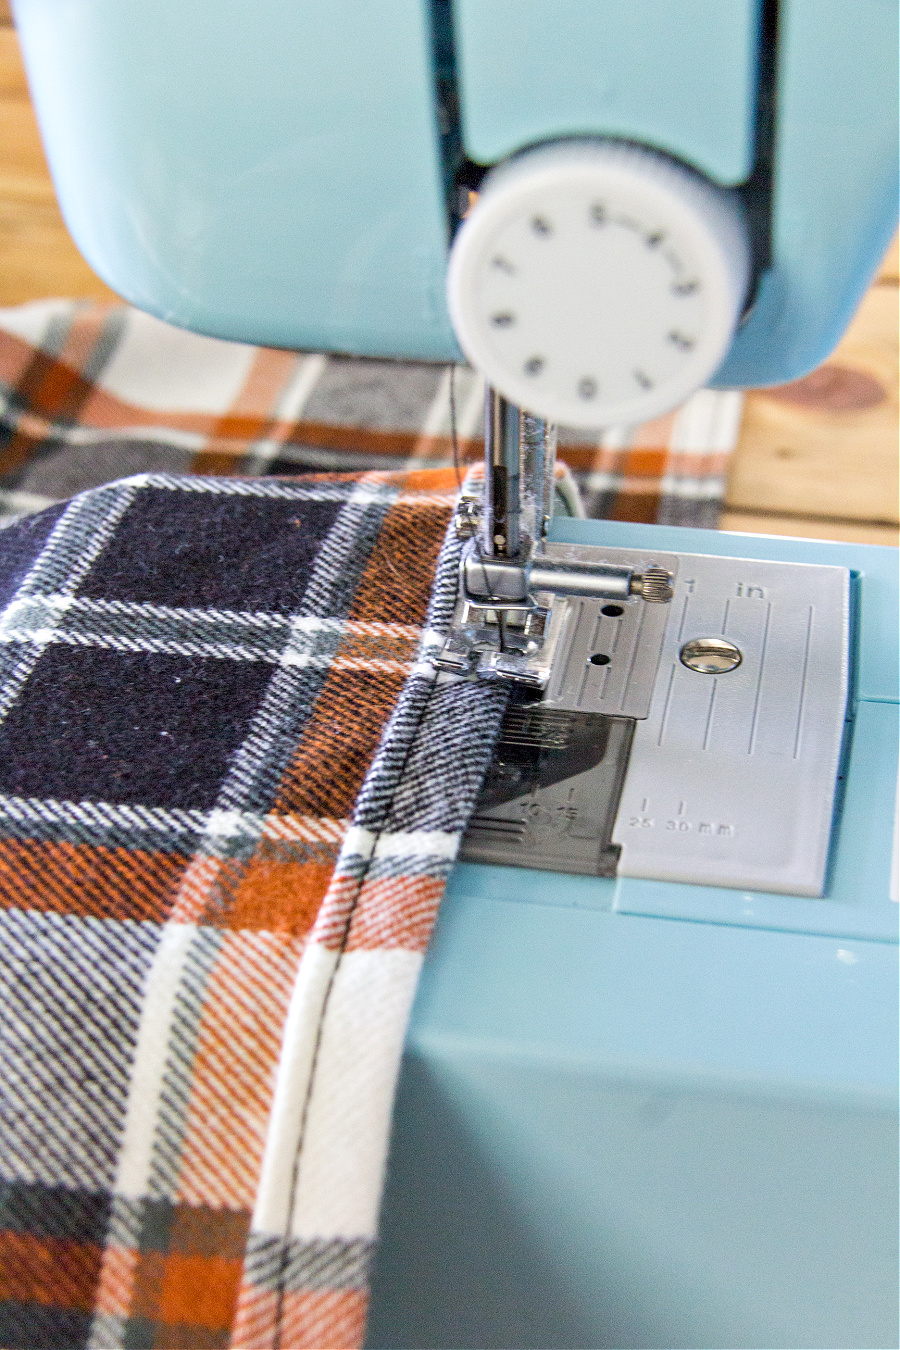
Using the sewing machine, sew a straight stitch down the left side of the hem.
Sew a straight stitch down the right side of the hem too for extra stability.
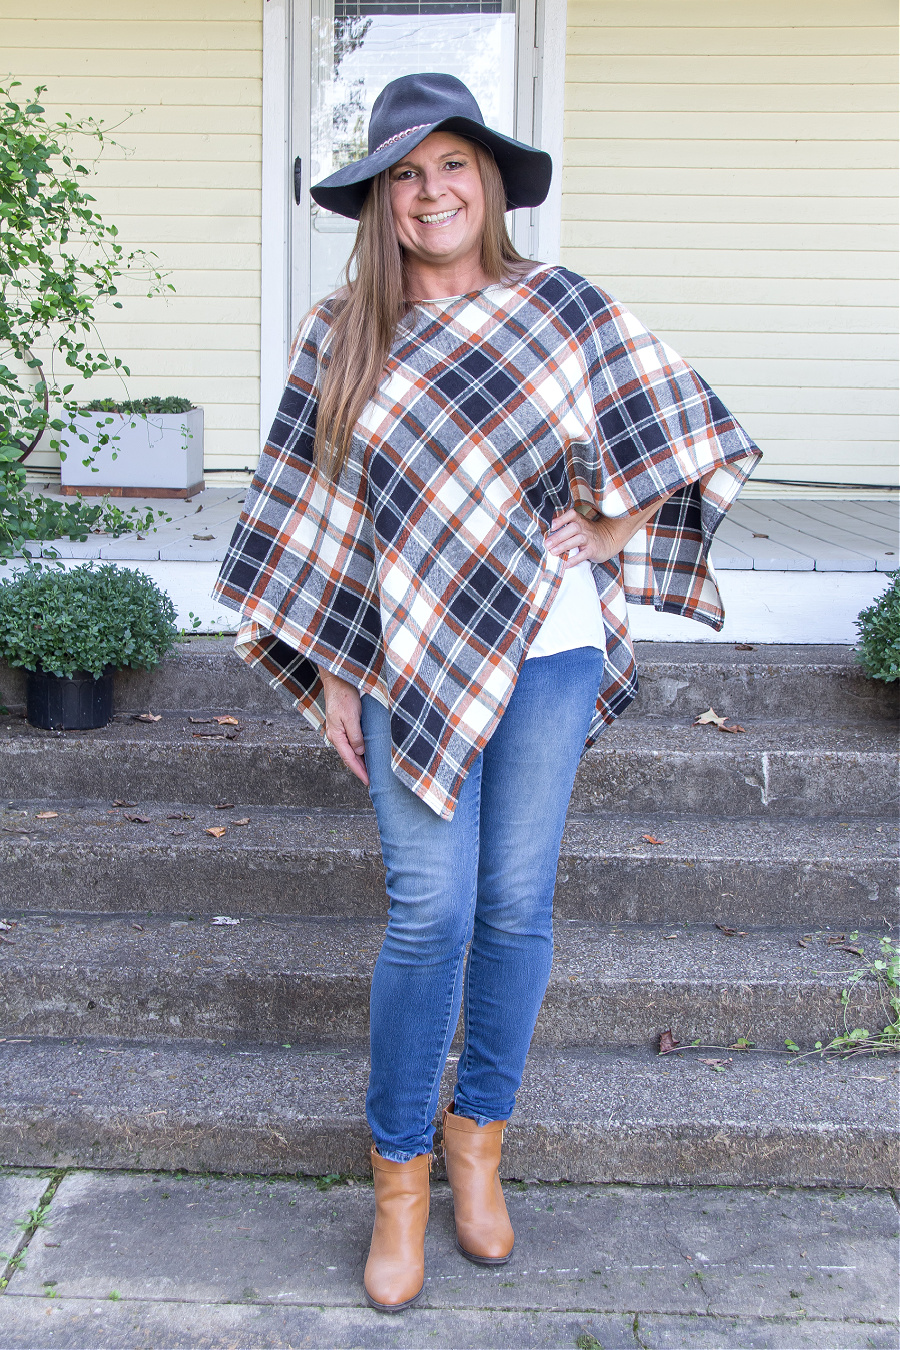
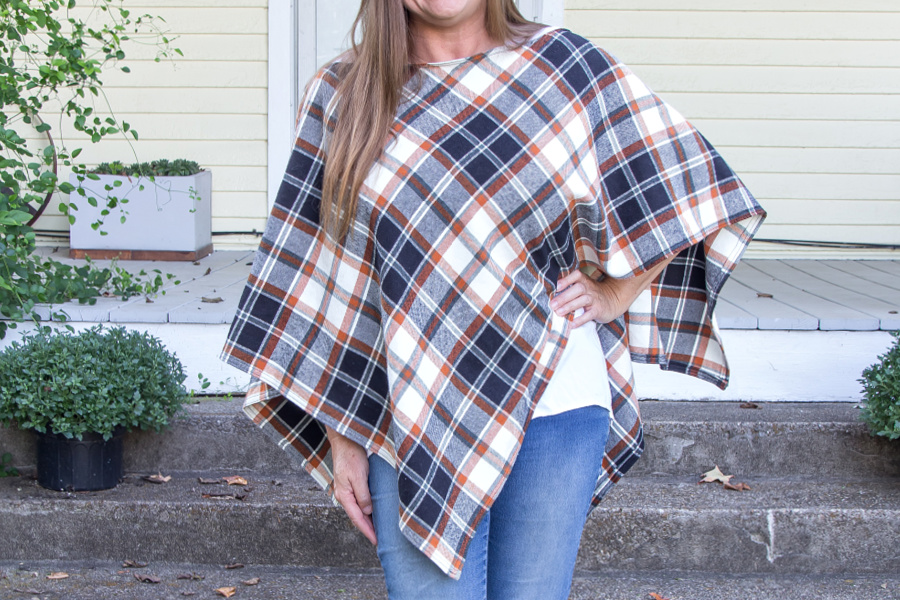
Our finished DIY poncho
Please Pin Post For Later: