Are you thinking about summer travel plans and what to pack? Or maybe you’ve jumped on the current ‘tidying up‘ craze. Or, you’re looking for a fun handmade gift for a teenage girl? You really don’t need a reason though to sew a fabric makeup brush holder, you can just make one for yourself to store your own brushes.
As soon as my daughter saw this one, she asked if she could please give it to her best friend. So, it looks like I now need to make myself a new one though.
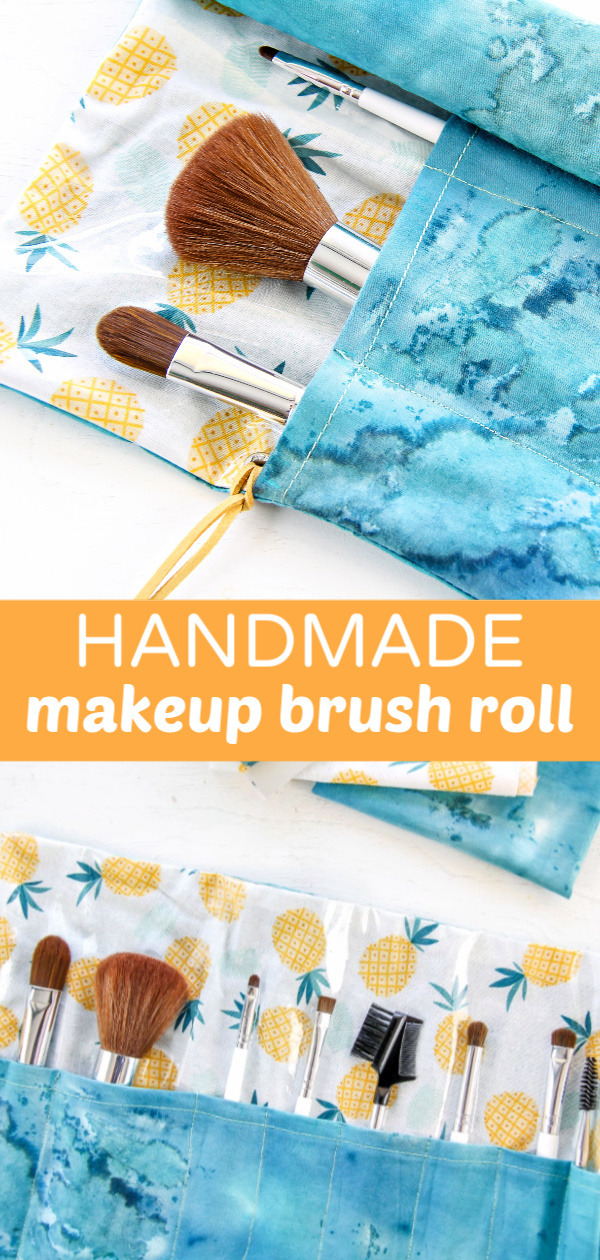
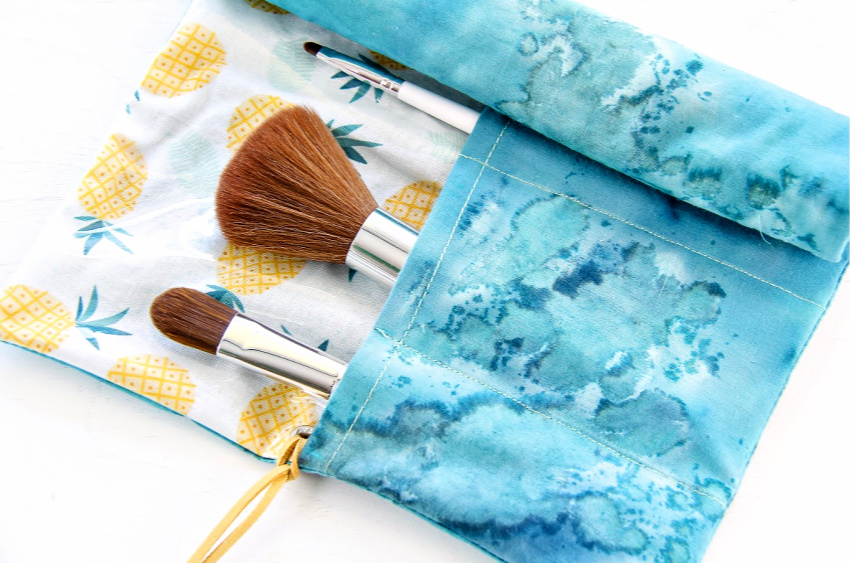
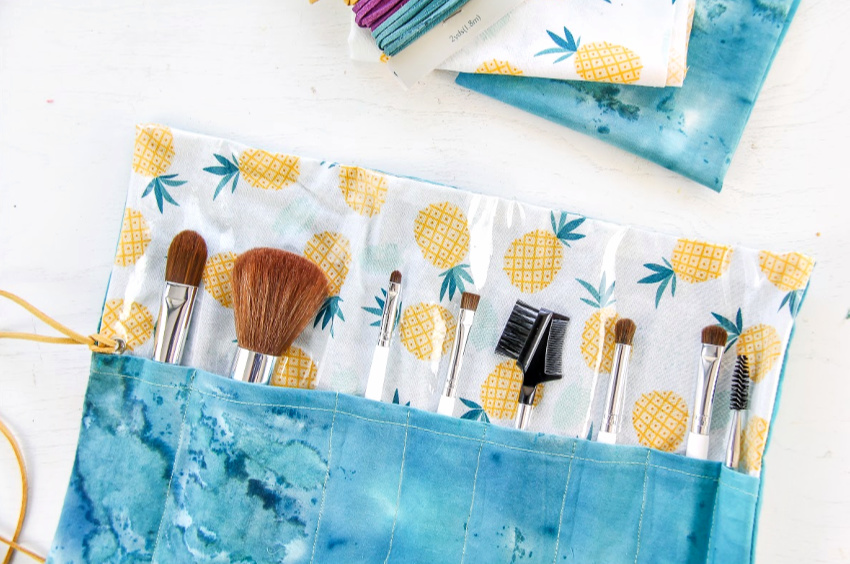
DIY Fabric Makeup Brush Holder
The thing I love most about this Fabric Makeup Brush Holder is that if you are little lazy when it comes to cleaning your brushes (like I am), then you’ll love the vinyl lining inside that wipes clean so the fabric doesn’t get stained with traces of makeup left on any of the brushes.
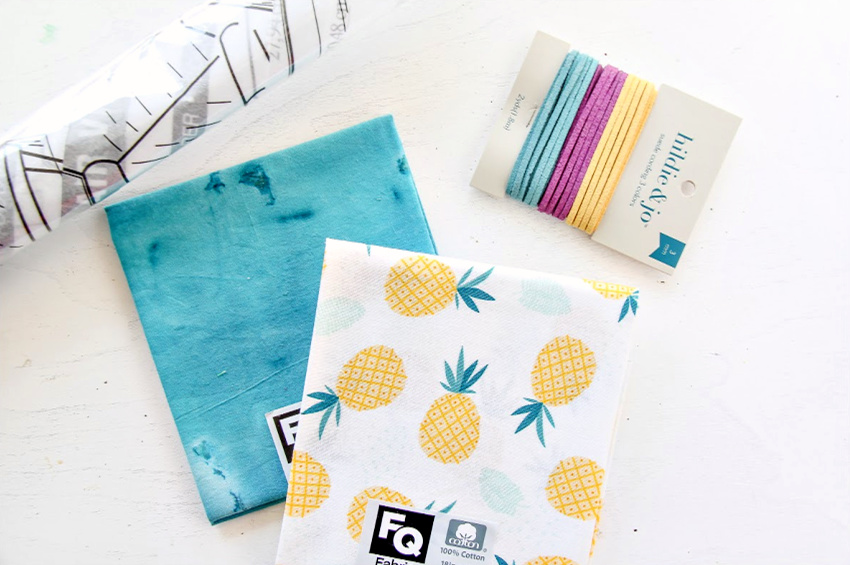
Supplies:
- 2 fat quarters (in different prints)
- Clear vinyl (as thin as possible)
- Sewing machine and thread
- Fabric marker
- Scissors
- Pins
- Ribbon or a leather or suede strap
- Eyelet
Instructions:
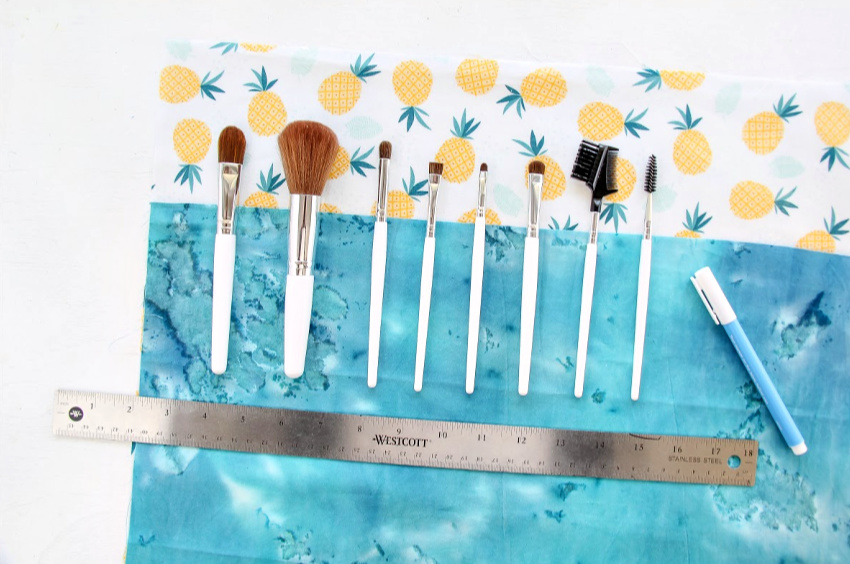
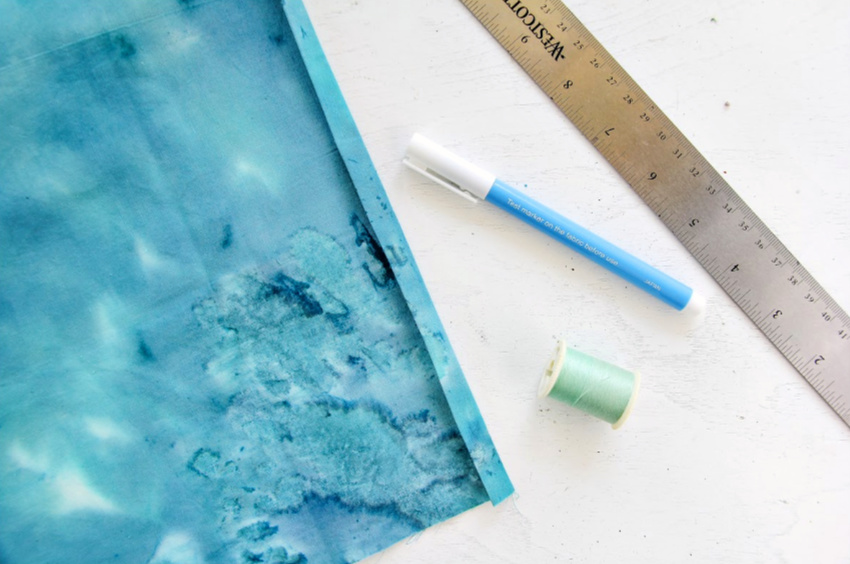
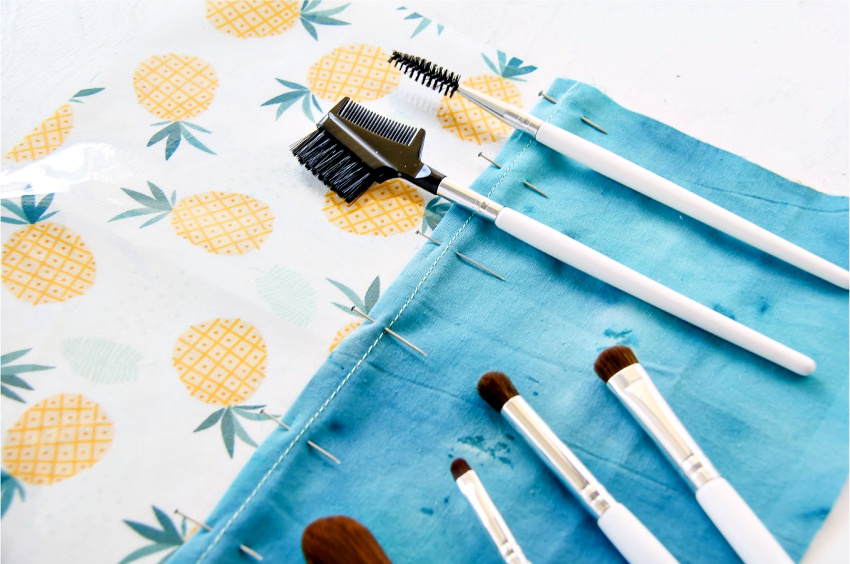
The first thing you need to determine is how long you want your makeup brush roll to be. Lay all of your favorite makeup brushes that you’ll put into it across the fabric (overlapping the prints like in the photo below), making sure to allow room for seams all the way around, and don’t forget that brushes aren’t flat, so you need extra room to account for the shape of them. You can use a cutting mat if you have one, but alternatively, just mark out your edges with a ruler and fabric marker, then cut out your pieces with scissors.
Note: The clear vinyl will be going between each piece of fabric, so needs to be cut to the same size as the largest piece of fabric (in my case, it’s the pineapple print).
The next step is to create a top seam for the fabric that will contain the pockets (in my case, the blue fabric). Fold the top edge over twice and sew into place.
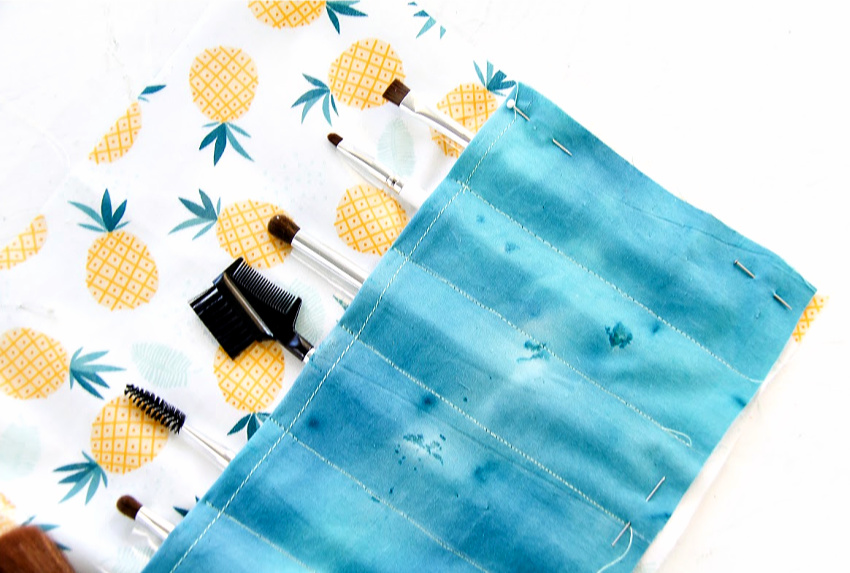
Now, you need to pin where each of your pocket seams will go. Lay all of your brushes across the fabric again, and place pins into position (including for side seams), and then using a fabric marker, mark the lines you need to sew over for each of your pockets.
Place your fabric in order, with the main print (pineapples) on the bottom, the vinyl on top of that, and then the fabric for the pockets (blue) on top again. You’ll be sewing the pockets through all three layers so make sure everything is pinned together securely as the vinyl does tend to shift the fabric underneath it a little. Sew each of your pocket lines, BUT, do not sew the side seams for the last pocket on each side just yet (see the image below).
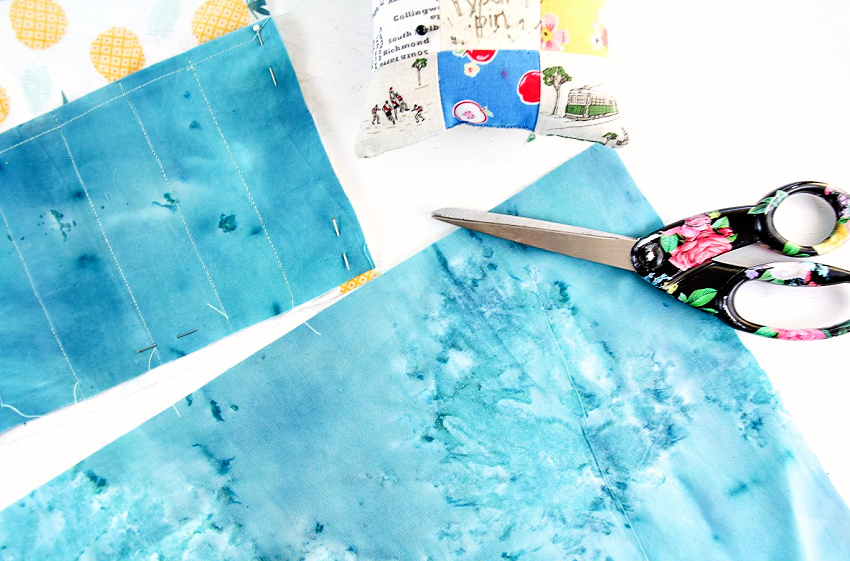
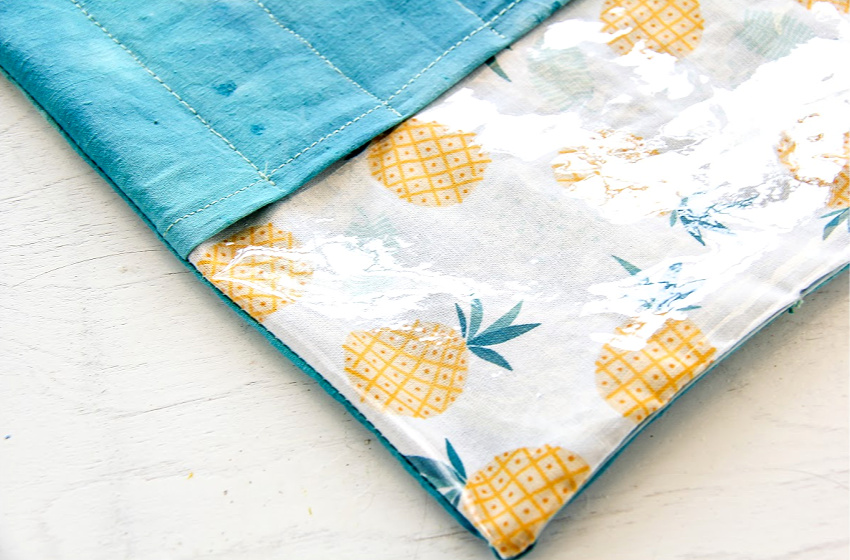
Cut a piece of fabric to back your work. Place it face-to-face with your pockets. Sew your side and top seams, and then most of your bottom seams (just like you would a cushion), then turn your work inside out and carefully stitch the last section closed.
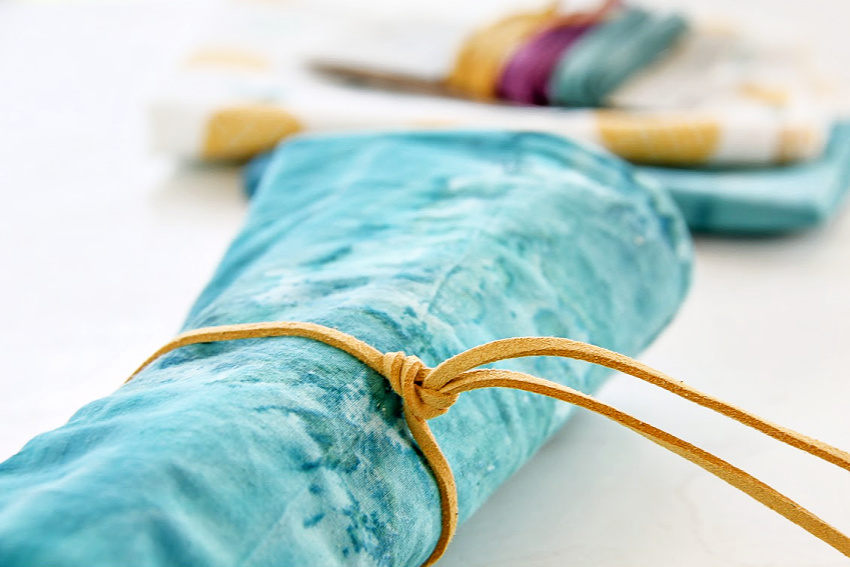
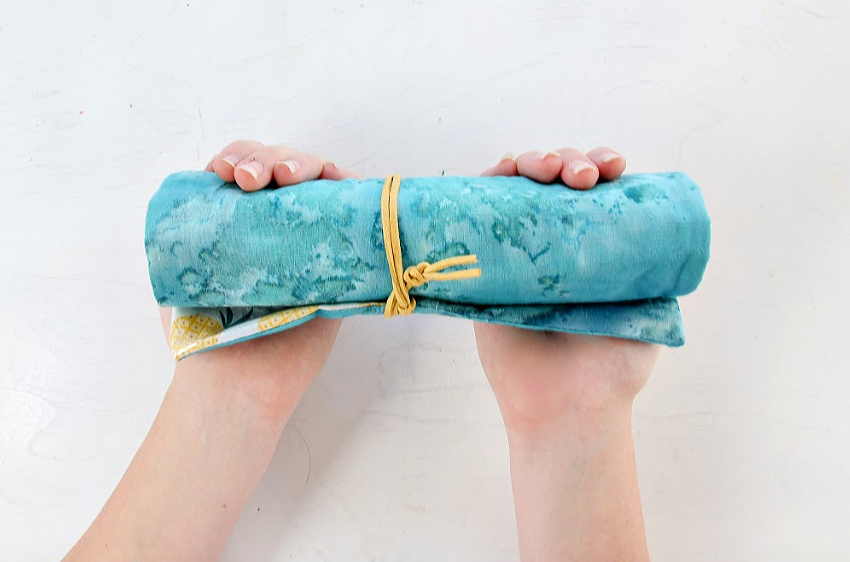
The very last step is to add a strap to tie your roll so that it stays closed, making it more compact for your drawer or suitcase.
Punch and eyelet through one side of your work, close to the seam. Loop a piece of ribbon or strap through, and you are all done!
Please pin this post for later.