We’re stitching up rows of X’s with a Cross-Stitched Tree for our Holiday ABC Series and the letter X. This is a fun introduction to cross-stitch for older kids and grown-up beginners, too!
Simply-shaped Christmas trees are the perfect beginner project to introduce kids to the art of making pictures with rows and rows of little X’s. We used plastic canvas to cross-stitch on – it’s nice and sturdy, with large holes for easier sewing.
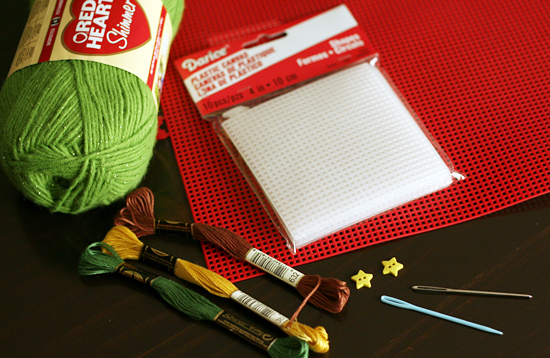
Supplies for Cross-Stitched Christmas Trees:
- plastic canvas (clear, white, or other color of your choice)
- green and brown yarn or embroidery floss
- plastic or metal yarn needle (these have a large eye and a blunt tip)
- scissors
- optional: yellow or metallic yarn for star or star-shaped button
- printable pattern: Cross Stitch Tree Pattern
I found a pack of plastic canvas squares at the craft store, which is what we chose to work with. You can also purchase plastic canvas by the sheet and cut it into smaller pieces.
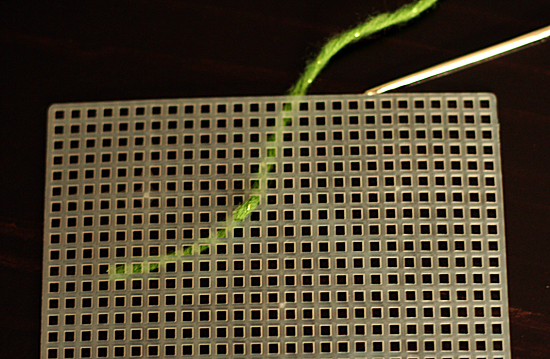
Cross stitch is basically worked in rows. Begin a row on the left, making the first diagonal stitch of each X. Leave a tail of yarn in the back (no knot), and catch it in the back a few times as you continue stitching.
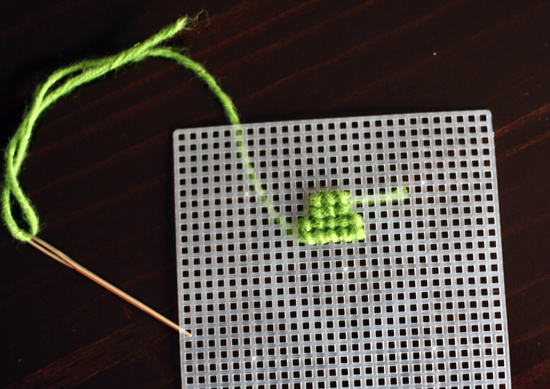
Continue stitching from left to right until you’ve reached the number of stitches for the row – in this case, the first row has 3 stitches.

At the end of the row, head back from right to left, crossing each stitch to complete the X.

In the picture above, you can see I’ve brought my yarn down to the next row of holes, ready to start a new row. Continue following the pattern to complete each row. If needed, help your child figure out the correct spot to start each row, then she can count her stitches as she goes.
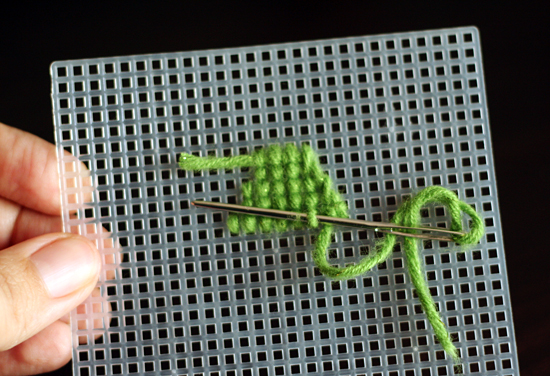
If your yarn starts to run out, flip over your canvas and weave your yarn back through a few stitches. This can be a little tricky, so be ready to help your child with this step. Then just cut and thread a new piece of yarn and continue where you left off. Don’t forget to catch your yarn tail in the back a few times!
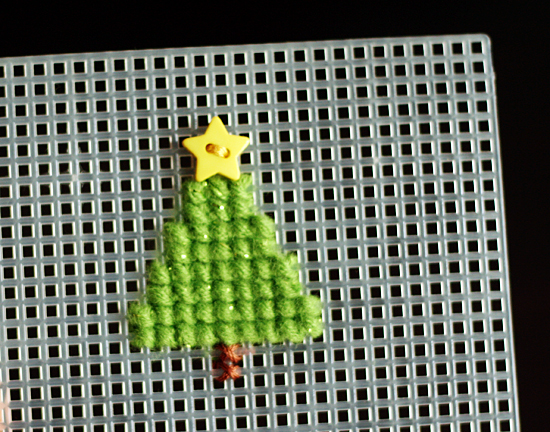
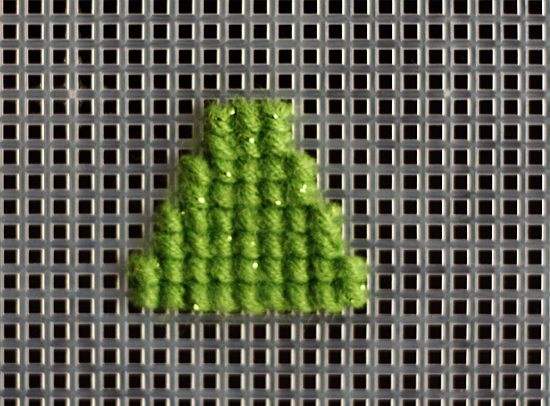
The finished pattern has two rows each of 3, 5, 7, and 9 stitches. Here’s my little cross-stitched tree, ready for embellishing:
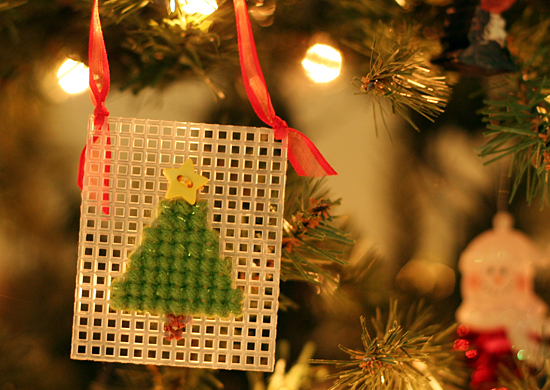
For the finishing touch, add a few brown stitches for a trunk. You can also add a star to the top with a yellow stitch or star-shaped button. You will need to use a smaller needle to sew on your button, or just pull out the hot glue gun to attach it. Either way works great!
These little fuzzy trees make adorable ornaments. Trim off some of the extra plastic canvas, tie a ribbon on top, and hang on your tree.
Your littles can sew their own sequined trees on plastic canvas, too – find the simple how-to at Childhood 101.

What are you doing for the letter X at home? Christmas songs on the xylophone? I think we’ll also be signing cards with lots of X’s and O’s!