It’s time to celebrate with flowers and rainbows, especially with St. Patrick’s Day almost here! So today we are having fun with paints, creating a few swirly rainbows. We’re using paper plates and coffee filters to capture the pretty rainbow colors!
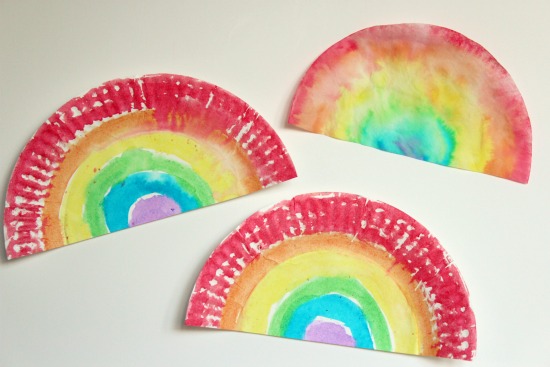
Rainbow Painted Paper Plates
Spring is just around the corner, I can feel it! To help us decorate, we’re making these beautifully painted rainbows to bring some cheer to our spring season!
Supplies:
- paper plate and/or coffee filters – they each give a different look and feel. See below.
- water color paints and brush
- cup of water
- newspaper or tray for painting
- scissors
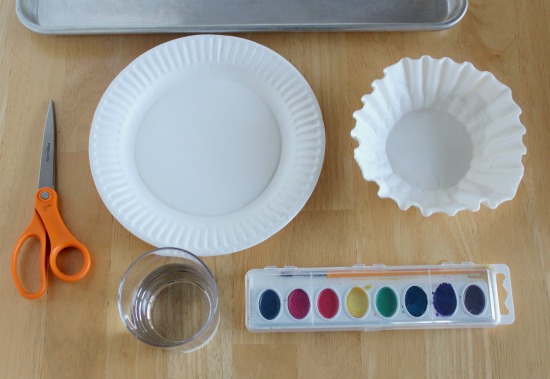
Instructions
1. Set out your supplies ready for painting. We started with a paper plate first.
Paper Plates:
2. Add colors of paint to your paper plate one color at a time, trying to keep them in a circle and in a row. You can add your colors in any order. We started from the center first and worked our way out.
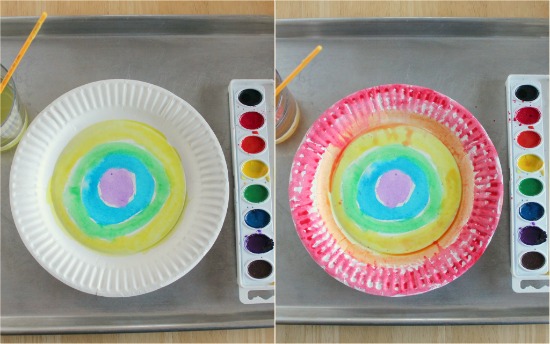
Some colors will blend, as the paper plate is curved. If you have too much water on a specific color, the colors will blend as well. But I think it just adds to the look of the rainbow.
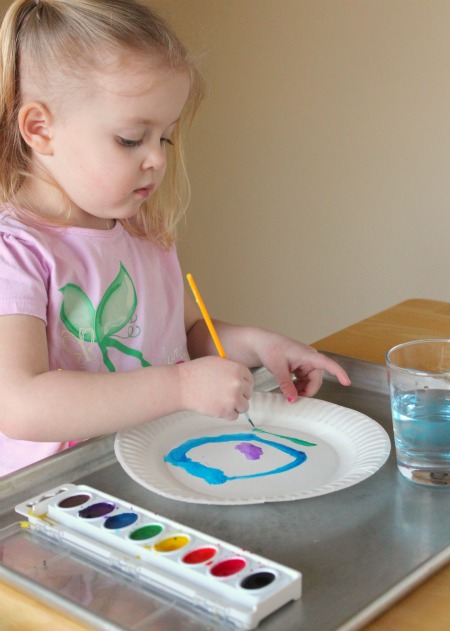
3. Once you’re done painting, you can set your paper plate aside to dry. With the paper plates, unless you used a lot of water, the bottom of the paper plate should be dry and you can simply place it on your table to dry.
Coffee Filters:
4. We did the same thing with our coffee filter painting as our paper plates, going in circles and working inside out. The coffee filter is very thin, so it will bleed through the bottom, that is why we have our tray.
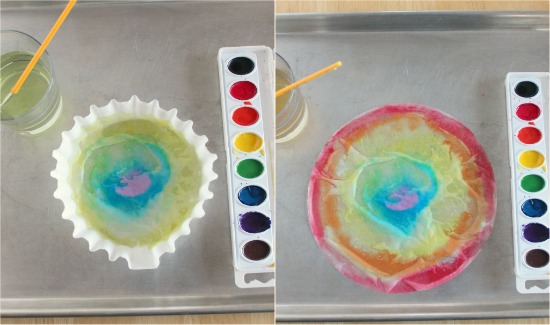
The colors with the coffee filter are much more likely to blend, but again, I think that adds a fun element to the rainbow.
5. To help your coffee filter dry, as it is wet through the bottom, place it on top of newspaper, another tray, or another paper plate. We placed ours onto another paper plate to dry and discovered something else fun, paint stamps! Here is what our paper plate looked like after our coffee filter dried. I think that turned out just as fun as the coffee filter.
Once we saw what happened to the paper plate under the wet coffee filter, we also took a second coffee filter and “paint stamped” that one as well. Here’s what they looked like.
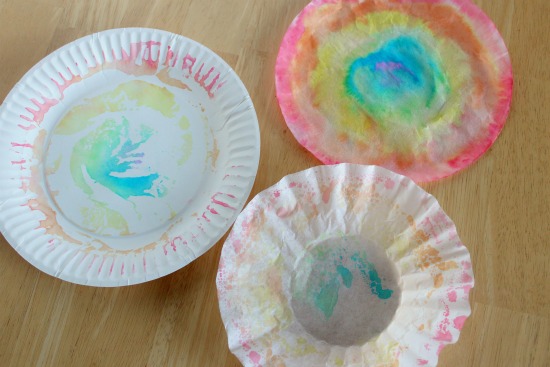
6. When everything is dry, after an hour or two, your rainbow is ready. You can leave it in it’s fun circle shape here:
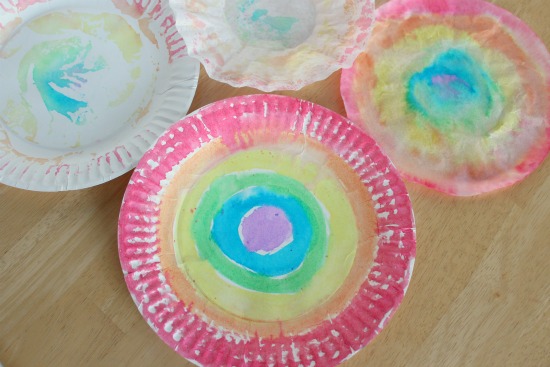
Or cut it in half and have a rainbow you might see in the sky. Either way is a really pretty painted rainbow. I’m not sure which is my favorite!
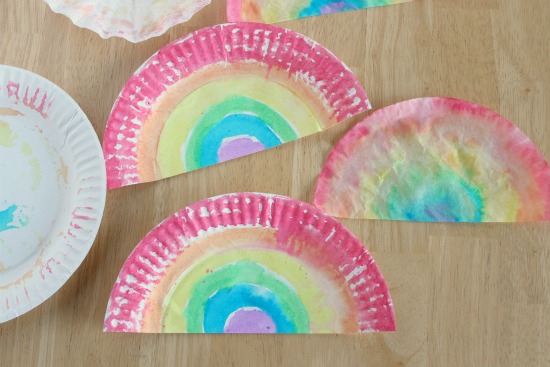
We are now hanging them in our window to display. **The fun part about using the coffee filters is that the people on the outside of the window can see the rainbows as well!
*Originally posted: 2/29/02


These are lovely! I’m going to try them tomorrow. I think I will cut them in half to make the tradition rainbow shape and then glue them back to back so when they hang and twist in the wind you can see the rainbow from either side!
Just stopping by to let you know that I’ve featured your craft on Family Fun Crafts! You can see it here:
http://funfamilycrafts.com/spring-rainbows/
If you have other kid friendly crafts, I’d love it if you would submit them. :) If you would like to display a
featured button on your site, you can grab one from the right side bar of your post above.
Absolutely gorgeous Marie!
Pretty cool! I love the circles, it can make a small hat or something else funny!