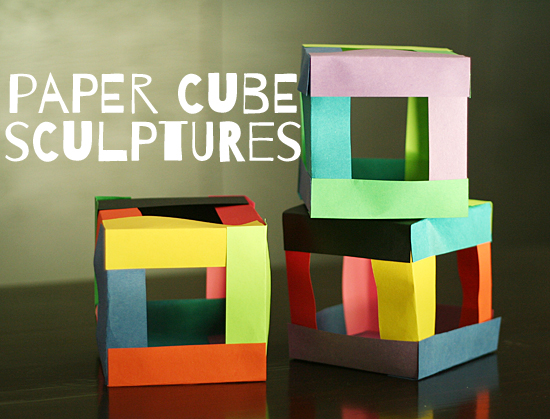
Here’s a fun craft-meets-construction activity to try, colorful paper cube sculptures. With just paper and glue, you can create 3-D cubes that can be stacked or glued together to create a larger sculpture. Once you show your kids the simple technique, they will be able to make a cube in just minutes.
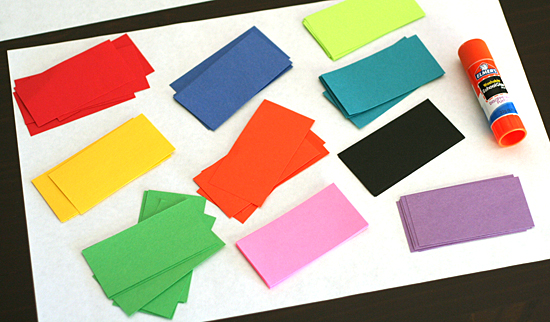
The only supplies you need for making paper cubes are pieces of colored construction paper, cut into 2″x4″ strips, and a glue stick. You could also use scrapbook paper or card stock to make your cubes. If you like, draw on or decorate the paper strips before getting started, too.
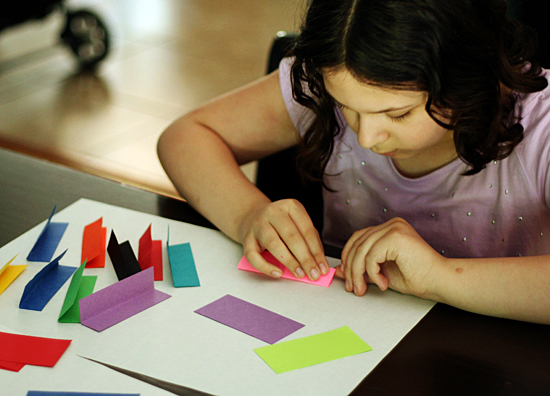
You will need 12 paper strips to build your cube. Fold each of your strips lengthwise, rubbing your finger along the crease for nice, sharp fold.
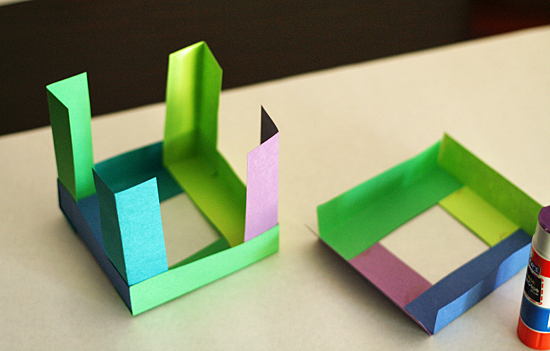
Now it’s time to start constructing the cube. Overlap and glue four strips into a square, tray-like shape. Make two of these trays for the top and bottom of the cube.
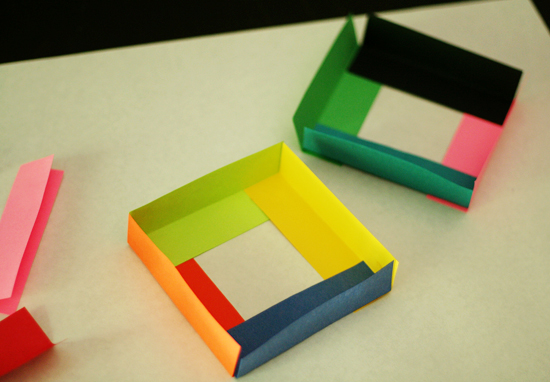
Now let’s add the sides. Working with one of the trays you just completed, attach a strip to each inside corner, standing up.
When you have all four sides attached, it should look like this:
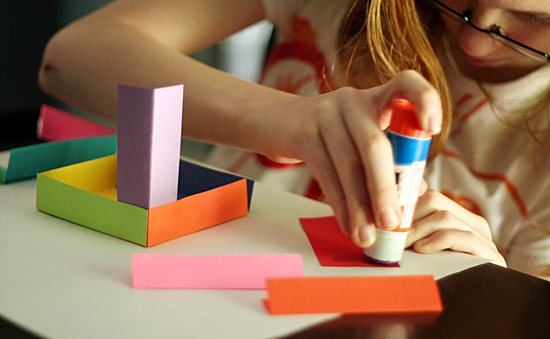
The last step is to attach the top and complete the cube. We found it easiest to apply a generous amount of glue to the inside corners of the top, then set it on top of the sides, turn it upside down, and press each corner into place.

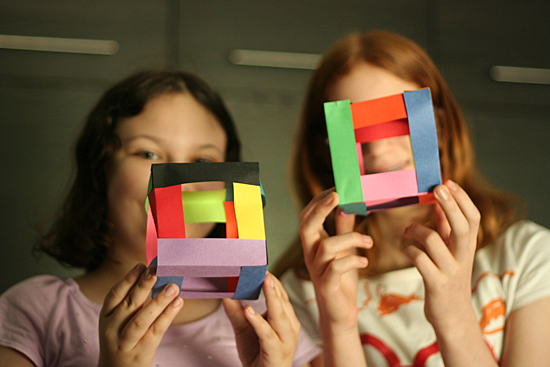
Ta-da! You now have a cool and colorful paper cube. If you want your cubes to be really sturdy, I recommend making them with card stock instead of construction paper. Ours were just a little wavy and wobbly, but still came together nicely.
If you make a bunch, you could create an even larger paper sculpture with them, or play with the cubes like blocks. My girls said they would be cute homes for little plastic animals, too.
Happy crafting!