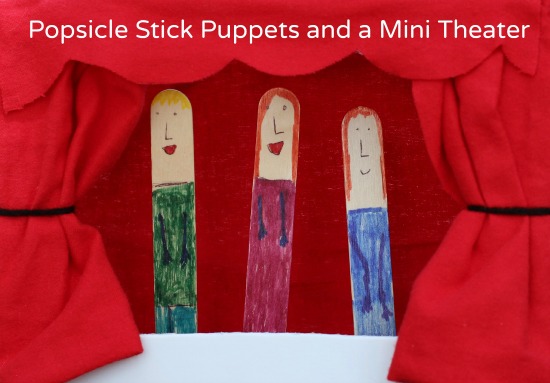
My children never get tired of puppets and puppet theaters! We’ve made so many variations and the kids always have a blast. This weekend we made Popsicle Stick People Puppets, simply drawing on the sticks, and I helped the kids make a theater out of a shoebox. It was a great project for the whole family!
If you’d like to make Popsicle Stick People and a theater to match, here’s what you will need:
- Wooden Popsicle Sticks
- Markers and an Ink Pen (my older children found the ink pen was helpful for drawing eyes and other small features)
- A shoe box
- Some scrap fabric
- Yarn (Optional)
- Hot glue gun and sticks (Parents only)
- Scissors
- Box cutter (Parents only)
- Paint (Optional. We painted our box)
To get started, make your popsicle stick puppets!
Step 1:
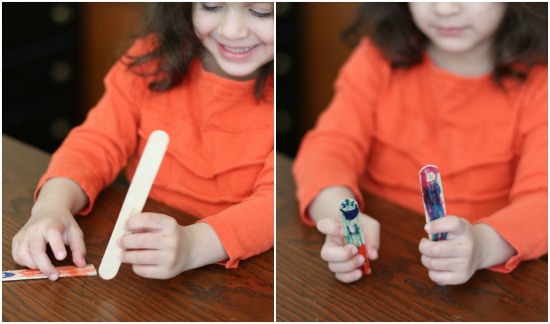
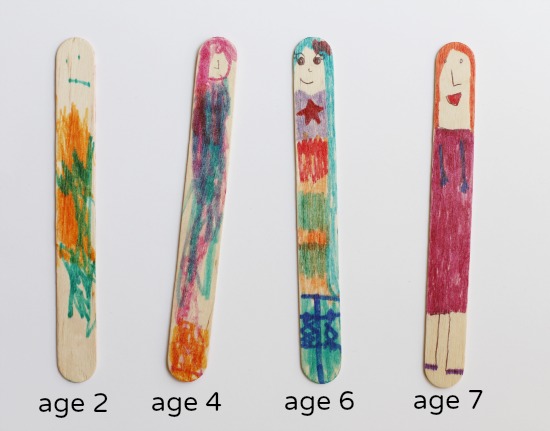
Hand out the popsicle sticks and set out the markers. Tell the kids to turn the sticks into people! You can make some too to show them how if they need suggestions.
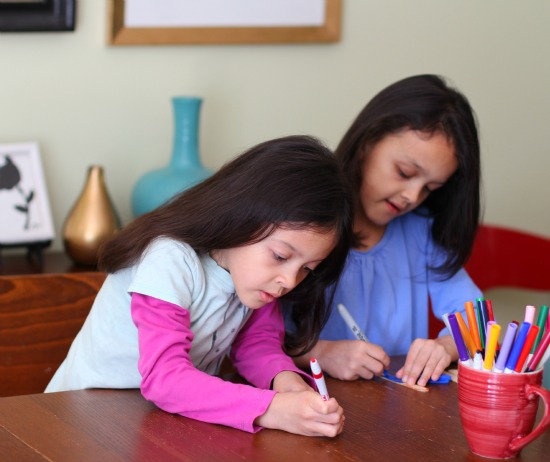
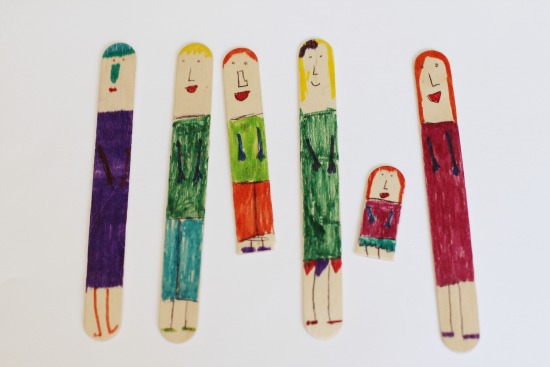
My children each made really cute people. We just used markers but you can obviously add fabric or yarn or any other embellishment for details. Here’s an example of what the children produced and I’ve listed the age of the child who made each stick so you can see this is a great project for many different age ranges.
Now that your popsicle people are complete, it’s time to make your theater! Adults, parents and teachers, you’ll need to help construct this.
Step 2:
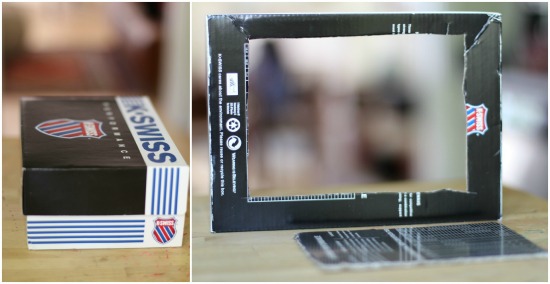
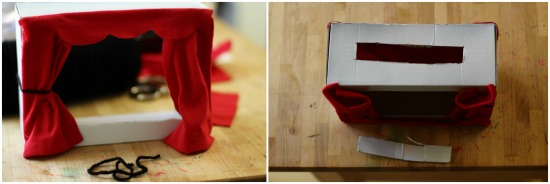
Remove the lid for a shoe box then (adults only) cut a rectangular opening using your box cutter in the box.
 Step 3:
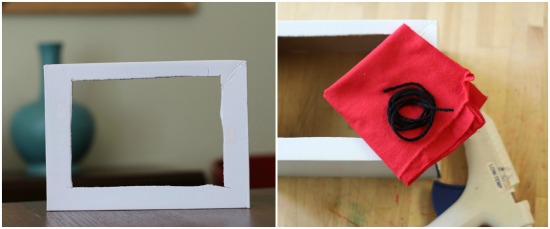
If you wish, paint your box. Optionally, you could cover your box in wrapping paper.
Step 4:
Choose some scarp fabric and select some yarn. Plug in your hot glue gun.
Step 5:
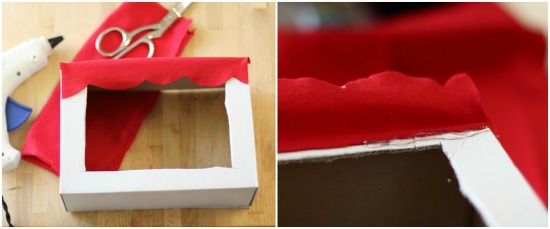
To make your curtains, measure the top width of the box then cut a strip of fabric in that length for the top of the curtains. We scalloped our fabric. Hot glue the curtains to the box only on the top of the fabric so that you form a flap. Glue a strip of glue under the flap on both the right and left side of the box.
Step 6:
Cut strips of fabric for the left and right side of the curtains. Glue them underneath the flap of fabric at the top where you added your strip of hot glue. You can tie the curtains with some yarn. Add a flap of fabric to the back if you want.
Step 7:
Optional step. After you have finished making the curtains flip the box upside down and then (adults only) cut an opening through the bottom of the box. This step is optional as you can just have the popsicle sticks open the back fabric flap and perform that way.
*For my final picture here, I taped the popsicle sticks to the base of the theater (to hold them still for the picture) but for the kids to use the theater, you’ll need to place the box (and tape it if need be to hold it in place) on the edge of a table so the kids can poke their hands through the bottom opening or the back flap.

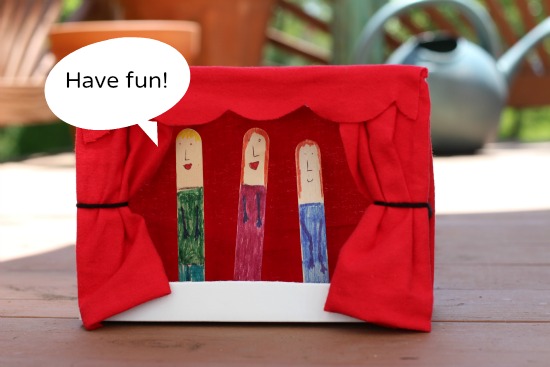
Now, go have a play! Put on a show! Break a…errr…popsicle stick?
Have fun!
Wow! I love making the stage!