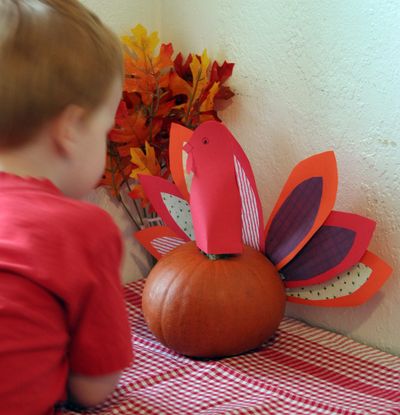
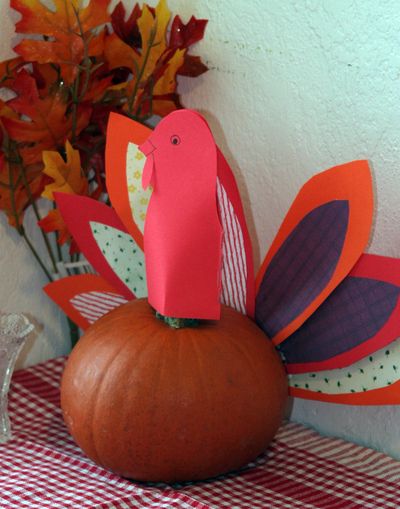
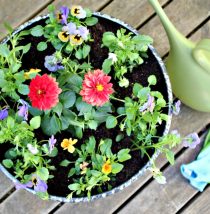
 I still had a couple of uncarved pumpkins left over from Halloween, so I thought it would be fun to use them for a Thanksgiving centerpiece. I think this would be cute at the kids’ table on turkey day. My three year-old son helped me with this project (mostly with gluing and cutting up my scrap paper when I was done with it), and he was so excited about it and proud when we finished it.

I busted into my stash for the supplies for this. You should be able to round up stuff from your stash to complete it, too. No need to buy anything new! I was thinking about it, and I have had this scrapbooking paper since about 1999… time to use it or lose it!
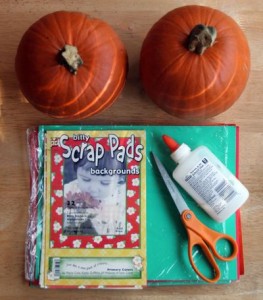
Project Materials:
- Pumpkin with a tall, straight stem
- 3 pieces of card stock (I used 2 red and 1 orange)
- Scrapbooking paper, 2 sheets (8.5 x 11) or 4 half-sheets (I used a “bitty Scrap Pad”)
- Scissors
- Glue (I used Elmer’s stick glue for the paper and Aleene’s Quick Dry Tacky Glue for gluing to the pumpkin)
 Making the feathers:
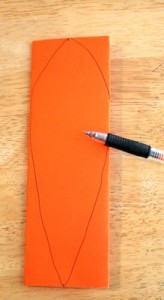
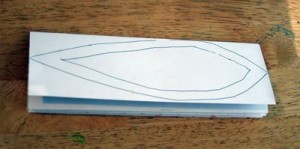
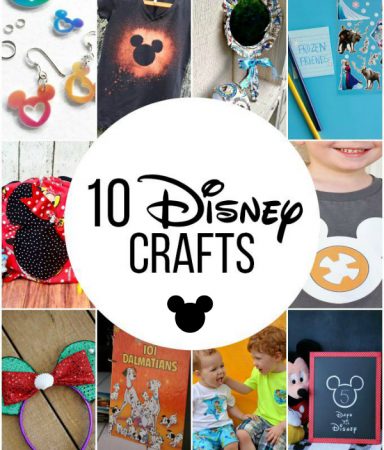
- Fold 2 sheets of card stock in half and then in half again (so you have a long, skinny piece, as shown). I used one red and one orange sheet.
- Draw a feather shape on the paper
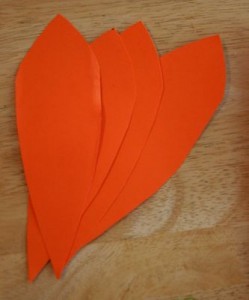
- Cut out feathers (you should have 8 after you are finished with both sheets of card stock)
- Fold the sheets of scrapbooking paper the same way you did the card stock. (If you are using half-sheets of scrapbooking paper, you will only fold them in half once)
- Trace one of your cut out feathers onto the outside sheet of scrapbooking paper, then draw a smaller feather shape inside the traced outline.
- Cut out scrapbooking paper on the smaller outline.
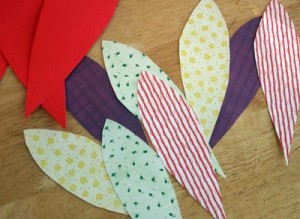
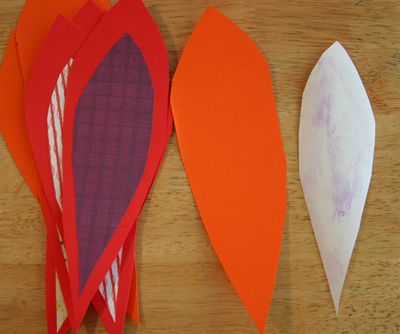
- Glue scrapbooking paper feathers to card stock feathers.
Making the Turkey Head:
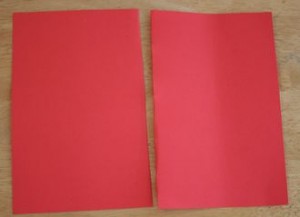 Cut red sheet of card stock in half.
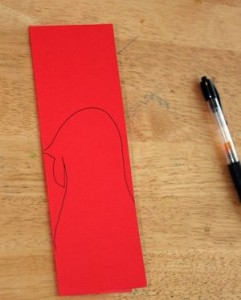
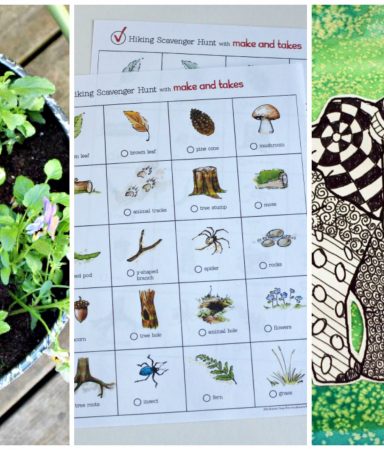
- Fold half-sheet in half, and draw turkey head shape on it, allowing beak and chest to overlap on folded side.
- Cut around outline, leaving chest and beak intact at the fold.
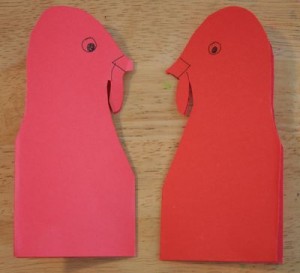
- Draw eyes and other details on head. (This photo is showing two turkey heads, by the way – so don’t cut your heads in half!)
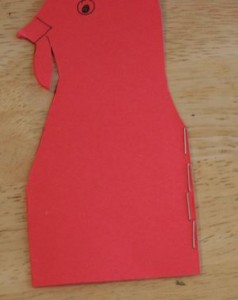 Staple or tape back of turkey together. You will slip this turkey head over the stem of the turkey.
Assembling the Turkey:
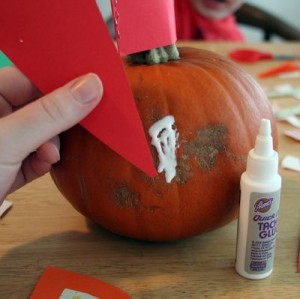 Make sure the pumpkin is clean and dry.
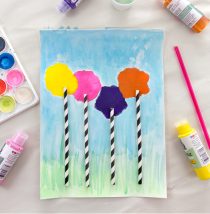
- Decide what arrangement you want your feathers to go in. I alternated red and orange feathers, and only used seven of them.4
- Glue the feathers, one at a time to the ugliest side of the pumpkin.
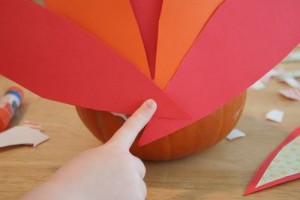 My son really liked the gluing process. I think he got the feathers mixed up, but hey, it’s supposed to be fun, not perfect.
 Heather Mann is a regular contributor at Make and Takes. She’s is the mother of three boys, ages 3, almost 2, and newborn. She publishes Dollar Store Crafts, a daily blog devoted to hip crafting at dollar store prices, CROQ Zine, a print magazine devoted to hip crafting, and also CraftFail, a community blog that encourages crafters to share their not-so-successful craft attempts.
Very cute! I need to pass this along to my mom…My niece & nephew would have a great time making these on the night she watches them!
Thanks, Mom! :)
With a couple of those cute hurricane lamps, we’ll be all set!