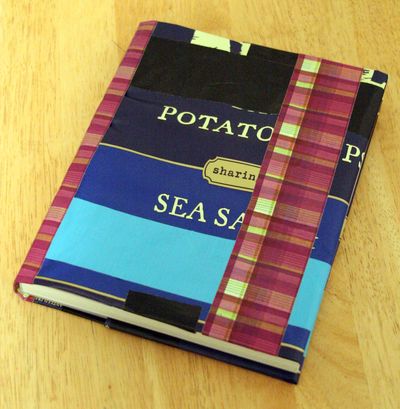
Along with school shopping and choosing a new lunch box, one back-to-school tradition is covering your school books. Some schools require it, some don’t, but your kids are sure to get a kick out of customizing their books with covers made from recycled materials.
You can use a variety of destined-for-the-dumpster materials to make unique book covers that, along with duct tape, will be sturdy and protect textbooks when they get shoved into a locker or a brimming backpack. I used two potato chip bags, but you can also use cereal bags, paper sacks (an old standby), or a variety of other product packaging. With the addition of colorful duct tape, book covers become almost indestructible! Using recycled packaging also teaches kids about recycling, and demonstrates that it’s a good idea to reuse things whenever possible.
Bonus: you can find patterned duct tape (like the plaid in the photo above) at big box stores right now. I found the plaid at Target, and some tie-dye printed tape at Wal-mart. Clear packing tape is also a great choice because it will allow the artwork on the recycled packaging to show through.
Time Needed for Project: About 15 minutes per book.
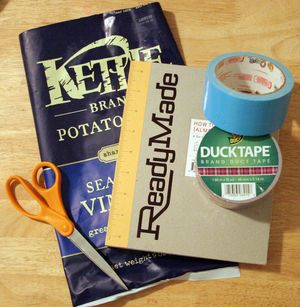
Materials:
- Recycled packaging, such as a potato chip bag (I needed two to cover my medium-sized book.
- Duct tape in one or more fun colors (or packing tape)
- Book to cover
- Scissors
- Dish soap, water, and sponge or washcloth
- Optional: Stickers
Preparing the Packaging:
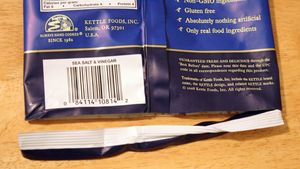
- Cut off the bottom of the bag above the sealed seam.
- Cut off the back seam.
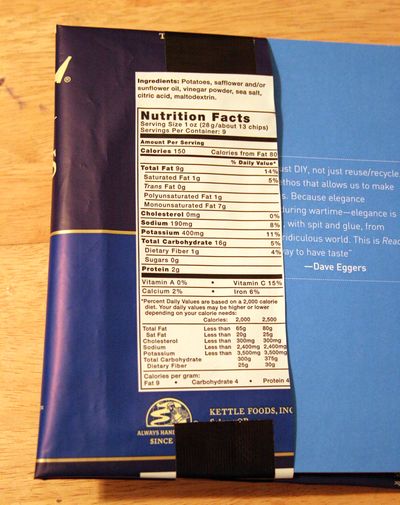
- Wash bag thoroughly with dish soap and a sponge or washcloth to remove all residual oil and crumbs. You can do this in your dishwater if you wash dishes by hand!
- Wipe both sides of bag dry. Make sure bag is completely clean and dry before you begin covering your book.
Here are my two chip bags, all clean and dry.
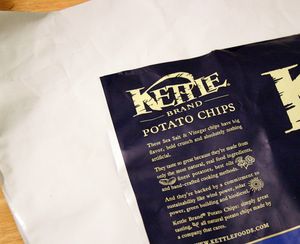
Note: if your kid isn’t jazzed about the idea of using an old chip bag for a book cover (disclaimer: my kids are 3 and under, so they think everything is cool! I don’t know if recycled chip bags will fly with your middle schooler!), let the inside of the bag face outward, and they can decorate it with stickers or duct tape as they prefer.

Assembling the Book Cover:
Tape your two packages together using a piece of duct tape. Allow the tape to extend over the edge of the package.
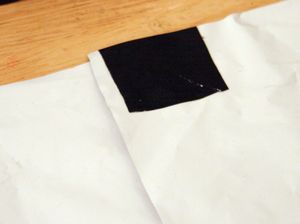
Turn bags over and wrap tape over the edge. See how the two bags don’t perfectly line up? Don’t worry about that because you will be folding this part again anyway, and it won’t be seen. You can also tape the inside of the bags where they overlap, if you want.
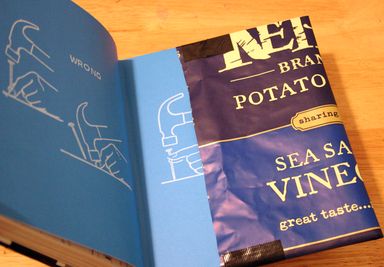
Lay your book on your prepared chip bags. Make a crease in the bag along the top of the book, as a guide. Remove book and fold chip bags at the crease, keeping fold as straight and even as possible.
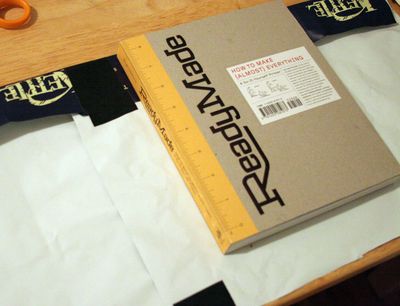 Lay book on top of folded edge (leave a tiny bit of room at the top of the chip bag to make it easier for the book to slide into the book cover once it’s assembled). Crease chip bag at bottom of book to make a guideline. Remove book and fold bottom at crease, keeping fold as straight and even as possible.
I taped each folded section in the middle, but not at the ends (you want to leave the ends open so the book covers can slide into them). Chip bags don’t maintain the folds as well as paper does, so the tape helped keep everything in place.
 Close book cover over book, and check the placement of any artwork you want to show on the front of the book. Fold end over the edge of the slightly opened book cover to make a crease.
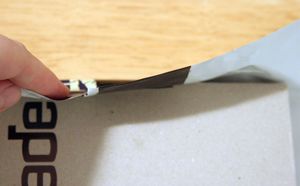
 Insert one side of book into the folded end of the book cover.
Tape to secure (make sure you aren’t taping any area where the book is, and that the book cover is able to slide when opened and closed.
Repeat process for other side of book (trim book cover if necessary, before you put it onto the book). I found that it was slightly more tricky to coax the book into this side.

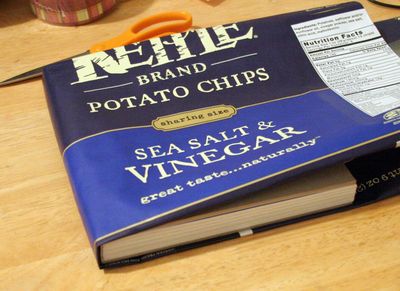
You can stop here if you want, or add additional decorations like stickers or cut-out pictures covered in clear tape, or a nametag or book label.
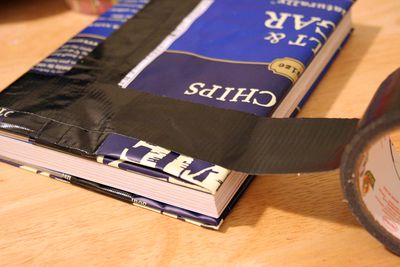 I added a couple extra pieces of duct tape just for fun.
I really wanted to try my new plaid duct tape out!
Heather Mann is a regular contributor at Make and Takes. She’s is the mother of two boys under age 3, and another boy on the way. She publishes Dollar Store Crafts, a daily blog devoted to hip crafting at dollar store prices, CROQ Zine, a print magazine devoted to hip crafting, and also CraftFail, a community blog that encourages crafters to share their not-so-successful craft attempts.

What a great idea! Very creative — TFS!
I like this a lot! Hooray for recycled projects!
This is too cool! Like Pop Art on your text books! I am sending this to all my nieces and nephews :)
Now my son is going to have a hard time picking out which chip bag to eat and then reuse! I love this!
When I was in Jr. High and High school – I tried to find anything different to cover my books with. This is a fun idea.
Heather –
Another fab idea knocked out of the park! My Middle School son thinks it’s cool, and I’ll second the High Schoolers lovin’ it too. Not a day goes by that I don’t see 6 Dora Backpacks, 3 Scooby-Doo’s and a smattering of SpiderMan. Chester Cheeta would be in good company!
Love, love, love it.
It may not fly with middle schoolers, but I’ll bet my 17 year old high school senior will LOVE it!!