I recently picked up a box of chalk pastels at the craft store, and we finally decided it was time to break them in with some Valentine-inspired art. Using a simple stencil and chalk pastels, we created these fun pictures with a random design of positive and negative heart shapes. All the coloring and smudging is great work for little hands, too! Let’s get to creating…
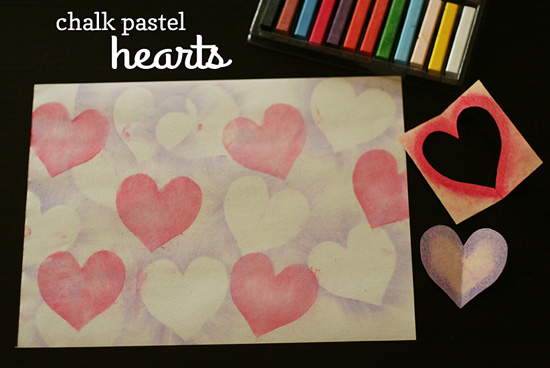
Chalk Pastel Hearts
Supplies for Chalk Pastel Hearts:
- drawing paper
- chalk pastels
- small piece of heavy paper, file folder, etc. for stencil
- tissues (for smudging)
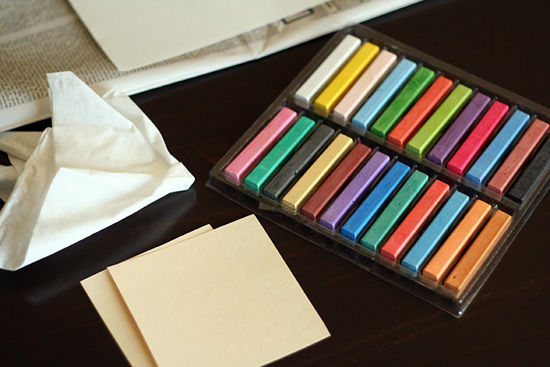
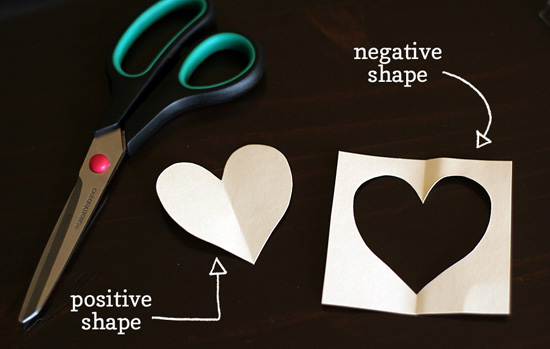
The first step is cutting a heart stencil. Fold the small piece of heavy paper (we recycled a file folder) and cut out a heart shape. We’ll be using both pieces for our project – the solid positive shape and the leftover outline, or negative shape. Feel free to tell your kids about positive and negative shapes and wow them with your art expertise.
We’re going to create our background first, using the solid heart shape. Lay down some newspaper or other scratch paper to work on. Choose a chalk pastel color and color all around the edge of your heart. I recommend doing this off to the side on scratch paper, so you don’t make marks all over your project.
When you have applied a nice outline of color, choose a spot on your paper to place your heart. Use a tissue to smudge the chalk off of the heart and onto the paper. Lift your heart stencil off and check out the negative shape you made. Cool!
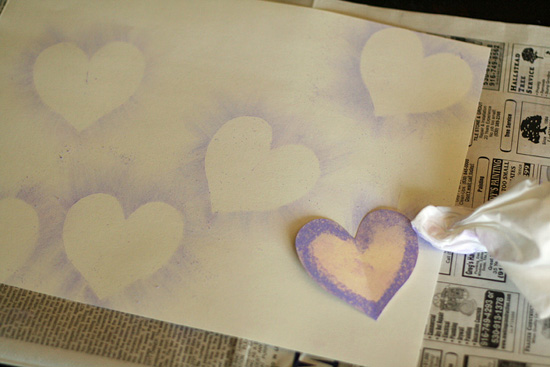
Continue coloring your heart and smudging off the chalk pastel until your paper is filled. It looks really neat to do a few hearts going off the edge of the paper, too.
Now, switch to your heart outline stencil. Apply a second color all around the opening, then place it on your paper and use a fresh tissue to smudge the chalk in toward the center. Keep smudging until your heart is filled in. Little artists might appreciate some extra help holding the stencil.
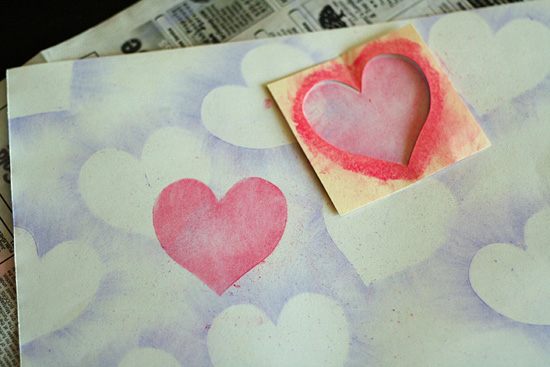
Overlap, go off the edge, and add hearts wherever you think they look good. Continue adding hearts until your masterpiece looks complete.
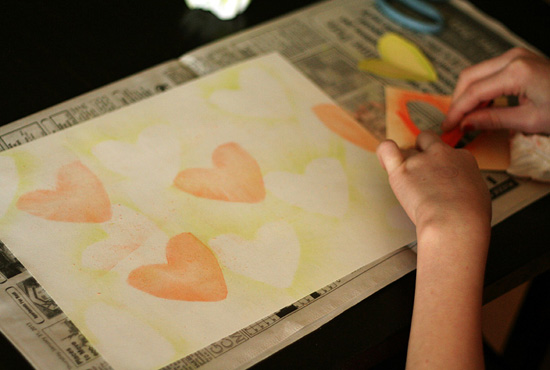
Don’t these turn out lovely? My girls haven’t had much experience with chalk pastels and loved the technique. They are already talking about trying it again with a different shape. We had a bit of chalk dust on the table and our fingers, but it was a quick clean-up with a wet rag. Now our fridge looks a little more festive for this month of love.
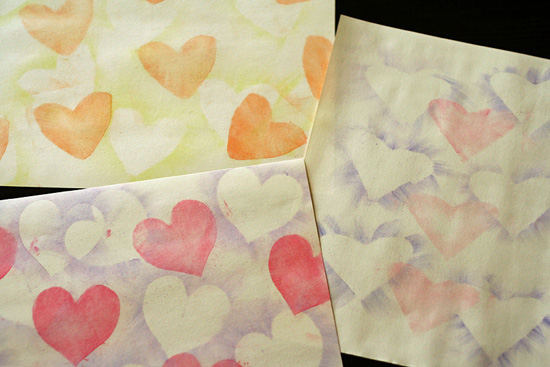
Happy creating!
Want more ideas? See these darling Sweetheart Plastic Cup String Lights!


ive just ordered some chalk pastels for the first time and your tutorial has been a great help as to how to apply them. Thank you
Gill x
Amy! I love this project! It is beautiful!
I sent it to my sister who is a 5th grade teacher and always looking for good art projects.
Thanks!
We did something similar to this, please come and check it out on my blog. http://littleboybluetoddleschool.blogspot.co.uk/2013/02/challenge-yourself.html