Celebrating Hanukkah in the next few weeks? Looking for some fun new ways to involve your kids in lighting candles for 8 nights of Hanukkah? These paper bag Hanukkah luminaries with LED candles are the perfect way to showcase these Festival of Lights!
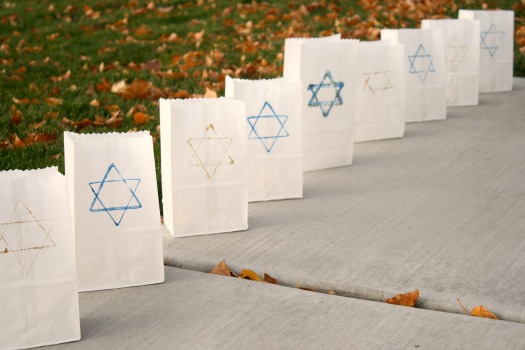
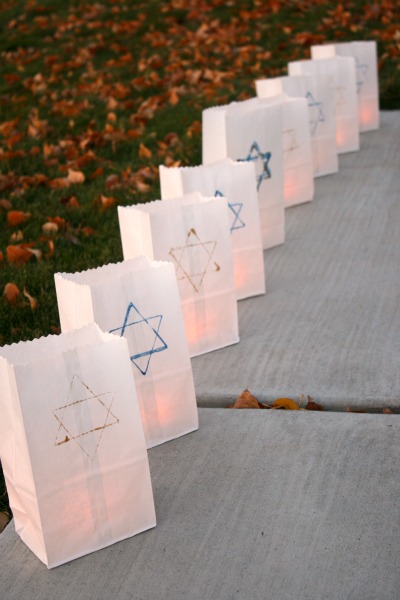
We’ve made some fun Halloween luminaries before, but today we’re making them for Hanukkah to represent a menorah. These are fun to place outside your home, lighting one each of the 8 nights.
Hanukkah Luminaries & DIY Gift Bags
Make 8 if these gift bags to give on each night of Hanukkah. Or you could make them into a night light decoration. Here’s a tutorial to make Hanukkah Luminaries.
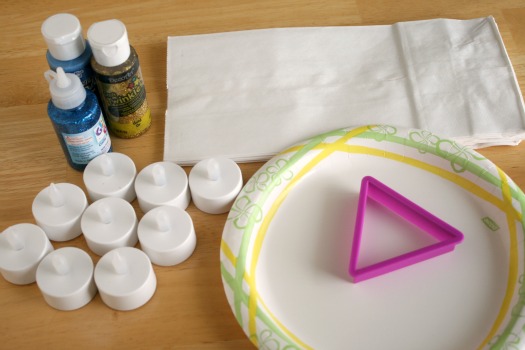
Supplies for Hanukkah Luminaries:
- white paper lunch sacks
- triangle cookie cutter or stamp
- blue and gold paint – thanks DecoArt
- paper plate
- scissors
- flame-less candles
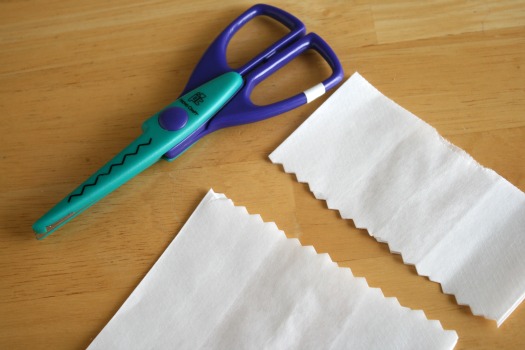
1. Cut the top of your paper sacks with scissors. My scissors have a zig-zag shape to give the bags a fun look. I cut 8 of the bags short and a 9th bag a little taller to represent the shamash on a menorah.
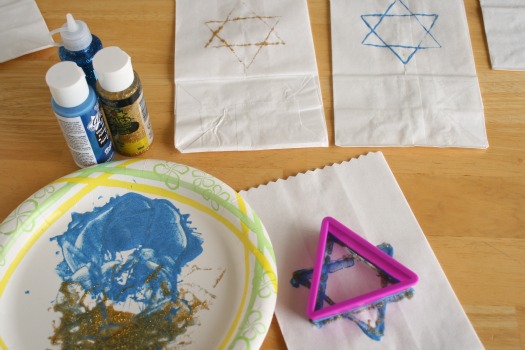
2. Dip your triangle cookie cutter or stamp into the blue or gold paint and create a Star of David shape. Let this paint dry completely.
3. Add your flame-less candles to your bags.
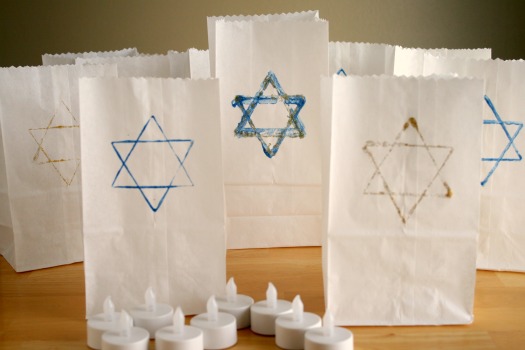
4. Place your bags outdoors, turning on one candle each night for 8 nights.
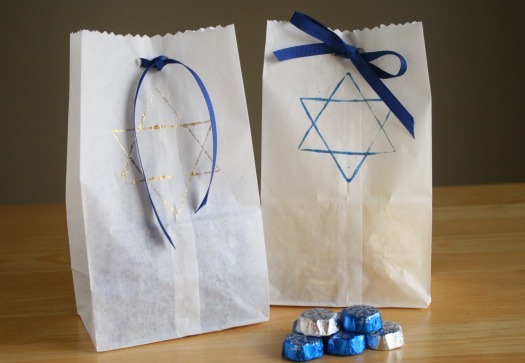
Hanukkah is soon approaching, beginning on December 1st. Here is a fun way to give a gift on Hanukkah with these simple gift bags. You could make one for each of the 8 nights.
Supplies for Hanukkah Gift Bags:
- paper sacks
- scissors
- triangle stamp or markers
- hole punch
- ribbon
- treats and gift bag filling
Instructions:
1. Cut the top of our bag to make them a little smaller. I used scissors that were zig-zag shaped to make a fun look at the top.
2. Stamp your triangle with paint or ink on to the top of your bag into the shape of the Star of David. Or you can draw this shape using your markers.
3. Add your treats to the bag. You could even use some gift bag filling to fill it out.
4. Punch 2 holes into the top of the bag. Thread your ribbon through each hole and tie it off in a knot or a bow.
With Hanukkah beginning on December 1st, you’ll want to get these started soon, ready to light up your nights.
*gift bags originally posted at babycenter.com on 11/22/10


I love these! We do similar ones for Christmas, and I love these for Hanukkah.
I like this craft. I saw something similar to this done for Xmas in “Bad Santa.”
How funny! I haven’t see that movie yet, I’ll have to check it out. Thanks!