I’m excited to introduce a new regular contributor to the Make and Takes team. Please welcome Caroline from Salsa Pie. She’ll be sharing fabulous kid’s crafts and activities once a month! –Marie
The other day I started working on a project for myself making felt tassels to string into a banner for our fireplace mantle. My oldest daughter loved the tassels I made so much that she asked me to make a few just for her. I did just that and as soon as I handed them to her she jumped up and said “Oh mom! They are little dresses!” Moments later she made faces for the tassels I gave her and glued them on. Her little “tassel dolls” were adorable and completely the inspiration for this project.
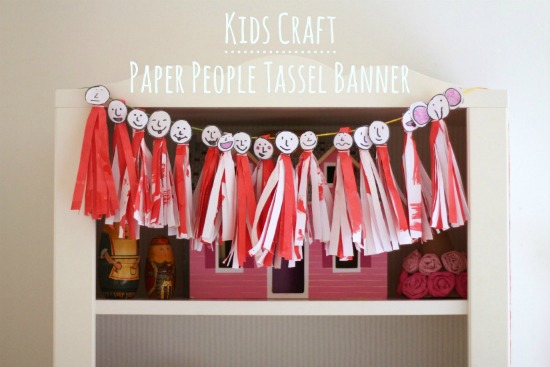
Working together, we made this “Paper People Tassel Banner” using butcher block paper which we painted just to add another fun art element into the project. You could also just use construction paper or tissue paper to create the tassels if you wanted to skip the painting part of this project.
Supplies to make “Paper People Tassel Banner”:
- Poster or Tempera Paint (we used red)
- Butcher Block Paper (or Kraft Paper would work)
- Paint Brushes
- Small containers for paint and water
- Markers
- Tape or School Glue (to affix the faces to the top of the tassels)
- String or Yarn
- Small Rubber Bands
Part 1: Painting the Paper to Use for Tassels

Step 1
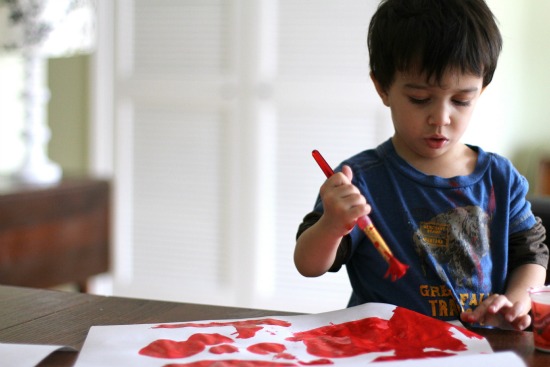
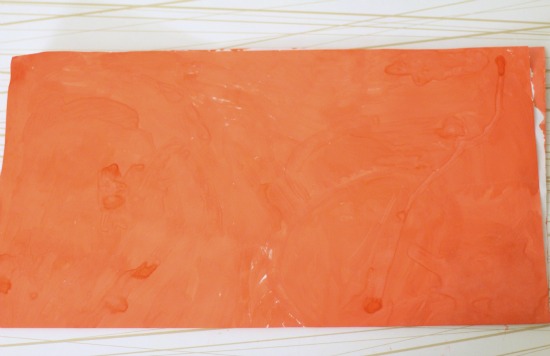
Begin by allowing your little ones to paint onto butcher block-type paper which you will have cut into large rectangles. The size does not really matter, but just remember the smaller the sheet of paper, the shorter the tassel. I cut an approximately 16 x 25 inch sheet of paper. I like to water down the paint I’m using a good bit, both for easy clean-up and ease of painting.
Painting Tips: smaller children will naturally just paint in abstract strokes on the paper but older children will probably want to paint scenes or people. For this project encourage your older little artists to just paint patterns or the entire page and explain to them that you are really just creating a pretty pattern for your tassels with the painting exercise. In our family, I just asked the smaller children to paint and the older children helped me later to make tassels and draw faces.
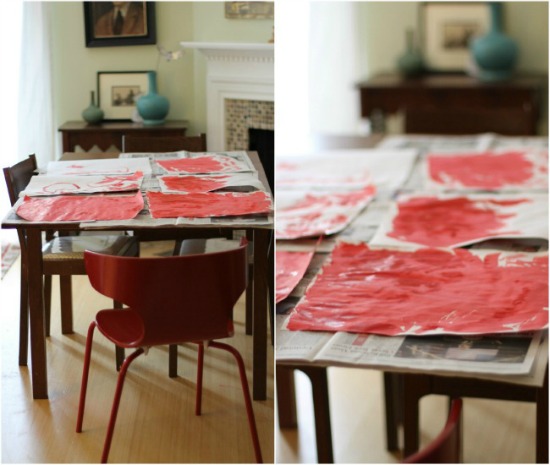
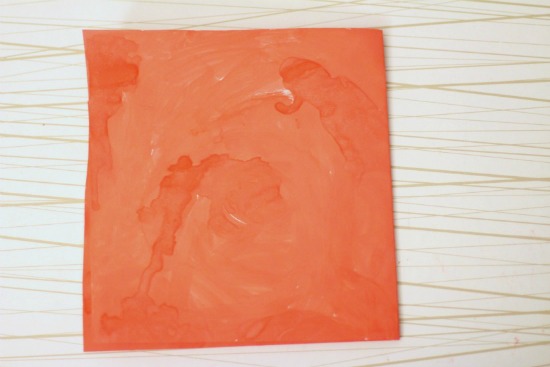
Step 2
Once your little artists have gone to town and painted every piece of paper you’ve given them you can set aside your paintings to dry.
Part 2: Making the Tassels (this part is best for older children or for younger children, an adult will need to do the cutting and help with the folding. Read on.)
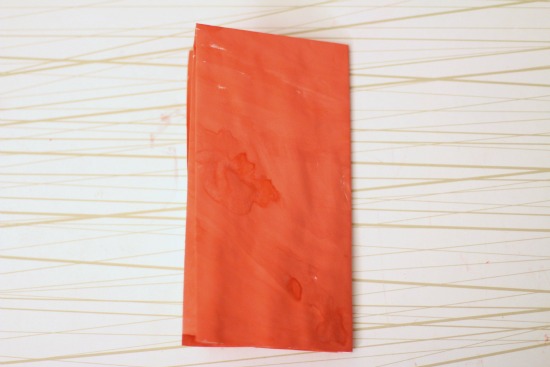
Step 3
After your paintings have completely dried take each sheet and begin folding. First fold the sheet in half.
Then fold the sheet in half again.
Fold again one last time.
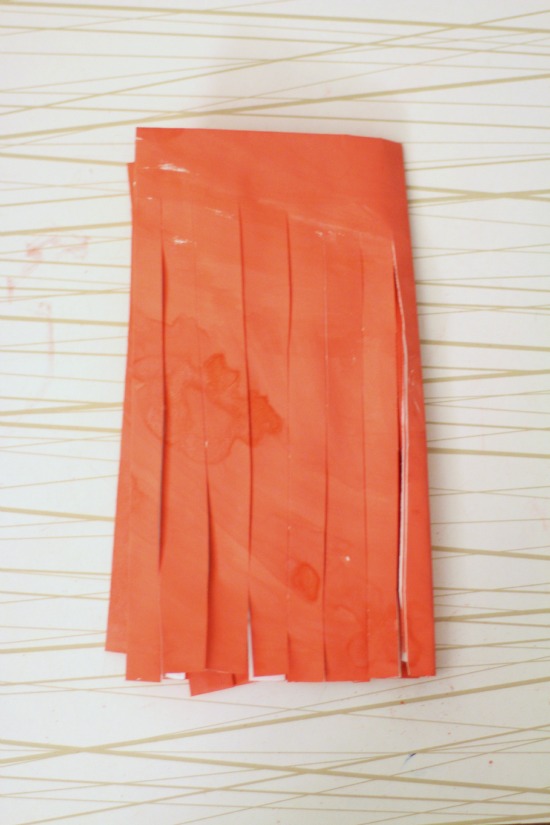
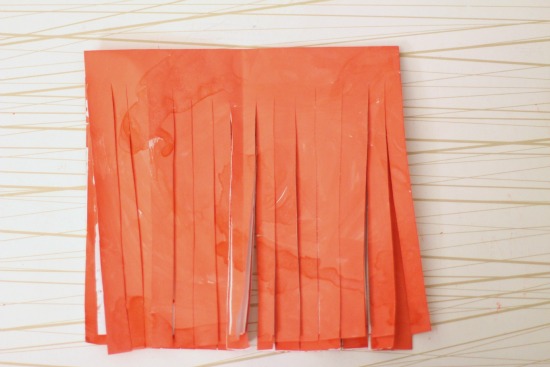
Step 4
You are now ready to cut your fringes and form your tassels. Begin cutting slits from the bottom edge up towards the folded edge.
Step 5
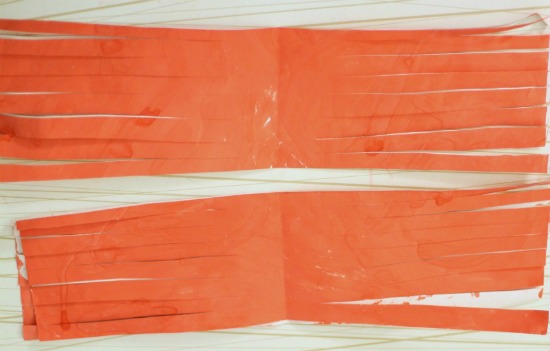
Unfold your paper once.
Step 6
Next cut down the center.

Step 7
Unfold tasseled paper and you will see that you’ve created the beginnings of two tassels.
Part 3: Rolling the Tassels (perfect for older children, younger children will still need an adults help with this part)
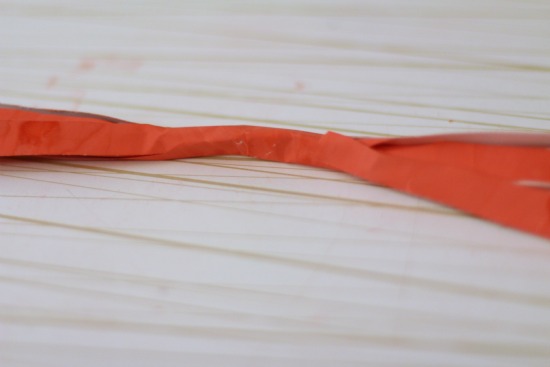
Step 8
Begin by rolling each tassel, tightly working by holding and rolling in the center.

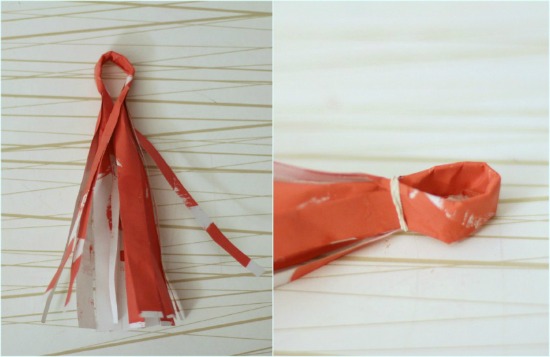
Step 9
Lastly, once you finish rolling each tassel, fold it and form a loop. This loop is where you will string your yarn through for hanging. Hold the tassel loop in place with a rubber band which you will twist around the neck of the loop.
Part 4: Drawing the Faces
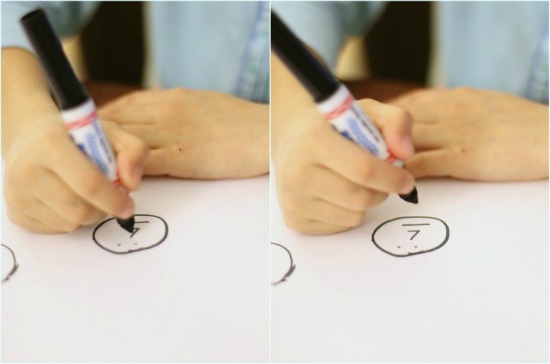
Step 11
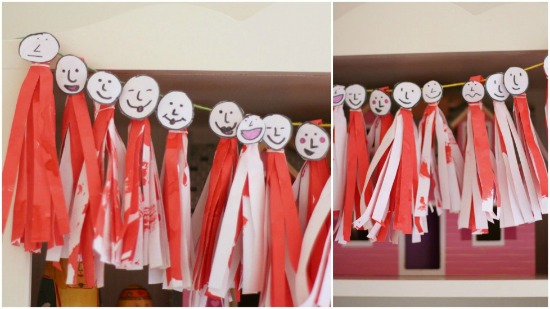
Draw fun faces with marker then cut them out!
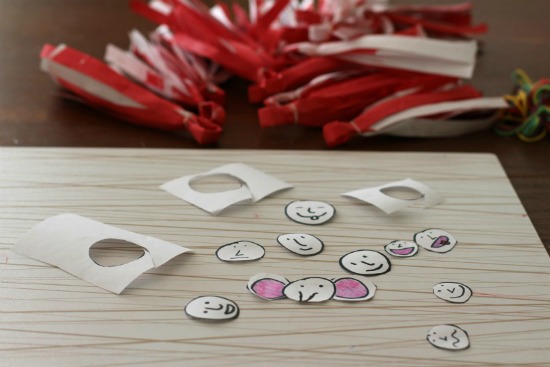
Step 12
Attach each cut-out face to the loop (the side of the loop, the one that will face outward when hanging on the string) using tape or glue. We used tape.
 Step 13
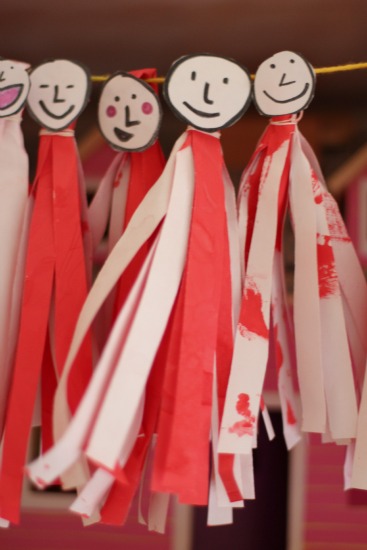
Hang your tassels one by one by stringing your yarn through the loop of each tassel.
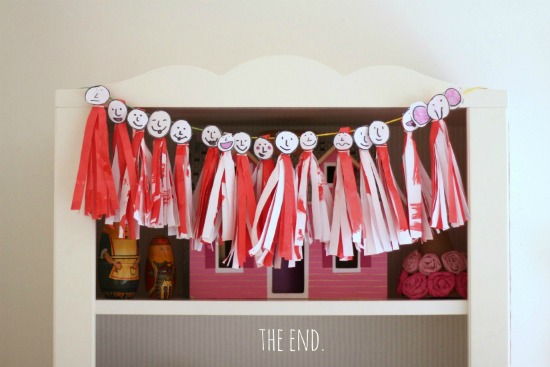
There you have it! You’ve now made Paper People for your very own Tassel Banner! Hang your fun and stylish creation and add a little festive fun to any spot in the house!

I love this project. I think it would be great when all my nieces and nephews come over. I am always amazed at the projects that you come up with. I look forward to reading more posts from you on this site.
Thanks everyone!! :) So glad you liked the project! I’ll be back for more–had so much fun with this one and am so glad to be a new part of the Make and Takes team!
xo! Caroline
I am so excited to see Caroline here! Her crafts are my favorite because I can actually figure them out, buy the things needed easily and inexpensively and do them with my kids. Love these tassels!
There are SO many “family” crafts that really are for the parents to do. What I love about Caroline’s crafts is that kids can ACTUALLY do them. And they always turn out great.
I love Caroline! She’s so talented and has the most awesome creative ideas. Did you see her French family photobooth? So COOL.
So excited to see Caroline joining you here!! She is one of my very favorite kid crafters, bloggers, and friends. Thanks