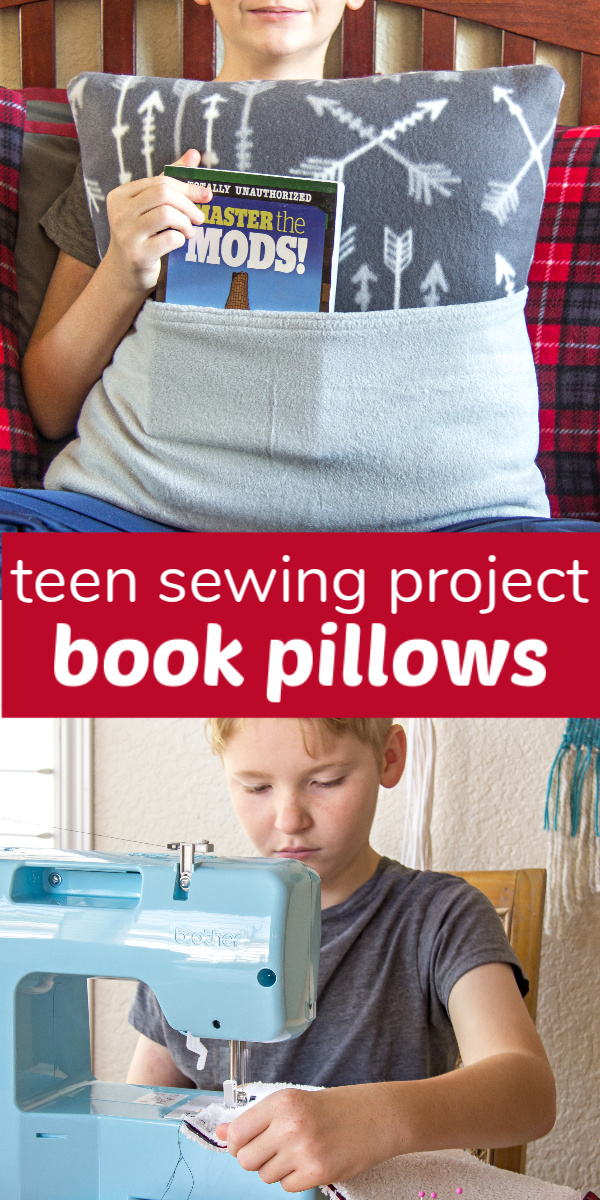
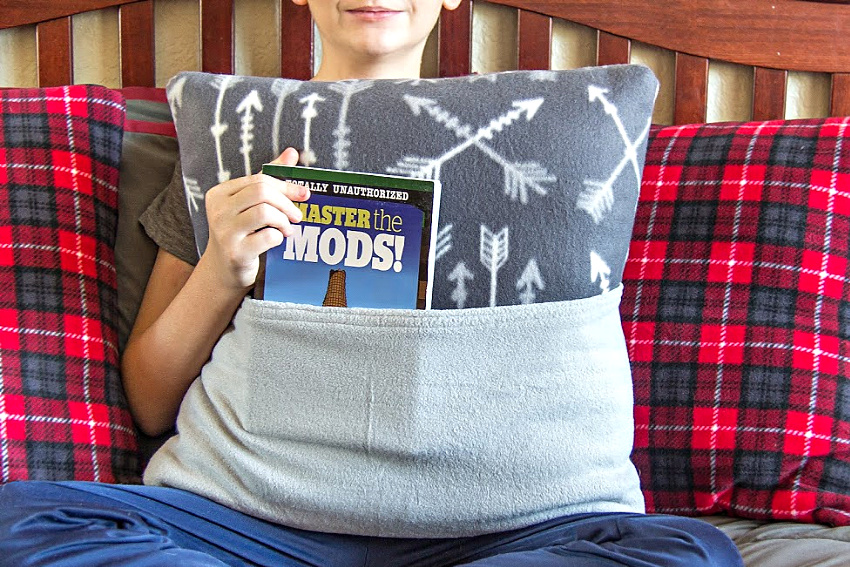
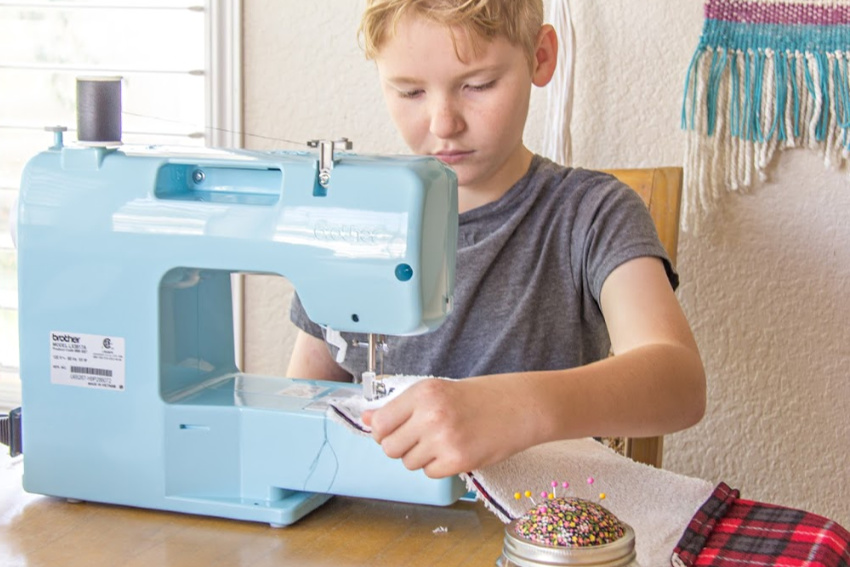
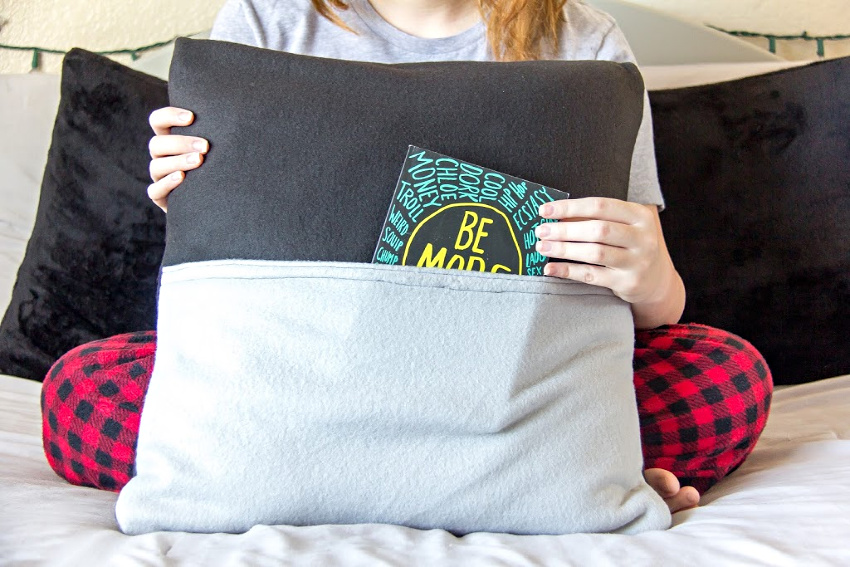
Do you want to teach your teenager to sew? We have a few sewing projects at Make and Takes that are the perfect beginner projects for teens including drawstring shoe bags and handmade scrunchies. In this post, we are going to show you how to sew book pillows as well that have an envelope back so the covers can be washed.
Now is the perfect time to teach your teens to sew. Once they get the hang of it and realize how easy it is to create something new, they’ll be looking for more and more projects to take on. My daughter is always re-decorating her room. Her big thing at the moment is pillows. So, we took this time to make new ones together. I thought I would just teach them how to make one pillow each, but somehow we ended up making three for each of their beds – two regular pillows, and one book pillow.
How To Sew Book Pillows
Once you get the hang of making a book pillow you can whip more pillow covers out in under 30-minutes. What I love about these is they have the envelope back making it easier to remove the cover and wash it.
Supplies:
- Fabric – we used a variety of flannel, fleece, and fur
- Pillow insert – the ones we used were 18″
- Sewing machine
- Scissors
- Ruler (or tape measure)
- Washable fabric marker
Before we get started, let’s talk about fabric. My son chose fleece and flannel because it’s soft, but fleece tends to shrink when washed. So, pre-wash your fabric if you think it will shrink. Always check the washing recommendations for the fabric you choose before cutting and sewing. Here are a couple of tips:
- If you want to pre-shrink your fleece, wash it in hot water before cutting and sewing. It’s less likely to shrink again after it’s sewn.
- If you forget to wash your fleece before cutting and sewing it, then wash the cover in cold water and air dry it, don’t put it into the dryer.
Instructions:
Note: We started with the basic envelope pillows first, then moved onto adding the pocket for the book pillow.
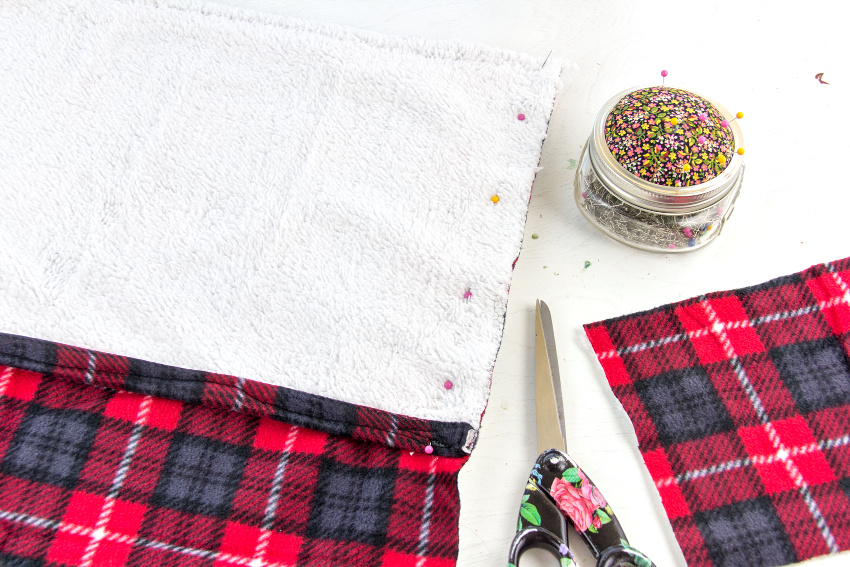
The first step is to cut your fabric. Here are the dimensions you need for an 18″ pillow.
- Front – 19″ x 19″
- Back – 2 pieces, each measuring 19″ x 13″
- Pocket = 19″ x 12″
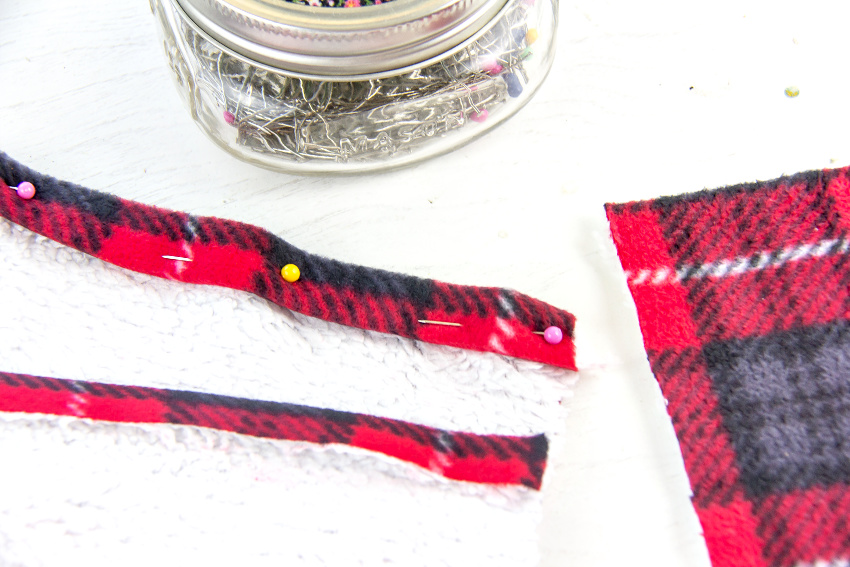
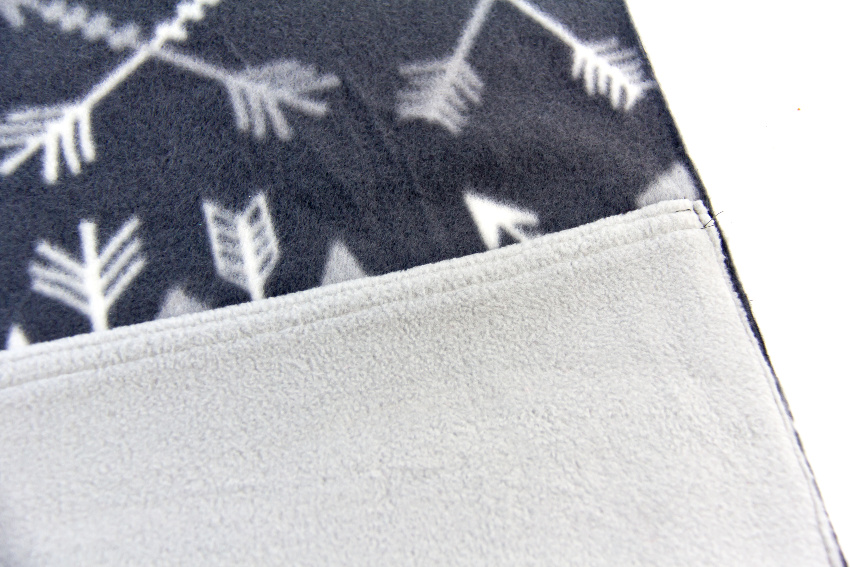
Once you have cut all of your pieces, hem just one of the long sides on each of the back pieces, and the pocket. If you can iron the hem into place before adding the pins then do that, it will help the fabric to stop shifting once in the sewing machine, making it a little easier for those little fingers.
If you are moving straight onto the book pillow and not making a plain pillow first, skip down a little to the photos of the grey pillow to see how we added the pocket, then continue on with these instructions.
Place the large square on a surface with the right side facing you. Turn one of the back pieces over on top of the front (so that the wrong side of the back is facing you) and pin it into place along the top edge and sides. Sew those three seams.
Place your pillow cover back down on a surface (so that the right side of the large square is still facing you). Pin the other back piece to make the envelope opening into place on the bottom and sides. The two back pieces should overlap by a few inches. Sew those three seams too, leaving the hem sides open (see image below).
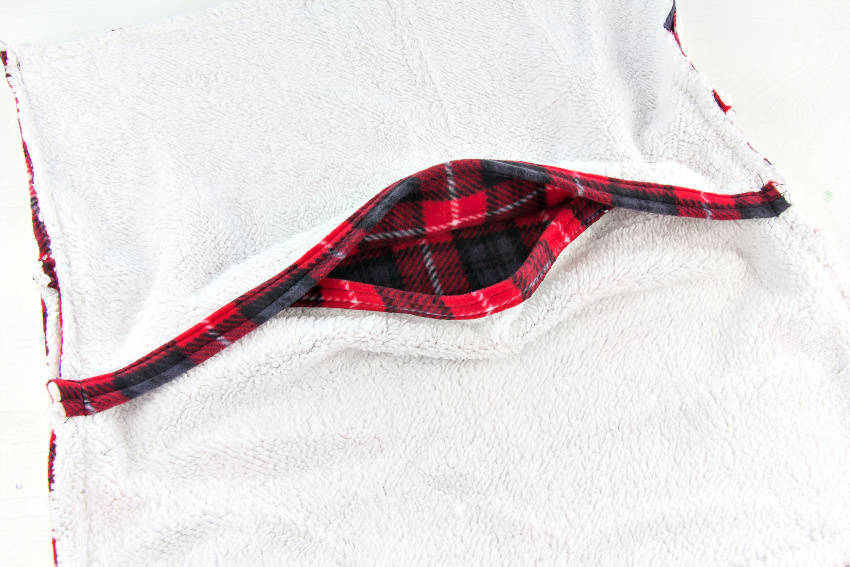
Now you can turn your pillow cover in the right way and stuff your pillow inside.
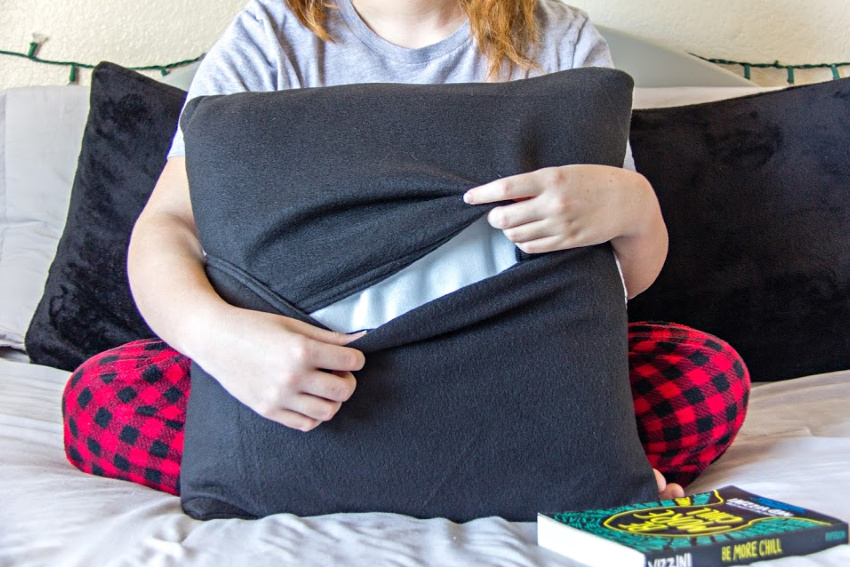
How to add the book pocket
If you want to add that book pocket it’s just one extra step before you sew the two back pieces into place.
Place your pocket onto the bottom of the front piece – right sides of both pieces should be facing you. Sew the side seams only fairly close to the edge to allow for a wider side seam when you sew the back pieces into place.
Go ahead and follow the instructions above to sew the back envelope pieces on and you are done. It’s that easy! Have fun as you sew book pillows for a simple DIY!
Please Pin Post For Later: