Are you a journal writer? Do you write down gratitudes or daily thoughts? If so, you’ll love this simple way to make your own handmade journal – a quick and easy DIY!
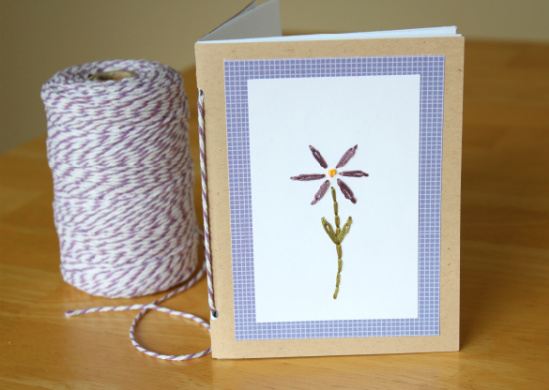
I love handmade journals, don’t you?! There’s something about them that calls out… “I’m handmade, so you must write in me”! So whether you write in your journal every day or even once a week, you’ll love making this handmade journal right from the heart.
How to: Make a Handmade Journal
To make things super simple, I’ve turned one of my hand-stitched greeting cards into a journal. Now it’s double the handmade! And it fits into a purse or handbag nicely. It’s perfect for anyone who needs a little notebook. In fact, I’ve made a journal for each of my kids too!
Supplies:
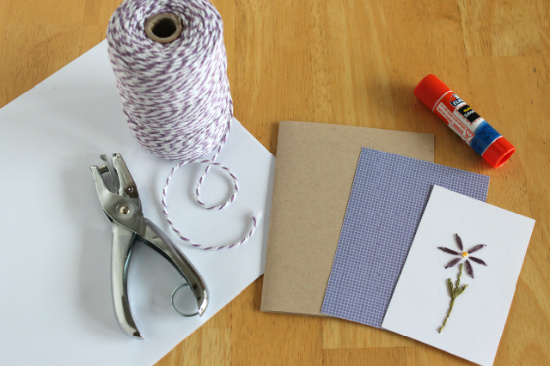
- any size greeting card – or a hand-stitched greeting card
- 4-6 sheets of white paper
- scissors and/or paper slicer
- hole punch
- twine or thread
Instructions:
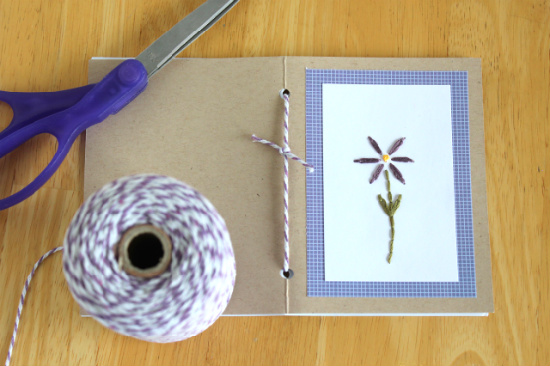
1. You can use any greeting card you have on hand, handmade or store-bought. But see here if you’d like to stitch up a fun embroidery card. As you can see in the above photo of supplies, I just glued my finished stitched paper onto a decorate purple paper and then onto an oatmeal folded card. My folded card measures 5 1/2 x 4 1/4. It’s a piece of 8 1/2 x 11 cardstock paper cut in half.
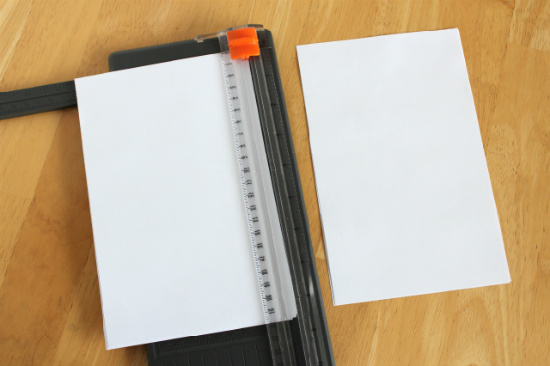
2. With your paper slicer, cut your plain white paper in half to fit into your card. I used 4 sheets of paper to create 8 folded pieces of paper for the journal. You’ll fold each piece in half and then slide it inside your card. Now, some of the white paper may stick out of the card, as it’s now bulked up from being folded in half with a lot of other pages. You can trim down some of the paper, or all of the paper, to be smaller than the card.
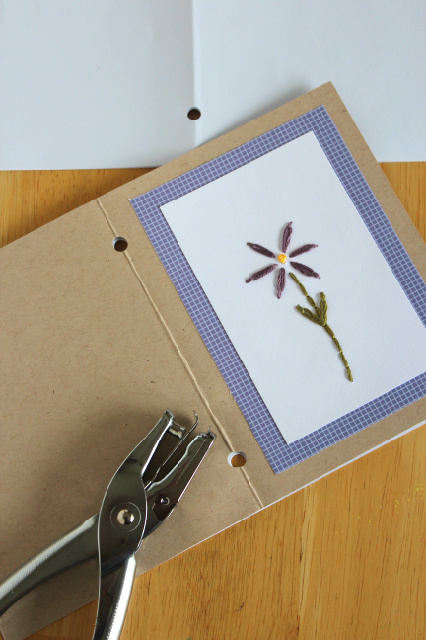
3. When you’ve got your paper and card all lined up and ready, it’s time to punch the holes. You’ll want to punch holes at the top and at the bottom. And you’ll want your holes to all match up. I like to punch my card’s holes first, then line up my paper underneath and punch through the card hole and the paper.
4. Get your twine or thread or embroidery floss and cut enough off so it will go through the first hole, behind the card, and back through the second hole.
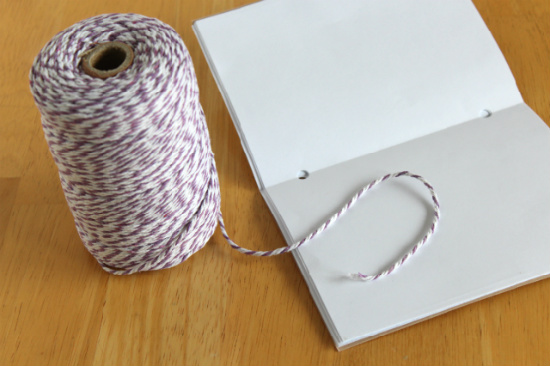
5. Pull the twine tight, you don’t want a floppy journal or papers flying around. Then tie off your twine. I tied it at the outside in this below photo, but I actually turned my twine’s tie through the holes and it is in the inside in the first photo. You’ll have to decide where you want your tie to live. I think it looks cute either way.
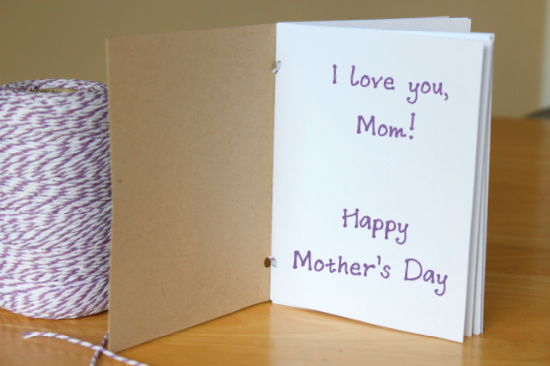
6. Write a few words on the front page to show mom your love. You can even title it for her and give her journal a theme. Maybe it’s a gratitude journal, things to do, or ten reason I love ____. Have fun with this part and personalize it.
For a few other ideas for gifts for mom, check out our Mother’s Day page. What are you giving to your mom, grandma, or loved one this spring season?
*Originally posted: 4/26/12


Brilliant idea…I make hand made cards all the time, this will be a great little addition!
What a great idea! I never know what to do with a card once I get it. I treasure them, but they seem to get lost in a pile somewhere. this would be great even to do with a card after you receive it!! A great way to keep the memory, but make it useful. Thanks for the idea!
Cheers!
Rachel
http://www.scrapendipitydesigns.com/blog?p=1028