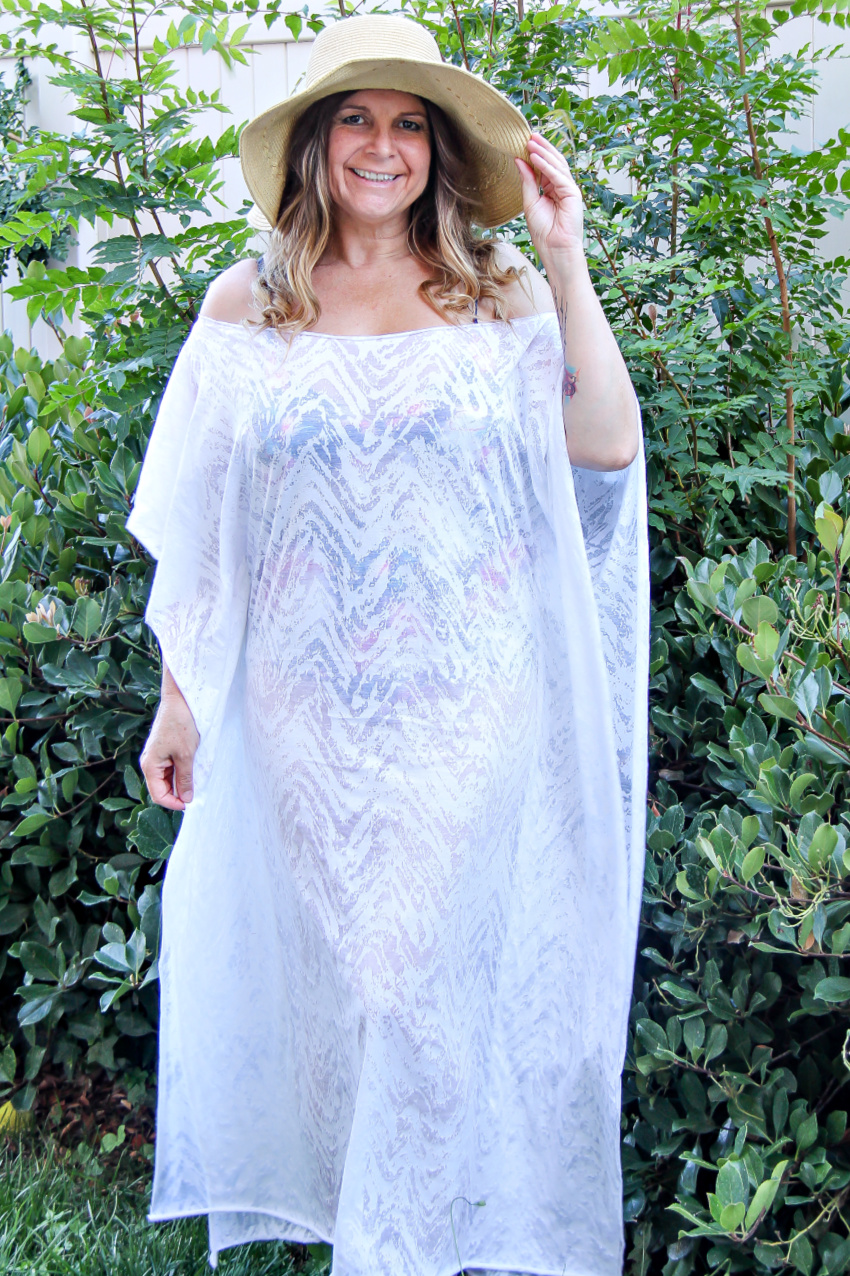
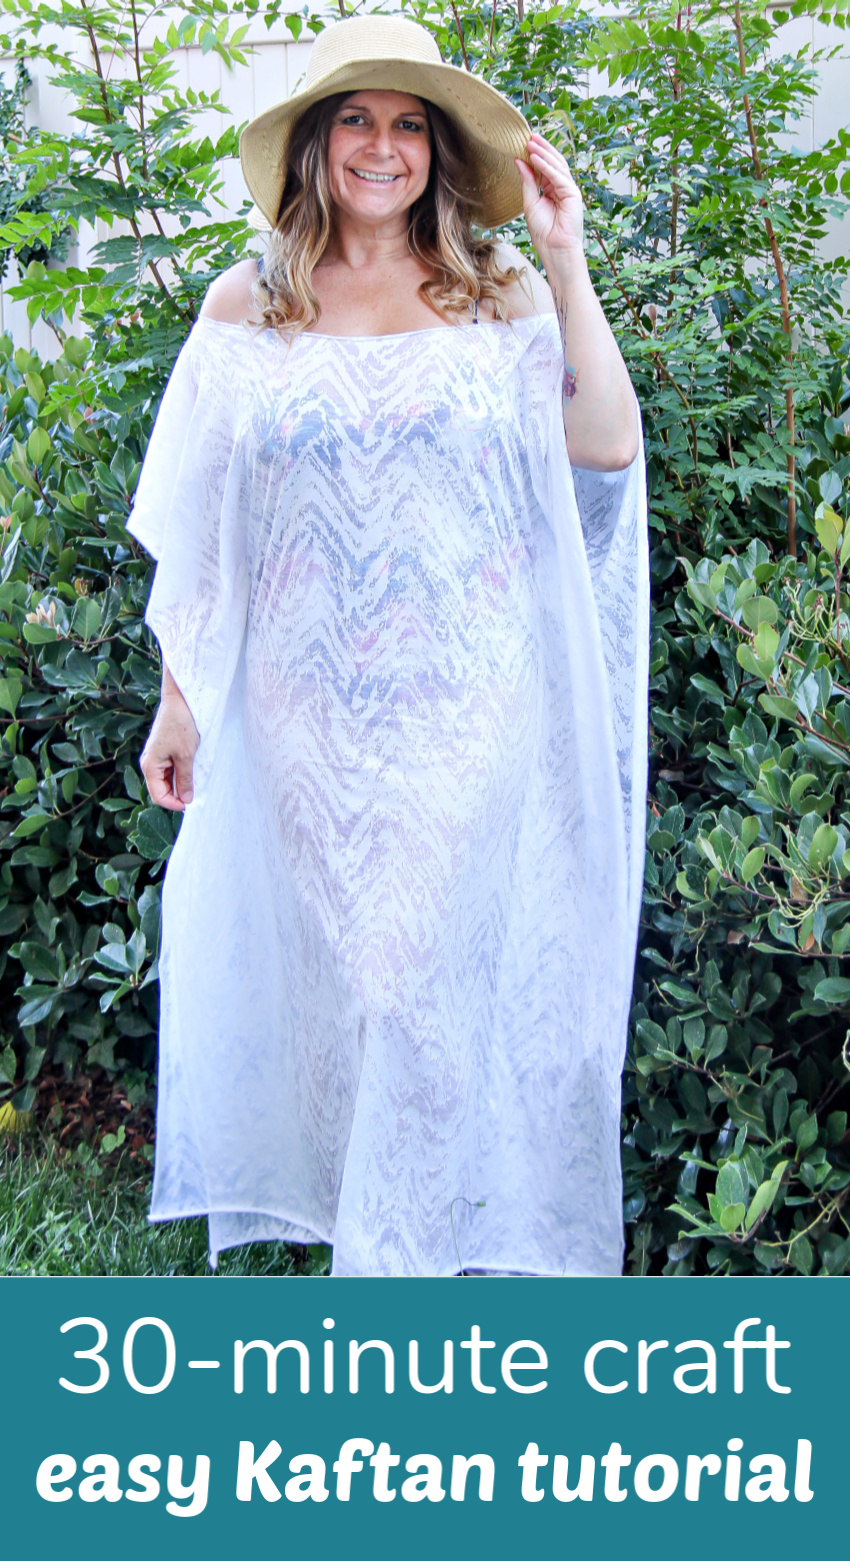
Are you ready for more summer crafting? Today I’ve got a really easy sewing tutorial for you, we’ll be making a kaftan that you can wear over your swimsuit. It’s the perfect addition to your summer wardrobe and is a great 30-minute craft.

I am all about the beach cover-ups. I like to have something that can go from the beach to grabbing a quick bite to eat without having to get completely changed, plus, who wants to drive to the beach or a pool party in just a swimsuit, or multiple pieces of clothing that you need to keep track of? You want something that’s easy on, and easy off.
How To Make an Easy Kaftan
As you can see from my kaftan, I went with a slightly sheer fabric, it is stretchy and doesn’t fray, which means, no sewing of edges. Plus, I found it in the clearance section of Joann’s Fabrics for $3.99 a yard. What a bargain! Keep in mind that if you do use a fabric that frays, you will also need to make seam allowances in your measurements.
This kaftan tutorial is so quick and easy, if you can sew a straight line, that’s really all the skills you need. It would be a great beginner project to teach your child too, you can make matching kaftans, twinning is all the craze right now.
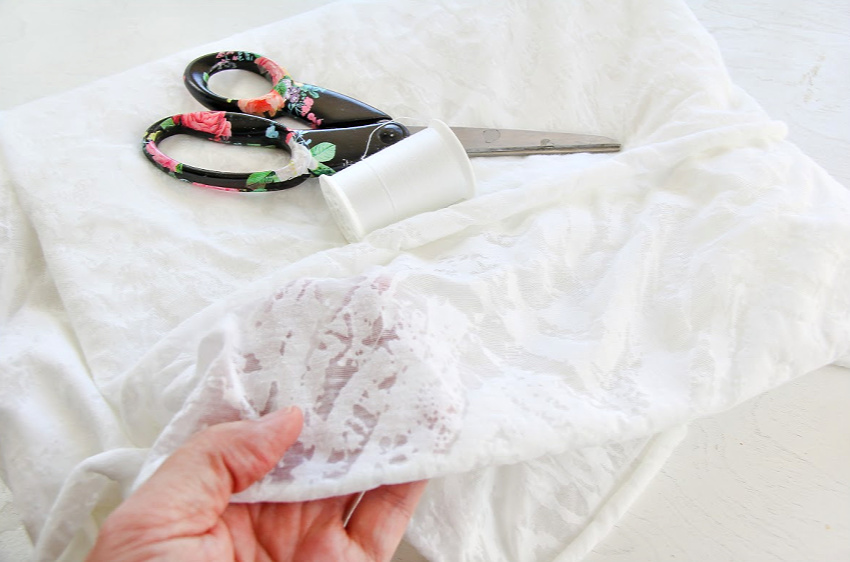
Supplies:
- Fabric – no-fray fabric preferred
- Sewing machine
- Scissors
- Pins
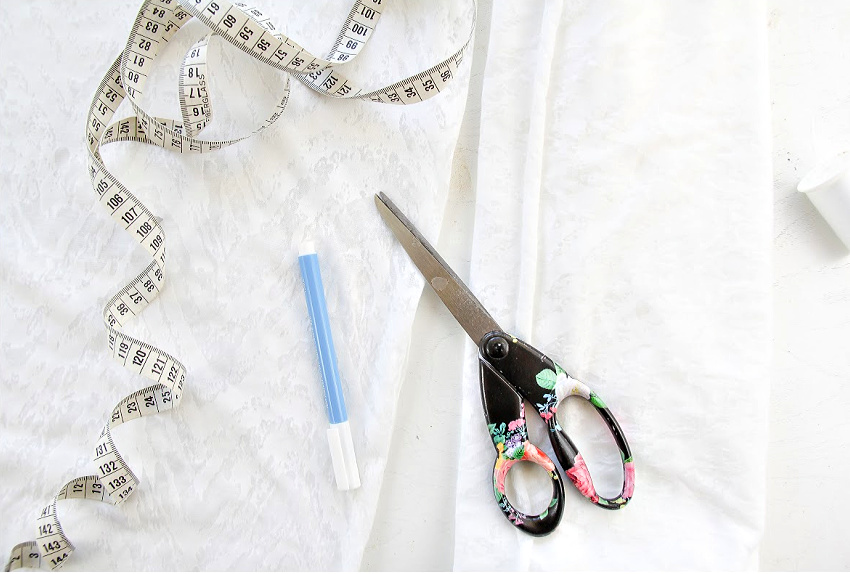
- Washable fabric marker
Instructions:
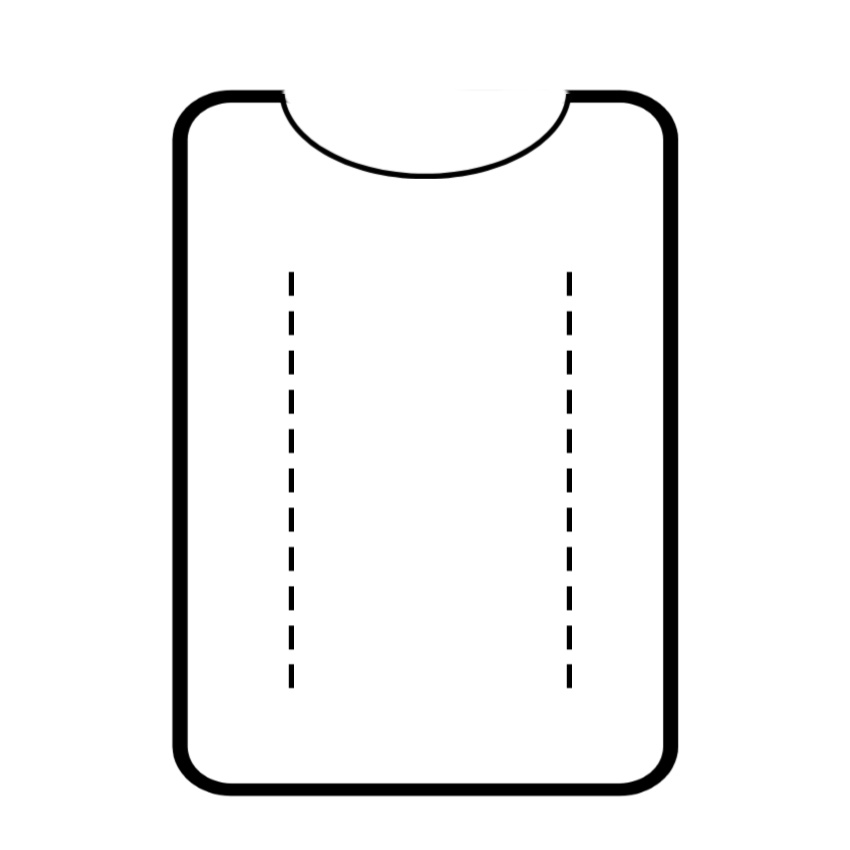
If you purchase fabric that doesn’t fray, and thus, doesn’t need side seams, then this is just a matter of cutting out the shape, and sewing just two straight lines. Take a look at the quick diagram I whipped up below.
You can make your kaftan any length you want, maybe you want a shorter one, or a floor length one, it’s really up to you. I made mine mid-calf length, so measure yourself accordingly to get the correct length. You also might want it to have longer ‘bat-wing’ sleeves, in which case, you would just cut your fabric a little wider.
1. Wash Your Fabric
First things first though, wash your fabric. You don’t want to find out after putting in this work that your fabric shrinks in the wash, so better to wash it before you get going.
2. Quick Design
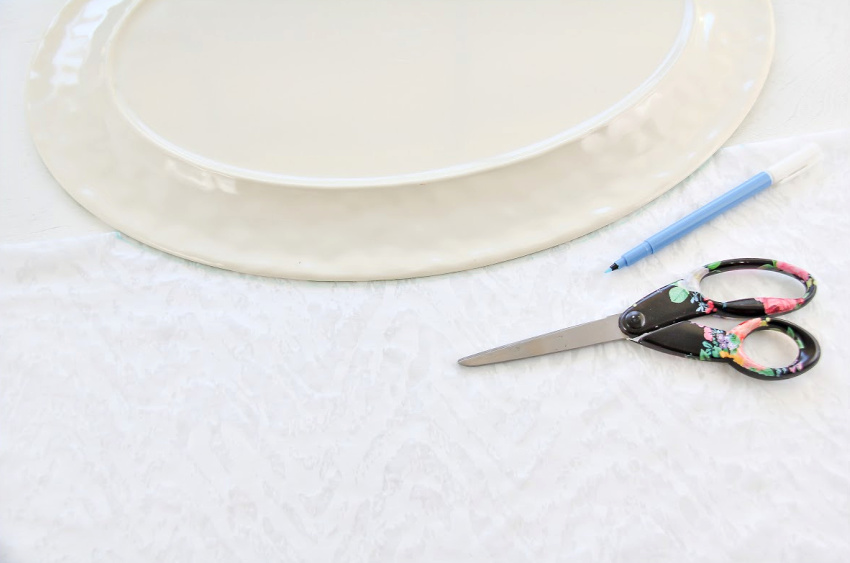
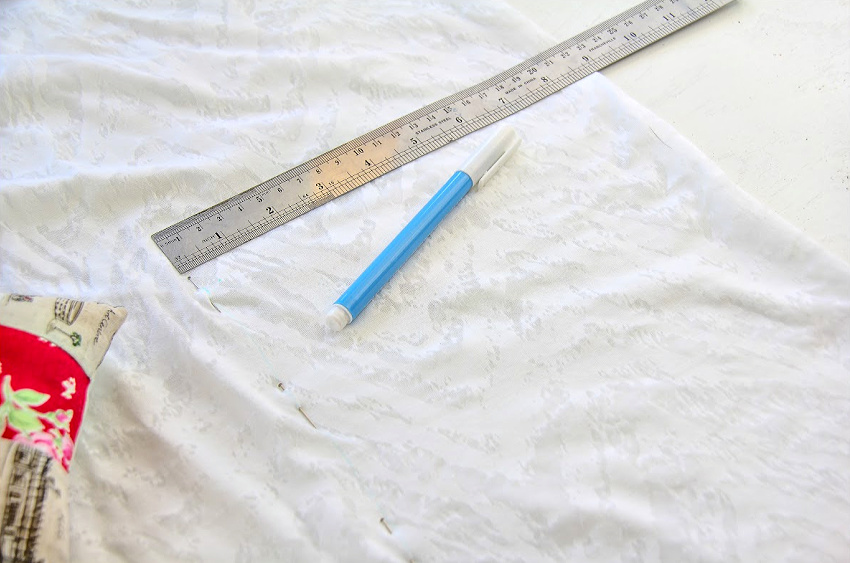
The next step is to make the neck hole. I wanted mine to be a little wider so it would be off-the-shoulder, so adjust accordingly if you want a slightly different look. I actually used a top that I already had in my wardrobe that I wear off-the-shoulder to get the width, and then lay a large serving tray down to mark out the shape using the washable fabric marker.
3. Fitted or Flowy?
Now that you’ve got the neck hole measured and cut, pop the kaftan over your head. Pinch in one side around your chest bone area, not too tight, and this will gauge whether your kaftan is more fitted or flowing so keep that in mind. Pop a pin in the spot to mark it and repeat on the other side. Very carefully take the kaftan off and using the washable fabric marker and ruler, mark a straight line down each side of the fabric ON THE RIGHT SIDE (not the wrong side of the fabric) until about 8 inches from the bottom. Place pins, pinning both sides of the fabric together down the line.
You’ll be sewing on the right side, not the wrong side, otherwise you bat-wings will be trapped inside your kaftan, not on the outside. By leaving a space at the bottom it means you’ll have a little more movement when walking up stairs, or sitting in the car, especially if your kaftan is a little more fitted than flowing.
4. Simple Sewing
Sew down each side where the pins are, cut off the ends of your cotton, and you are done! Pop on your kaftan and go enjoy the beach or pool.
Pair your kaftan with this summer beach bag, and don’t forget the handmade hair scrunchies too.
Please Pin Post For Later:


I love kaftans & Muumuus!!